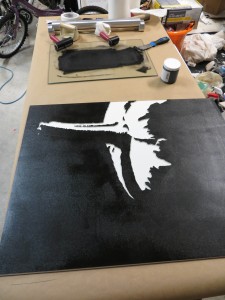
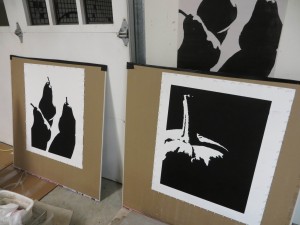
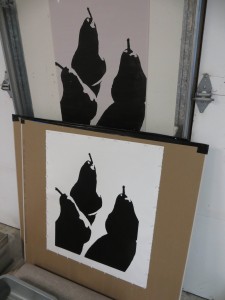
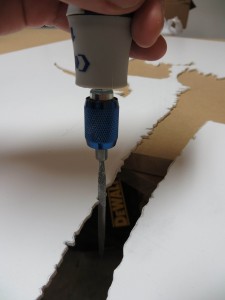
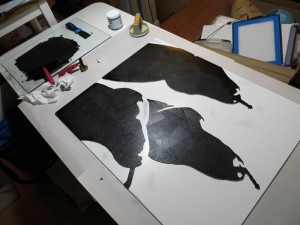
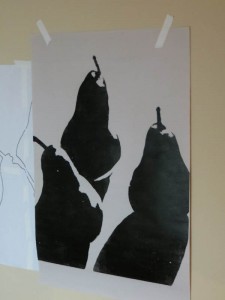
I think I may have thrown my back out over the weekend printing the giant pear print. My back was so sore on Monday that I didn’t go in to the atelier. Today after some physical therapy I was feeling better, so I printed the giant pumpkin for the first time. The print looks great from a distance, but has a few soft edges because the paper was too damp. I think it is probably still a keeper. Hope my back is ok tomorrow.
Monthly Archives: February 2013
Giant Pears Production Print
Today I made my first production print from the giant pear plate! It took me about an hour to create one print, but it is beautiful.
The print used Akua Intaglio carbon black ink on damp Rising Stonehenge paper. Since the plate vastly exceeds the dimensions of my humble etching press, I went old school, resorting to the Akua pin press and a baren. I had to peel pack the paper many times in order to reapply ink in areas with pinholes. Given the amount of work involved, I am expecting this to be a very limited edition.
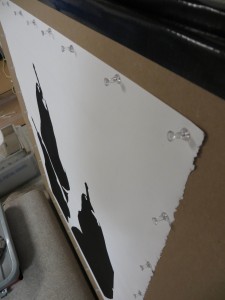
I’m trying a new method of drying that flattens the print without disturbing the ink and the embossing. The wet print is pinned to a piece of sheetrock using push pins spaced every three inches.
Giant pumpkin plate finished
After another cutting session, the 24″ x 30″ pumpkin plate is ready to print. I probably spent about 4 hours cutting and sanding and filing and then another hour on the plate assembly. Can’t wait to print this one!
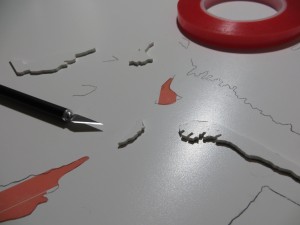
The pumpkin plate has a lot of free floating pieces. I’m using double-sided tape to hold the pieces in place so that I can remove them if I need to make adjustments to the edge contours. In this picture I am trimming the tape so that it doesn’t extend into the non-printing area and possibly stick to the paper.
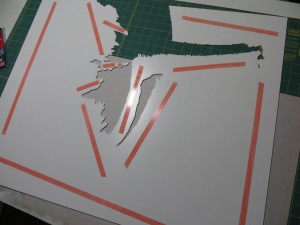
This is the biggest piece, covered with double-sided tape and ready to be placed on the backing plate.
Spheres keep rolling along
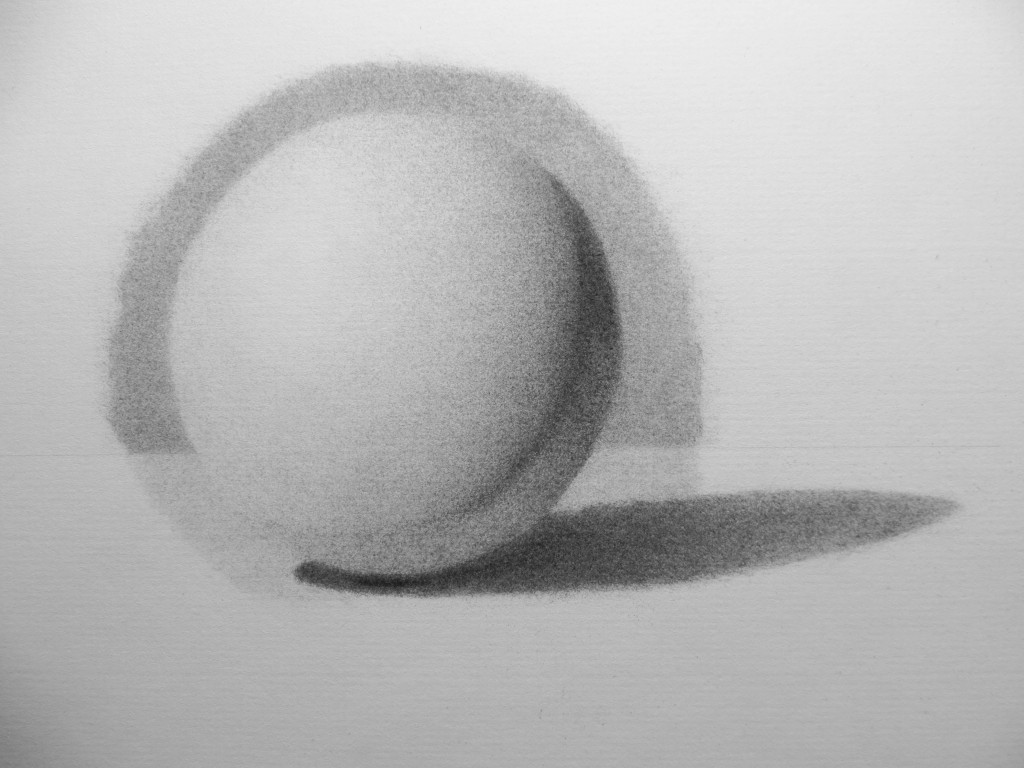
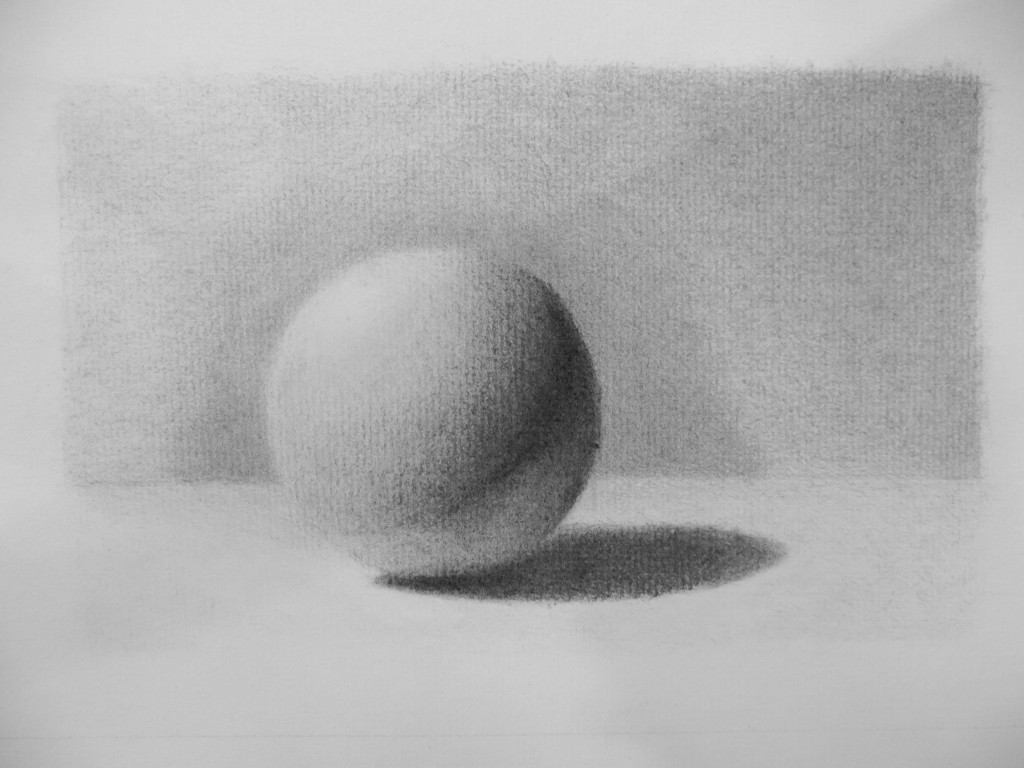
I am making slow, but steady progress on my white sphere. One of these days I will actually finish it. Here’s the update.
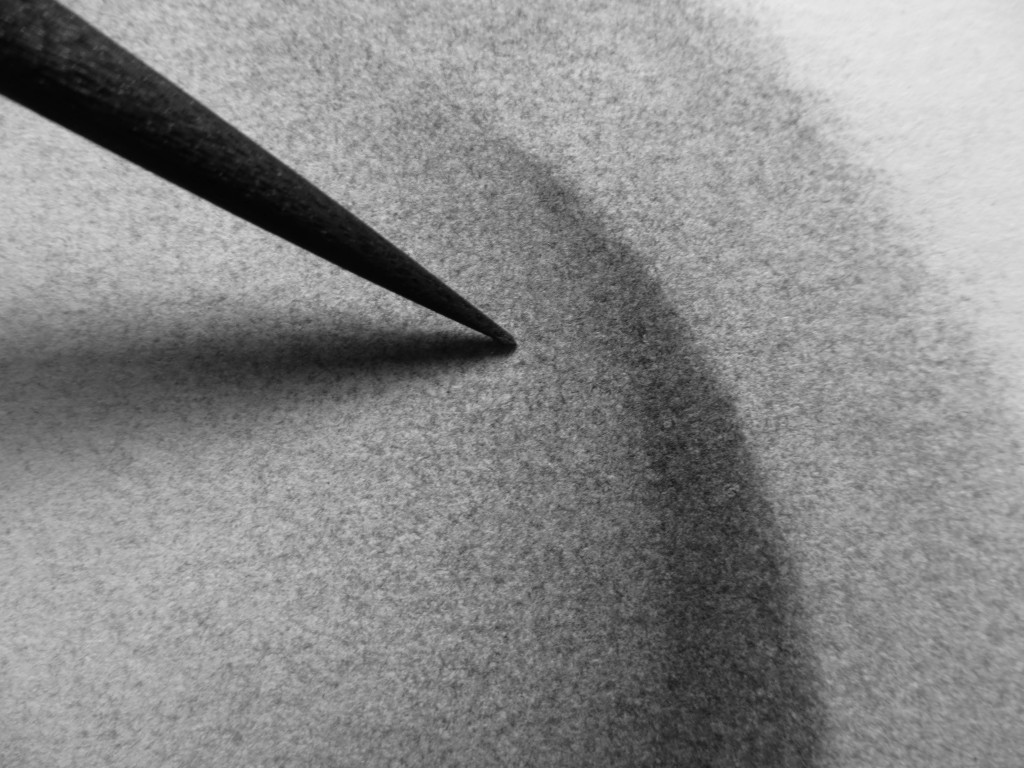
I use the very tip of a super sharp piece of charcoal to reach down inside each pit in the paper, without hitting the ridges.
Horseshoe Falls Update
My son’s Frederic Church mastercopy is humming right along. Due date is this Friday!
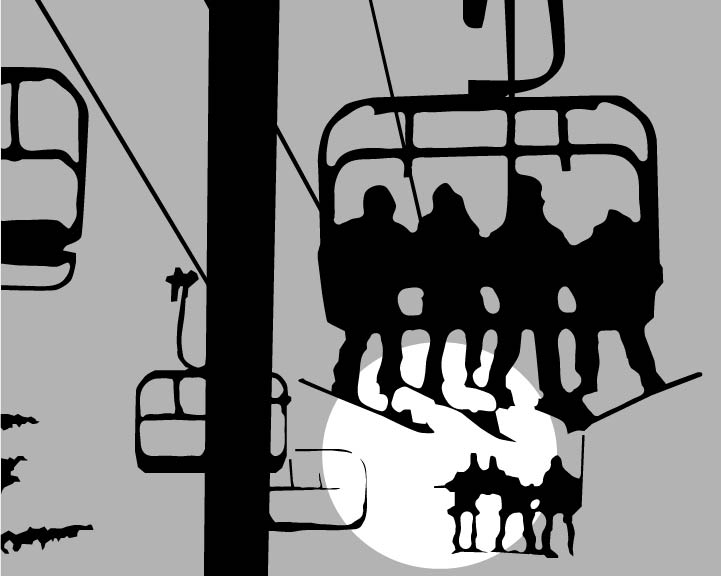
Ski Lift
Keechelus Print Update
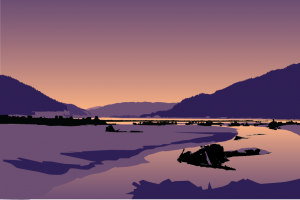
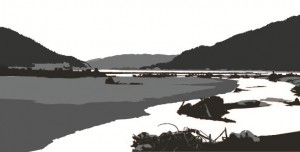
Here’s an update on the Keechelus print design. I’ve added more detail in the foreground and clarified the left riverbank. The silhouetted mountain ridges work well, but I’m struggling to get a more three-dimensional form along the riverbank and in the landmass on the left. I also need to make some decisions about whether to simplify or go for detail in the mass of sticks and branches in the lower right – not sure whether the details add or detract and I probably won’t know until I get some more detail in the lower left corner for balance. I’ve also experimented with cropping – using a panoramic format allows me to zoom in quite a bit without exceeding the width of my etching press. Can’t wait to start carving!
Giant Pumpkin Plate
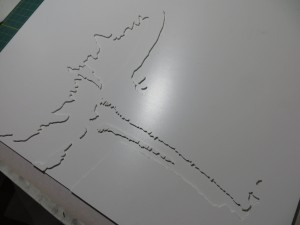
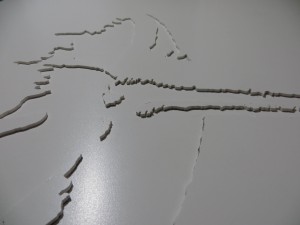
Bouyed by the success of the giant pear print, I began cutting the 24″ x 30″ pumpkin plate. Before starting I headed out to Lowes to pick up some safety gear, including an N95 dust respirator and face mask. I already had good ear protection.
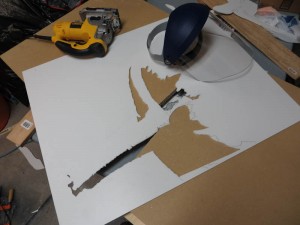
I’m guessing that the cutting is about halfway through. It is going well as I apply learnings from the pear print. First is to use hearing protection, a face mask, and respirator. Second is to leave the edges of the plate intact until all of the fine cutting is done. This reduces the chance of breaking the plate while cutting. Third is that the jigsaw can actually be used like a router or grinder, by gently sweeping the blade side to side. This works better than the end mill in the rotary tool because the end mill sometimes catches on the plastic and jerks past the cut line. The fourth learning is that ball mills and sand paper grinding wheels work better for FPVC than end mills.
First print from giant relief plate
I finally got some time to finish up and proof my 24″ x 30″ plate of the three pears. FPVC seems to work pretty well for plates, although I was surprised to find that the plates absorb a bit of ink. The material does give very crisp edges. The main problem with FPVC is that the cutting process produces a huge amount of plastic dust. I will have to decide whether to cut the large pumpkin out of FPVC or try another material like masonite or MDF. First I will try a print on a real printmaking paper to be sure the FPVC really works well enough.
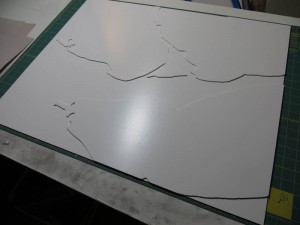
I’ve finished cutting and sanding the printing surfaces and tacked them in place with double sided tape.
Starting a new print
I’ve started working on the design for a multi-block linocut print of Lake Keechelus. For now, I am mocking it up in Adobe Illustrator so that I can get an understanding of interactions between the shapes and colors and layers. The image below shows one idea for a sunrise color scheme. This is a work in progress, and the bottom half is still at the block-in stage.

