SolarPlate Intaglio Value Scale

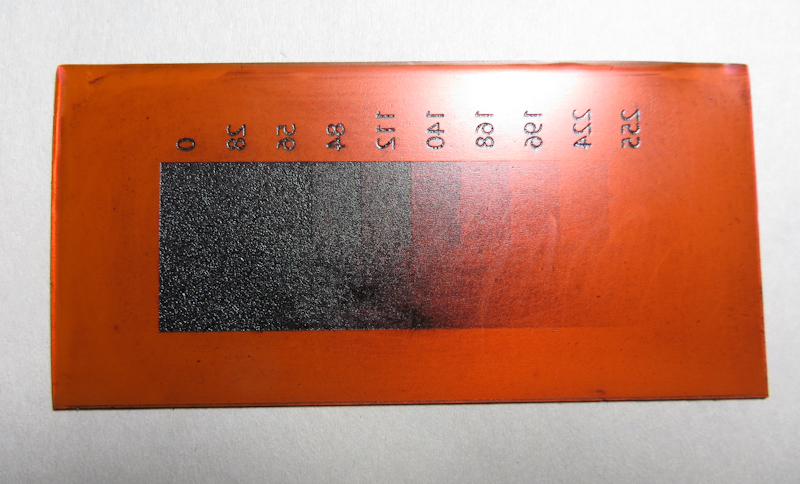
This evening I tried my first intaglio value scale with SolarPlate. My main takeaways are that the process has very high contrast, but the results are really promising.

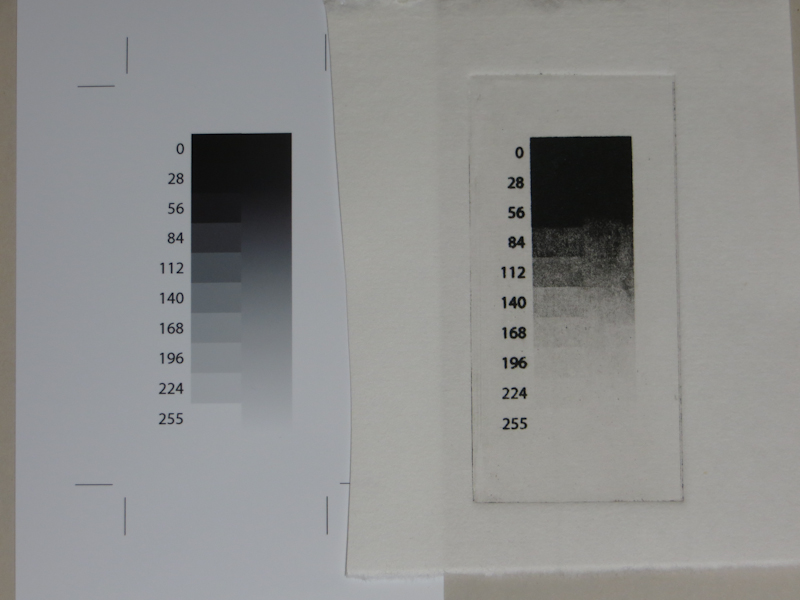
This 2″ x 4″ plate has a 10 step value scale on the left and a continuous gradient on the right.

The value scale becomes more visible once I’ve applied ink and wiped.

Here’s another view of the inked plate.

My goal is to reproduce the value scale on the left. The results, printed on Hosho, are on the right. It is readily apparent from this initial test that my SolarPlate process has too much contrast, compressing most of the dark end of the value scale into a couple of steps. My next test involves a more detailed test print that will allow me to create contrast adjustment curves in PhotoShop.

Solarplate Intaglio Experiments

This evening I made an intaglio print from SolarPlate for the first time. This is the first step in working out the details of a process that will ultimately use a NuArc 26-1K platemaker to expose Imagon HD with Pictorico OHP positives created on an Epson 3880 printer. The first experiment was to determine the correct exposure and development to get a good solid black from the aquatint screen.
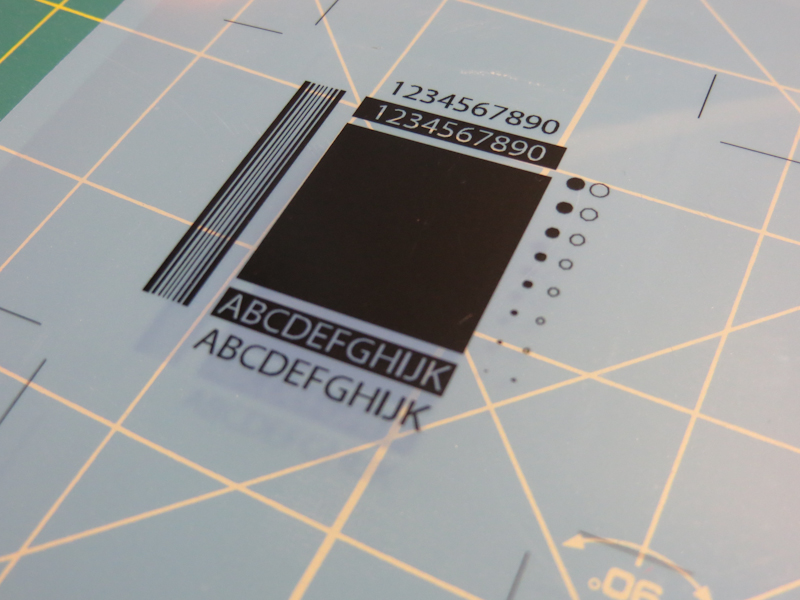
For this first test, I am just trying to get the correct exposure for the aquatint screen. The goal is to get an exposure and development process that gives a rich black with good edge detail. Once I get a good black from the aquatint, I can start to experiment with gray scales. This test pattern was printed with an Epson 3880 on Pictorico OHP. The central rectangle is an inch square, and the text is 12pt.

This 2″ x 2″ plate was exposed on a NuArc 26-1K Mercury platemaker. I first exposed the aquatint screen with 10 exposure units which took about a minute. Then I exposed my test pattern with 25 exposure units. I developed in water for one minute with gentle abrasion from a paint brush. The plate was blotted and then dried with a hair dryer and then exposed one more time with 25 exposure units to fully harden the photopolymer.

Applying Akua Intaglio with a small piece of cardboard.

Here’s what the plate looked like after wiping with tarlatan cloth and then newsprint. I didn’t realize it at the time, but the region with the white letters on black actually needed more wiping.
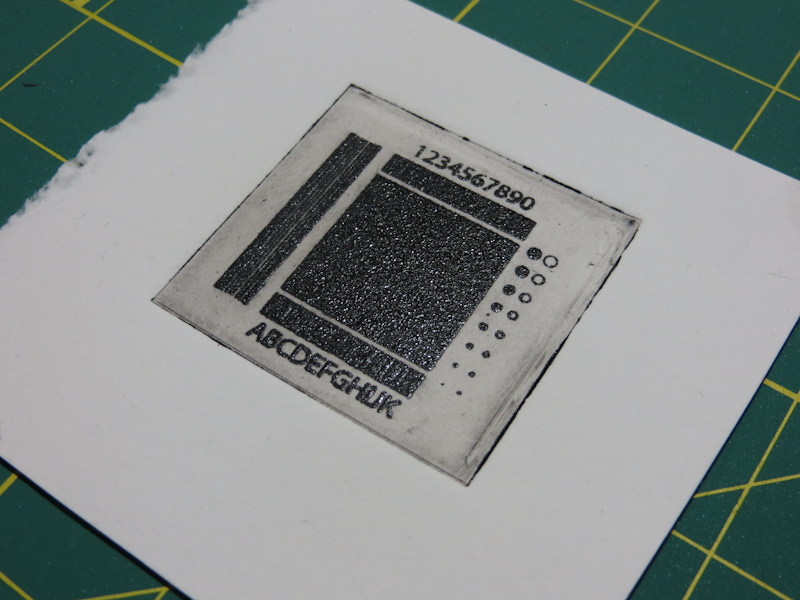
Here’s my first intaglio print from SolarPlate. The paper is wet Rising Stonehenge. The impression is nice for a first try, but the plate had too much ink. This resulted in solid black rectangles where the white letters should be and too much plate tone. I printed a second piece of paper off the same plate without reapplying ink and got a decent print.

This print is on a dry piece of Hosho. I wiped the plate a bit more carefully, and this improved the print quality.
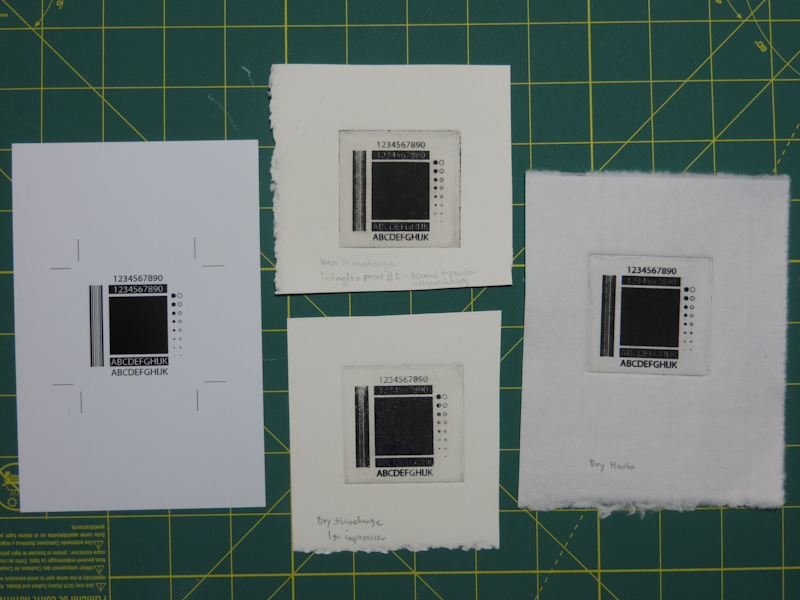
This photo shows the test pattern on the left, wet and dry Stonehenge in the center, and dry Hosho on the right. Overall, pretty satisfactory results for my first stab at intaglio with SolarPlate. I want to continue experimenting with exposure, inking, wiping, paper types, moisture levels, and roller pressures until I can reliably reproduce details down to a quarter point. Then I will start to work on gray levels.
 

Laser engraving for detail

Today I experimented with laser engraving to create a relief plate with details that are too small for laser cutting. I was able to get decent results on a very small sample design of a bunch of pine trees, but the resulting plate was hard to print and it took a lot of laser time. I will probably do some additional experiments with plywood and MDF plates, but I think I may have reached the limit of detail that one can achieve cheaply with a laser cutter/engraver.

I suspect that for this level of detail I will need to move from relief printing to intaglio, either with photo polymer plates or perhaps etched aluminium plates. Stay tuned for more details.

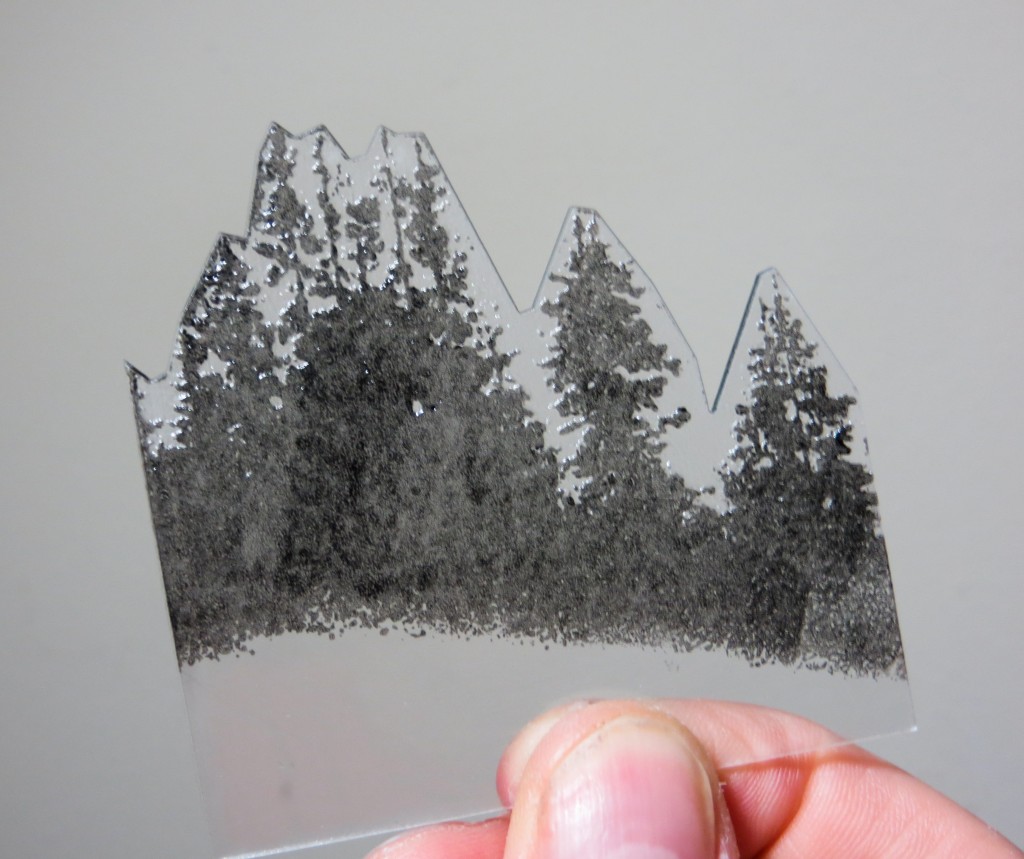
Here’s my 2.75″ x 3.25″ test plate, made by engraving and then cutting a piece of 1/16″ acrylic. The plate is inked and ready to print.

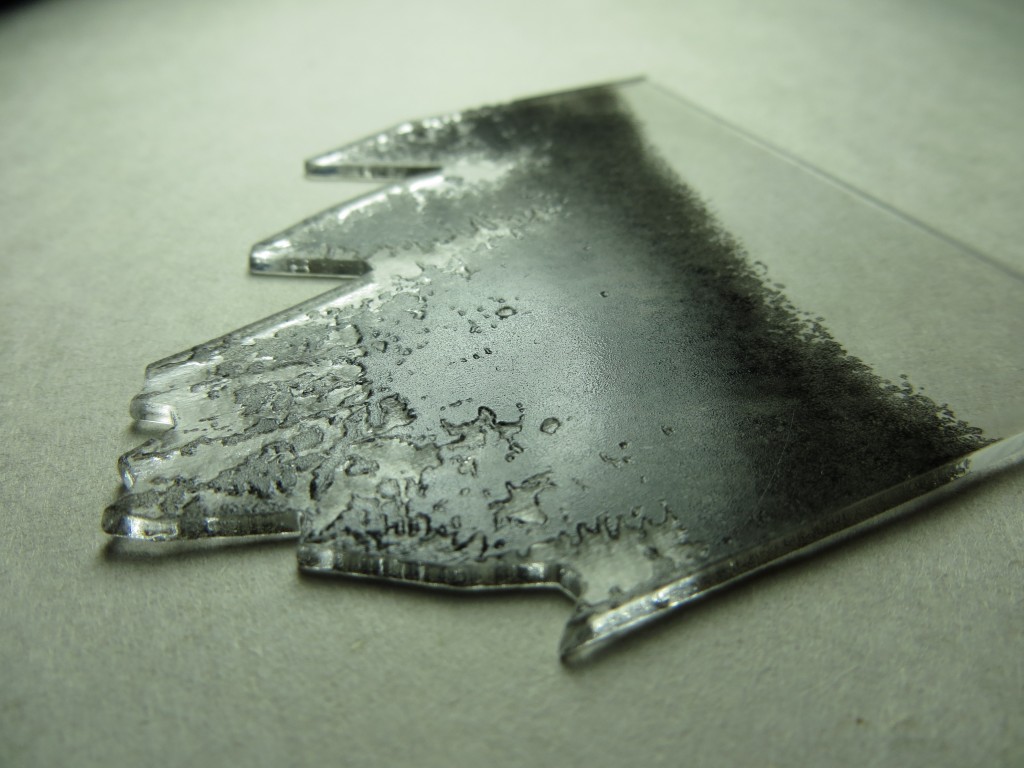
As you can see in this image, the engraved plate has very little relief. This makes it hard to ink. I experimented with various laser settings. The key is to use a low enough power to avoid turning plate into a pool of molten plastic, while using enough power to get sufficient relief for printing. This sample used two engraving passes at a lower power.

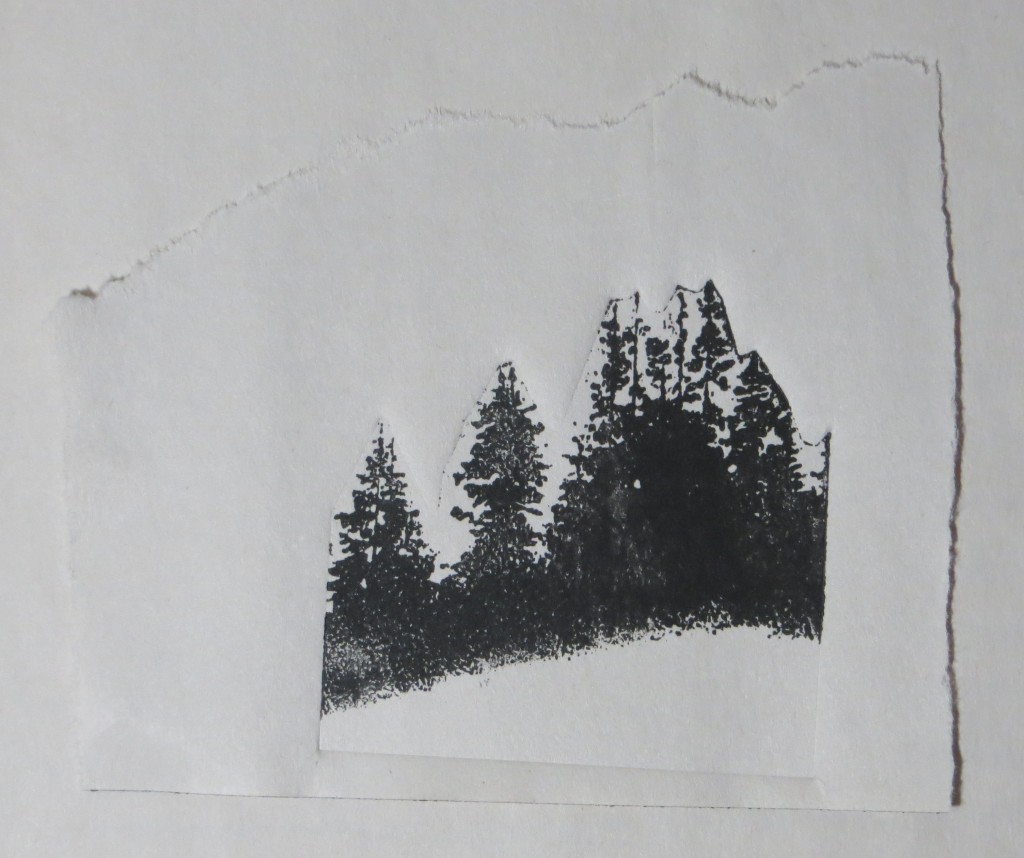
Here’s the first proof. I had to use a very light touch when applying ink, but I did get decent results with quite a bit of detail.


Studio open house

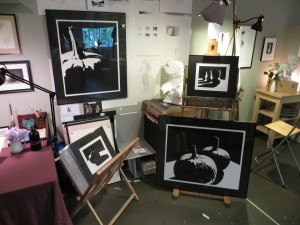
Thanks to everyone who came to my studio open house. I made new friends, reconnected with old friends, and had some great conversations! An added benefit is that I now have a clean studio.

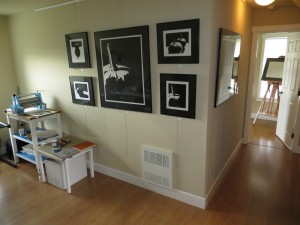
View from the top of the stairs

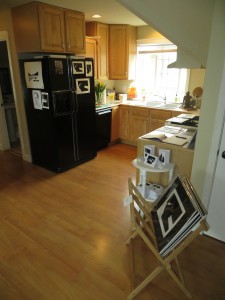
The kitchen

Snacks, ice water, and pink lemonade

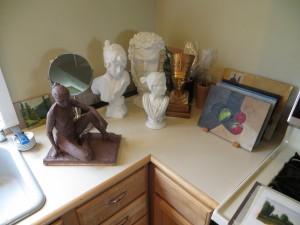
Casts, paintings, and sculpture

Prints and cards for sale

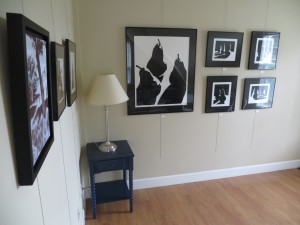
The pear prints hang in the back room.

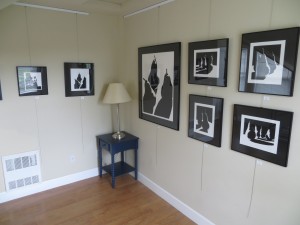
Another view of the back room.