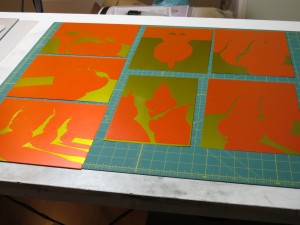
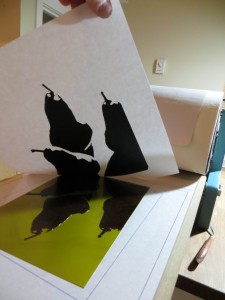
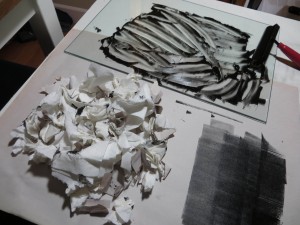
This weekend I finally had a chance to print my new relief plates. Overall I pulled about 25 prints over the course of the evening. For each print I made a test print on newsprint, followed by a proof on Masa, and then a good print on Hosho.
The total includes a number of redos after boo boos. It turns out there are a million ways to mess up a print. It really helps to get a good process that you follow every time to reduce the chance of mistakes. Here is what I do
- Make sure the roller doesn’t have too much ink.
- Roll the ink carefully onto the plate in multiple passes and multiple directions.
- Carefully inspect the plate for areas that don’t have enough ink.
- Carefully inspect the plate for any dust or hair that may have fallen in the ink.
- Carefully inspect the plate for drops or splotches of ink in the whites. Remove this ink with paper towels and newsprint tortillons.
- Wipe ink off the sides of the plate from the bottom.
- Wipe off any ink that may have made it to the back side of the plate.
- Wipe off the printing press bed which may have ink from the previous plate.
- Place the plate on the press bed.
- Inspect bed for ink from the current plate.
- Make sure hands are clean!
- Pick up printing paper. Carefully inspect for dents and blemishes. Decide which side will be printed and which orientation minimizes flaws in the paper.
- Place paper on plate.
- Inspect protective cover paper for ink from previous plate.
- Place protective cover paper over print paper.
- Carefully place blankets on top of print.
- Finally, run the print through the press.
- Remove blankets.
- Remove protective cover paper.
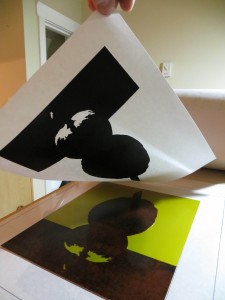
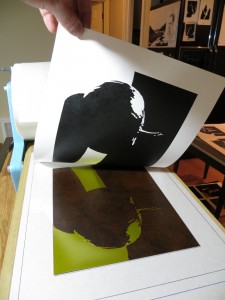
- Peek at print and remove.
It sounds like a lot, but after a while you get in a rhythm and things go smoothly. Here are some photos.
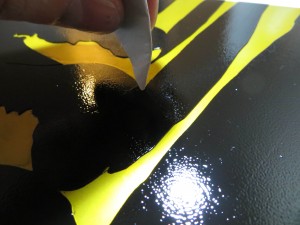
For these prints, I want perfect contours and clean whites. I try to be very careful not to get any ink in the whites, but a little bit always makes its way on the plate, sometimes because I am rolling too fast with too much ink and other times just because it feels like it. I find it is helpful to fold a newsprint tortillon to wipe up the stray dots of ink.
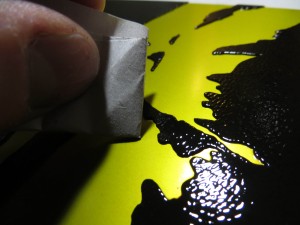
I may be a perfectionist or I may need more practice rolling ink onto the plate, but currently I spend about 20 minutes per print on inking, detailing, and printing.
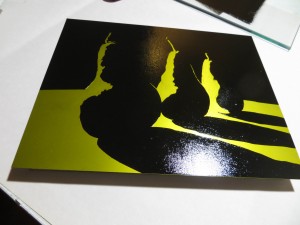
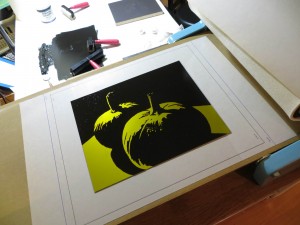
This plate has been inked and detailed. It is ready to move to the press. Note that the plate is sitting on top of a magnetic block that holds it up off the table so that I can roll ink all the way to the edges without making a mess.

