Category Archives: Uncategorized
April 17, 2014
Artists of the Faigin Atelier Show
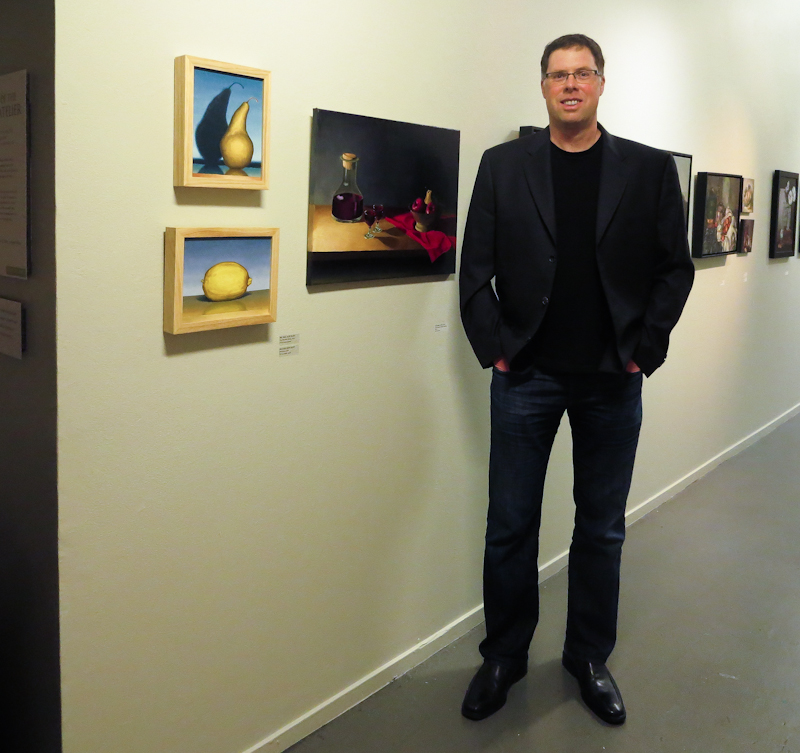
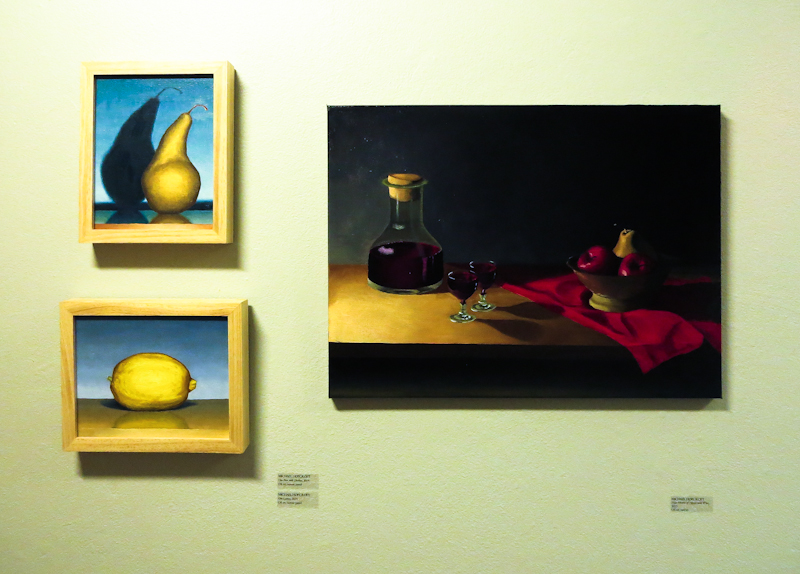
Stop by Gage Academy for the Artists of the Faigin Atelier Show in the Entry Gallery. Also on display are some magnificent works by students from the Kang-O’Higgins Atelier in the Rosen Gallery. Both shows run through May 4th.
April 10, 2014
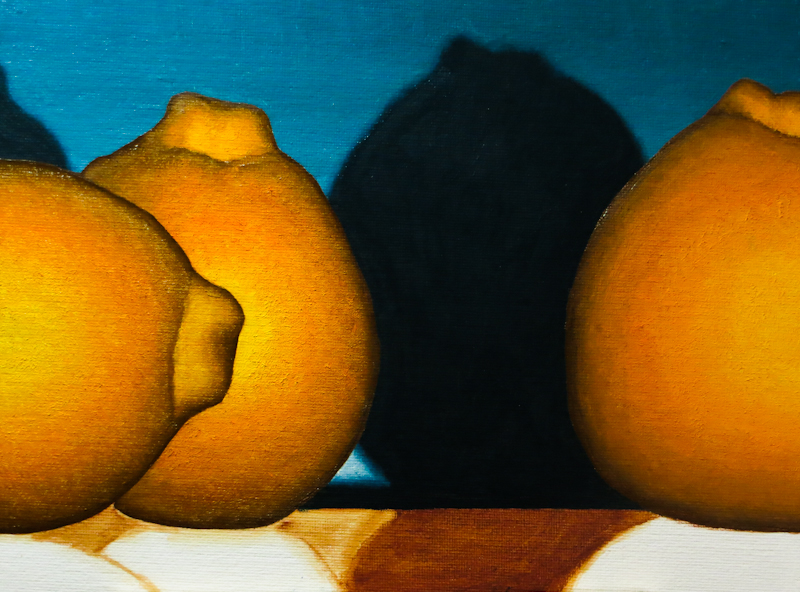
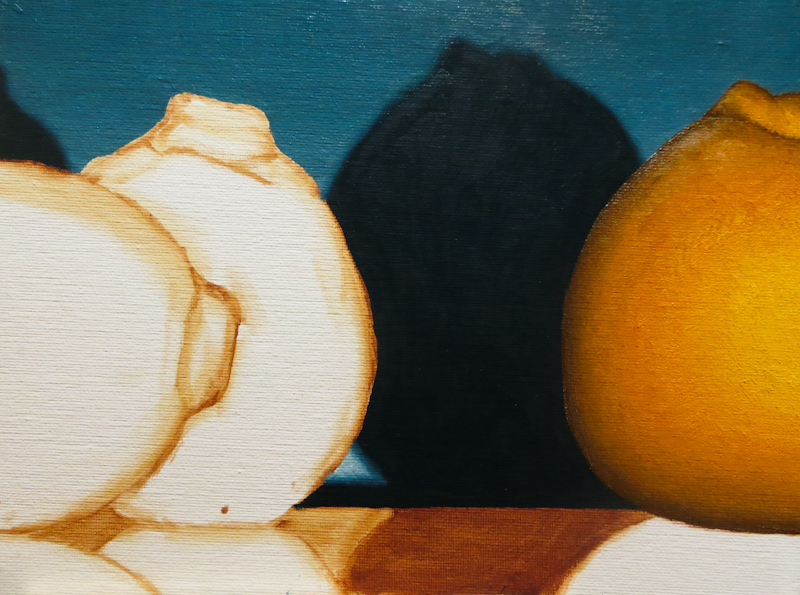
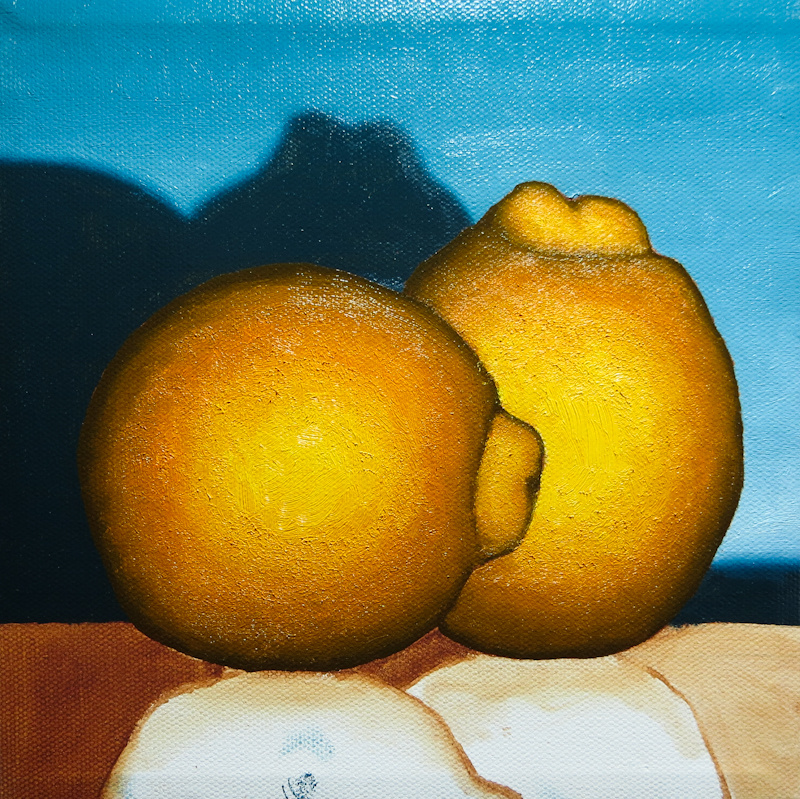
I’m getting better at painting oranges. The first two small ones took four hours, the second two hours, and now the most recent one took only an hour – and it looks better.
Extended Panel Update
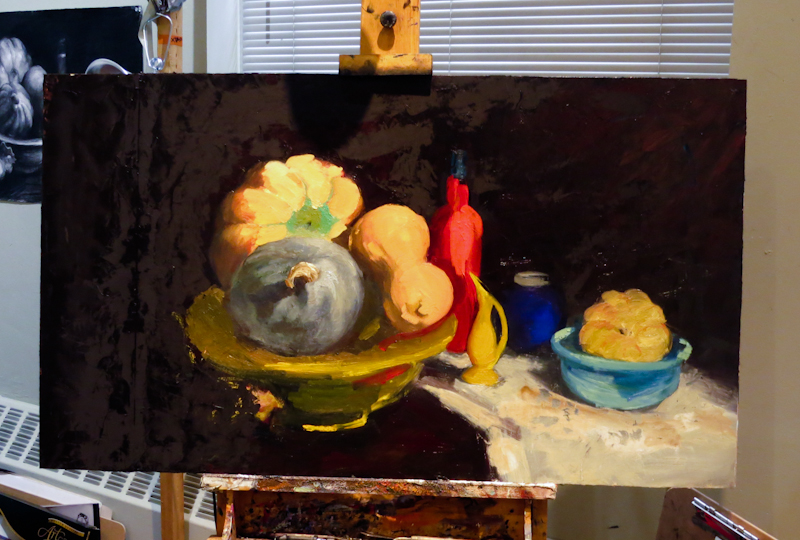
A while back I helped a my classmate Angela extend a painting. Now that she’s applied a thick layer of paint, the crack is gone and you can’t really tell that the painting has been extended.
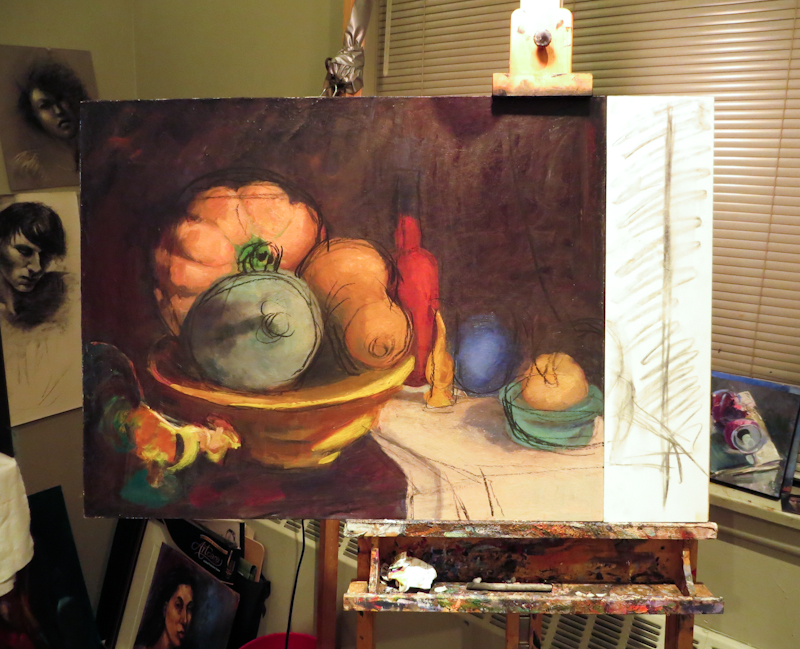
After some more painting, Angela decided the painting still wasn’t big enough, so she bolted another section on to the left side!
April 3, 2014
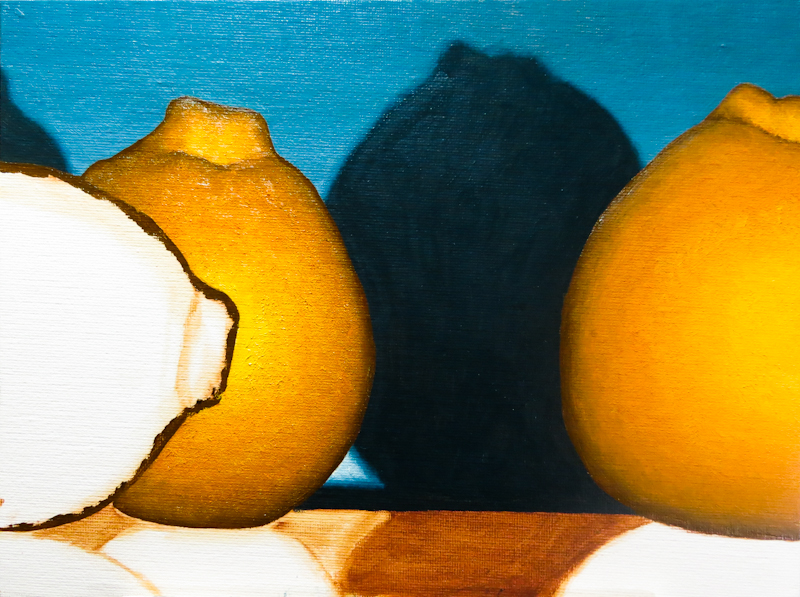
I finally got back to painting and this new Mineola went much more quickly than the previous one. I only spent an hour on this one and I’m happier with the rendering of the form. Can’t wait to see how the next couple of pieces turn out.
March 17, 2014
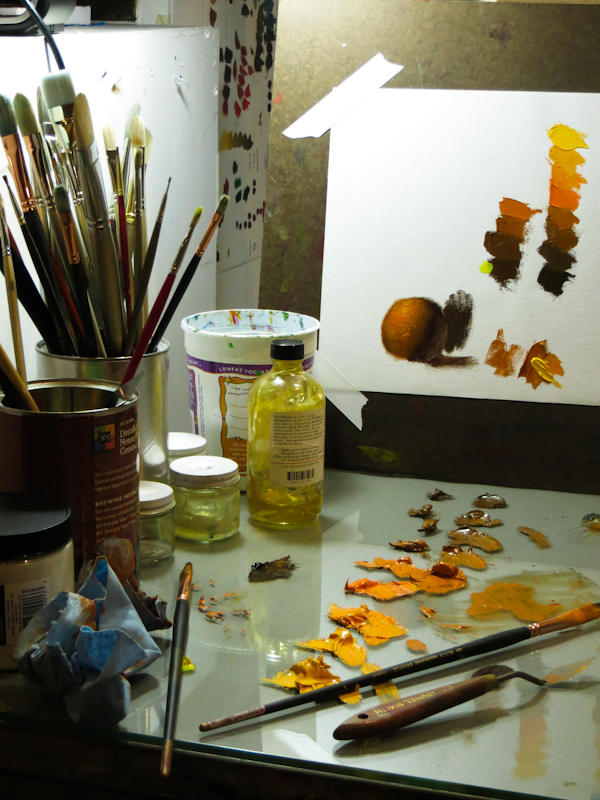
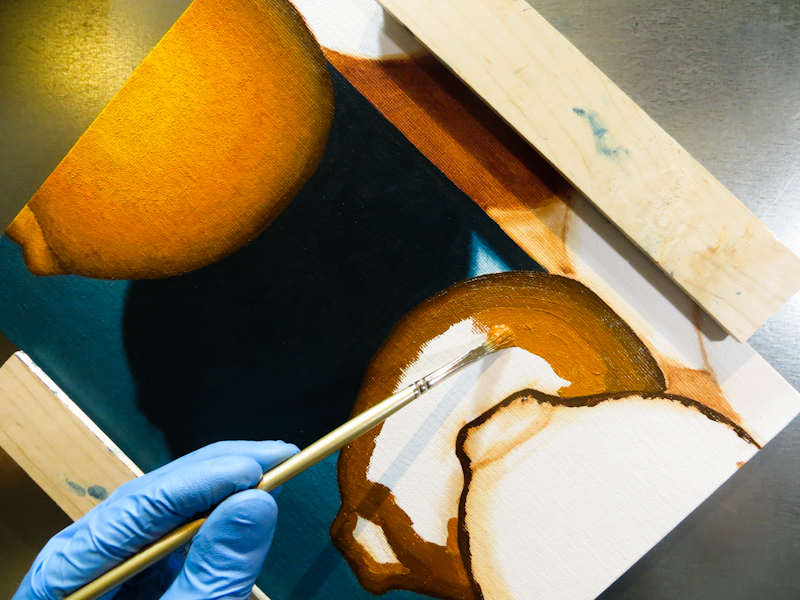
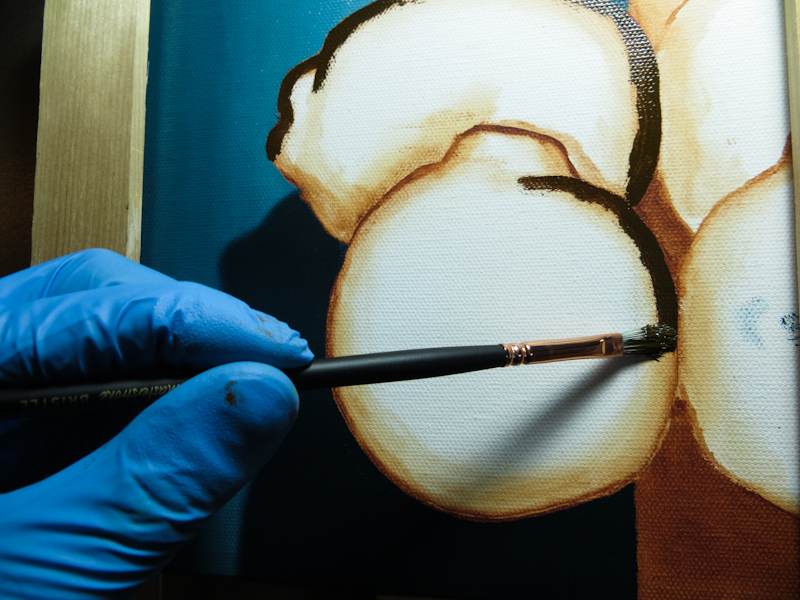
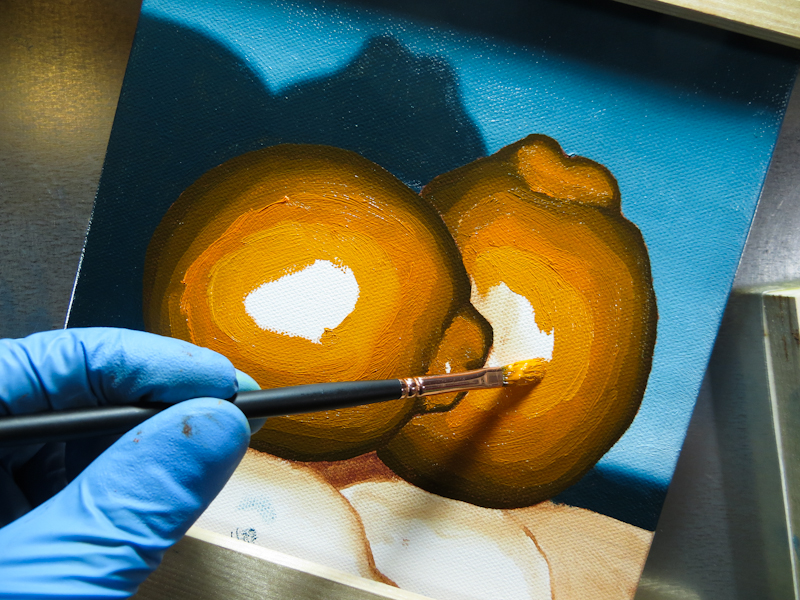
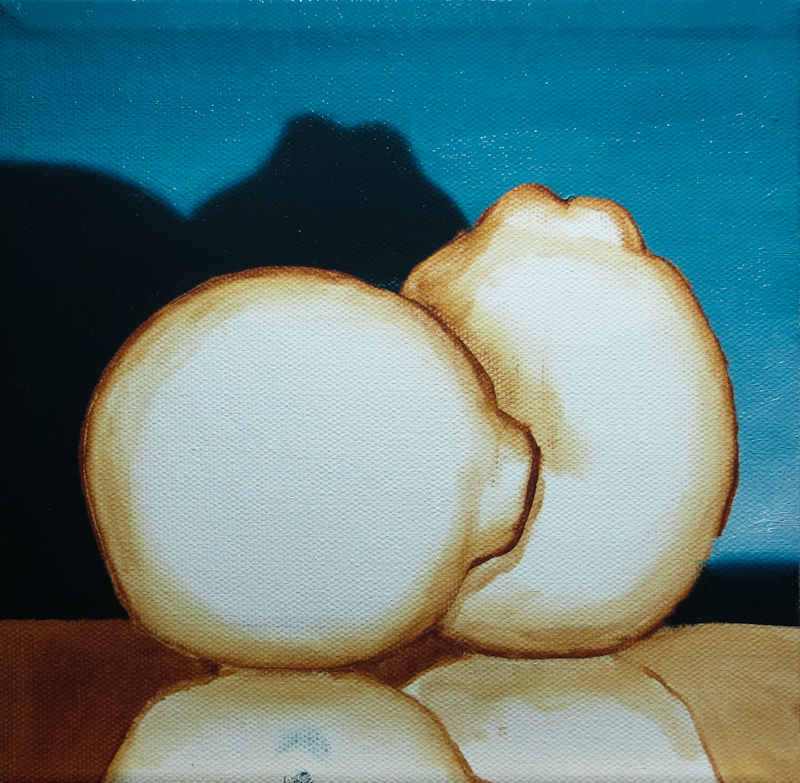
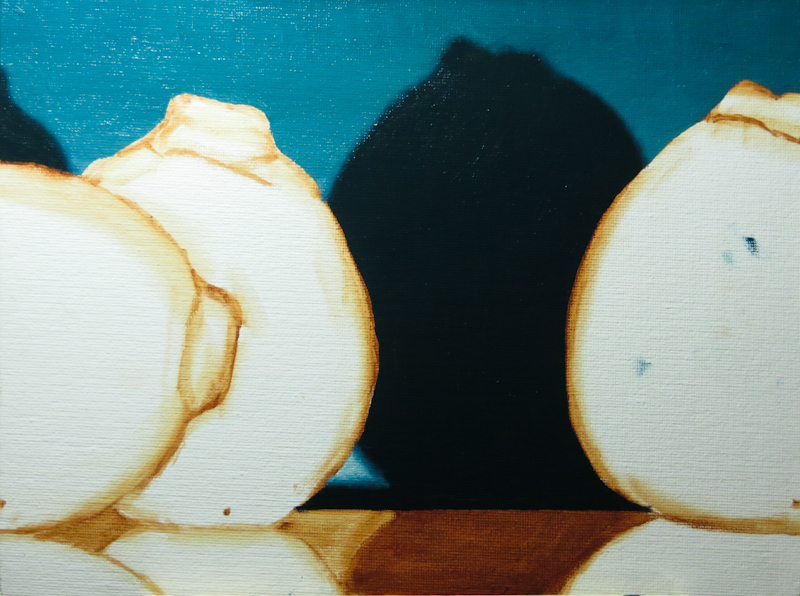
After a lot of shades of blue, I am now working with orange paint. My string was based on Cadmium Orange, with Cadmium Yellow and Titanium White at the lighter end, and Prussian Blue and Burnt Umber at the dark end. The results are pretty good, but I found the process harder than when I was painting the pears – this session took me almost four hours, and two of the hours were spent readjusting the form and then evening out the gradient.
I think the next one will go smoother if I paint with finer gradient steps and I get the initial placement of the paint more accurate. One thing that slowed me down was that I made the darker regions too wide and this caused me to adjust and readjust the gradient many times over. If I had painted the dark regions in the right place, at the right size, the first time, I would only have had to smooth the gradient once.
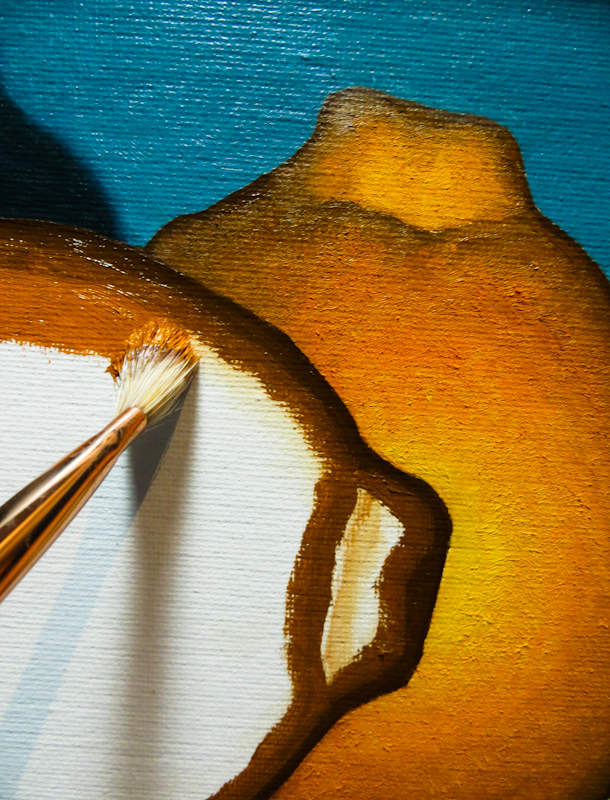
The other thing I want to improve is subtlety of the transition between the body of the Mineola and the lump where the stem attaches. In the picture, below, the transitional region is too dark.
March 13, 2014
Norman Lundin
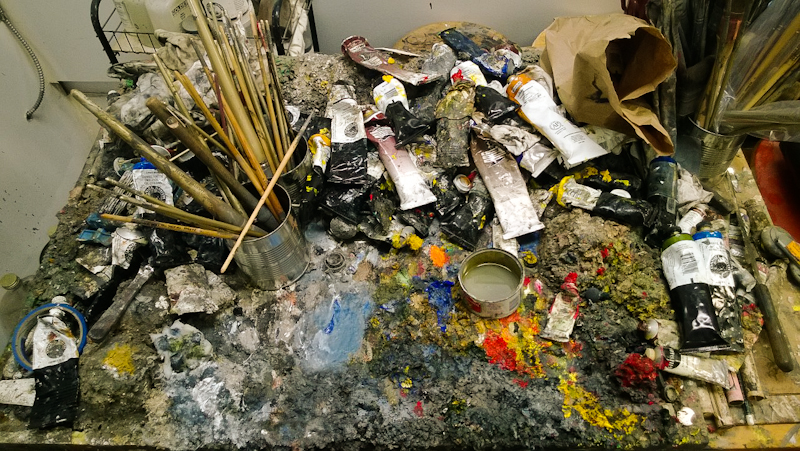
Saw this interesting palette while visiting Norman Lundin’s studio. Norman is a fascinating guy who has been making art and teaching artists since before I was born. During the visit, we had this wonderful, wide-ranging conversation which I’d love to recount, but I couldn’t possibly do it justice in a blog post.
Suffice it to say, that Norman is as interesting as his palette. I highly recommend dropping by his gallery, Prographica.
Extending a Painting
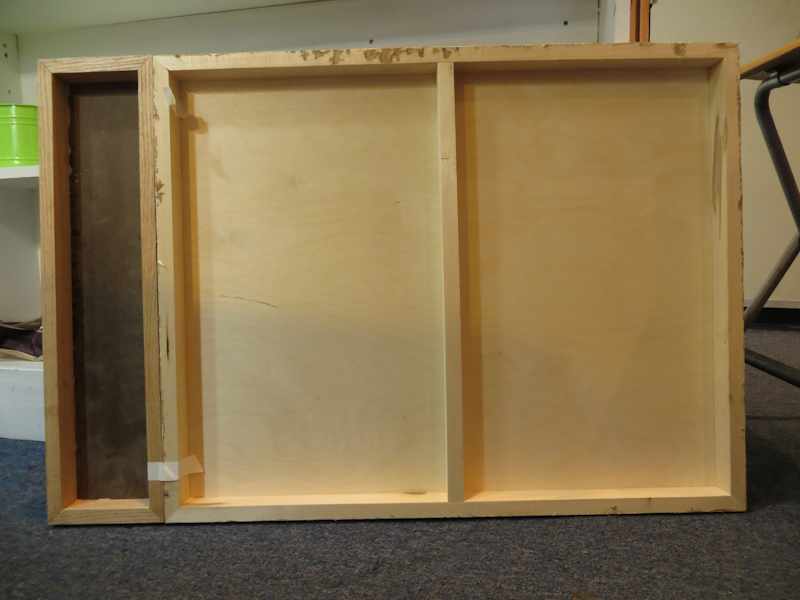
What do you do if you start painting and part way through find that your subject matter doesn’t fit your canvas? You can always start over, but this can be discouraging. Another option, if you are painting on panel, is to extend the panel by bolting on another section.
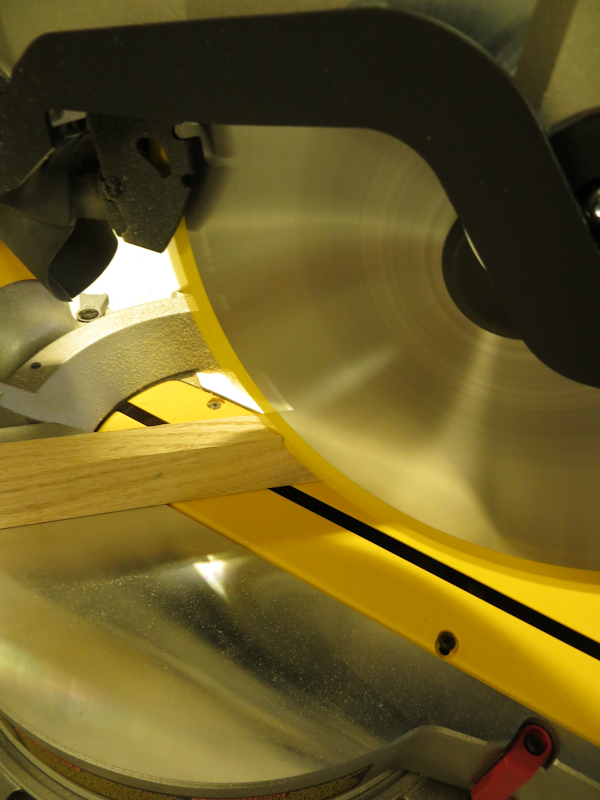
One of my classmates had exactly this problem and Gary thought it would be a teachable moment, so I volunteered to help make and attach a custom cradled panel section.
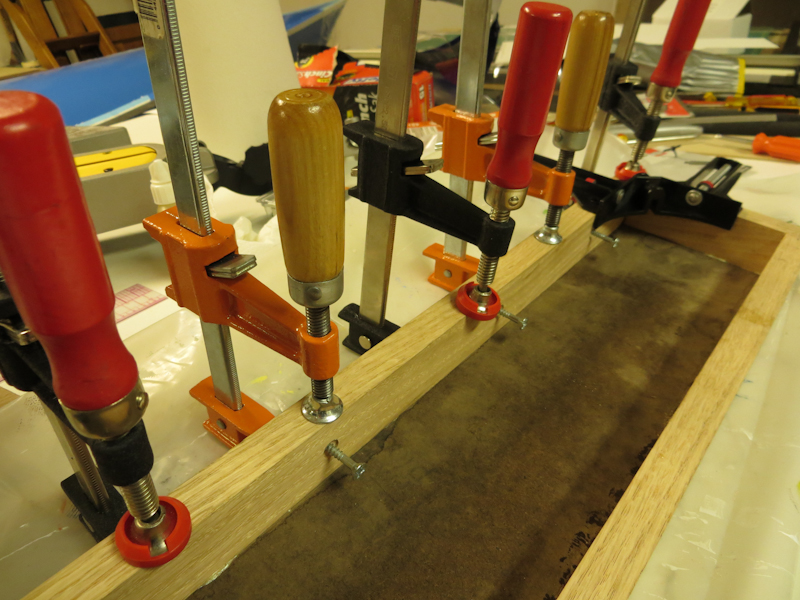
Clamps hold the frame true and flat as the glue dries. I used Gorilla Glue and made sure to drill and countersink the mounting screws before assembly.

