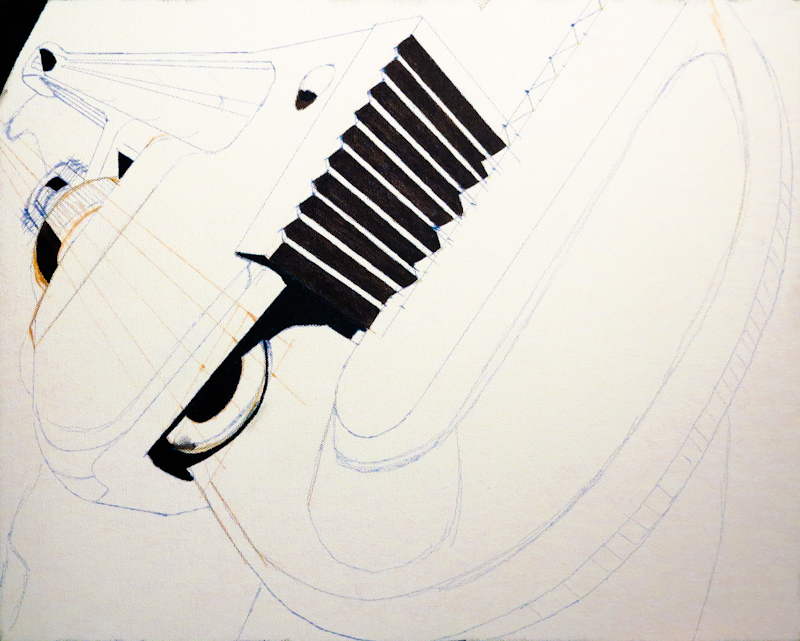
This evening I fixed the perspective problems in the knurled adjustment knob and then began “inking in” some of the darkest darks that have hard edges. Normally, I’d start by covering the entire canvas with a rough under-painting layer of diluted oils, but in this case, I want to retain the precise, dimensional nature of the drawing, so I’m marking key landmarks first with acrylic Mars Black and Raw Umber. These shapes will show through the initial washes of oil paint. I am being careful not to touch any of the darks that have soft edges. These softer, more organic shapes will be done in the next pass with oil paint.
Improved Pipe Wrench Drawing
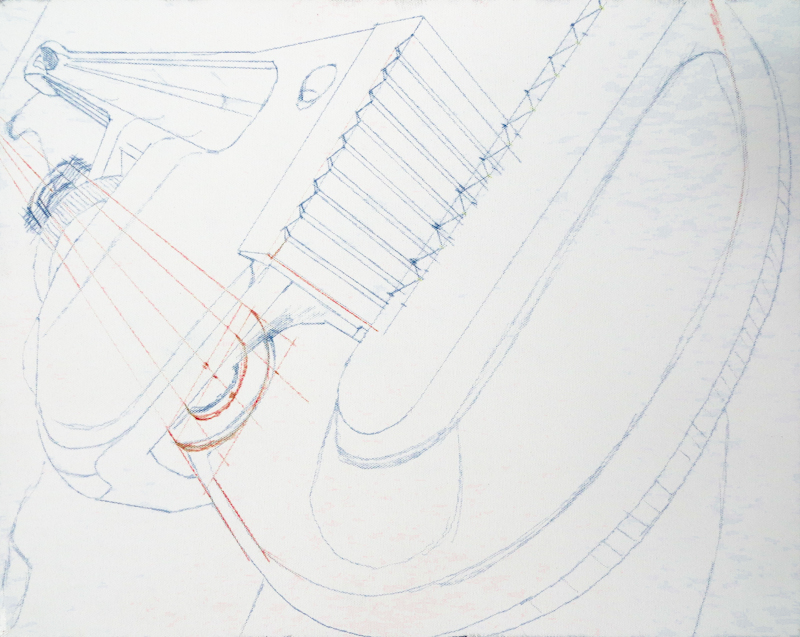
I did some more work on the drawing for the new pipe wrench study. The extreme foreshortening presents real challenges, making it important to understand the wrench’s complicated geometry. Even though the wrench is an engineered object, few of its edges and surfaces are parallel. This means that the image has multiple vanishing points.
The extreme foreshortening also wreaks havoc with cylinders and circles. In the picture below, I’ve fixed some of the issues with the linear gear perspective, but I still need to work on the knurled adjustment wheel.
New Pipe Wrench Study
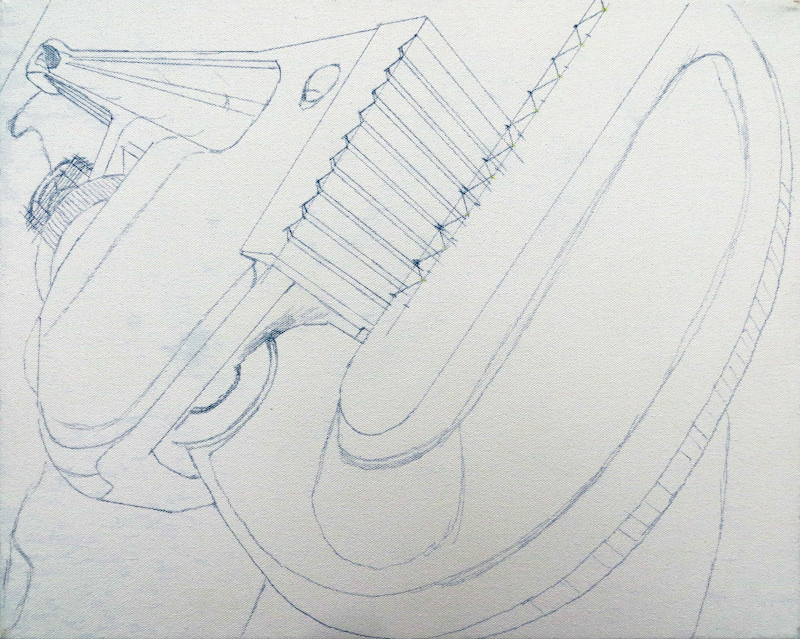
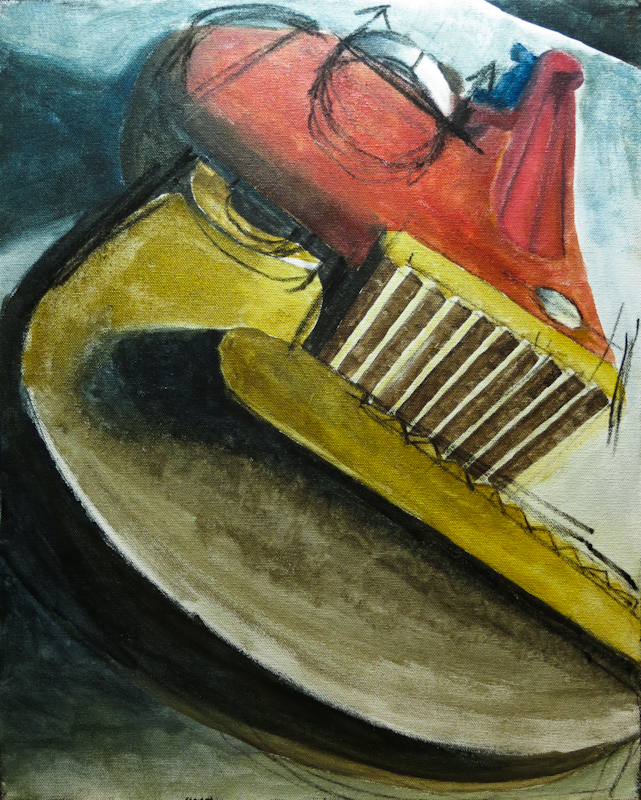
I’m starting a new study for the pipe wrench. In this drawing for the study, I have fixed some perspective problems and more carefully drawn the teeth in the jaws. I’ve also revealed a bit more of the linear adjustment gear on the left side of the image. This is a 16″x20″ canvas and the marks are from an Indigo Blue Prismacolor Premier Colored Pencil. I find these pencils are good for drawing on canvas. They are waxy so the lines stay put and don’t mix into the paint. They come in a wide variety of colors and values so it is always possible to choose a color that won’t show through the paint.
Pipe Wrench Study Progress
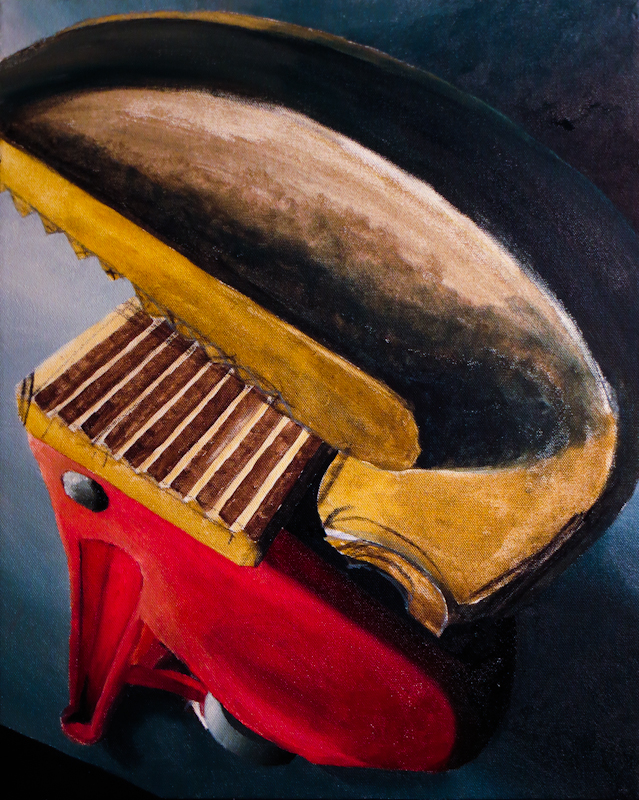
I’ve fixed some of the drawing issues in the block in and painted in the background and the red part of the handle. For this study I am trying Winsor Newton Artisan Water Mixable Oils. These paints are much less expensive than Royal Talens Cobra and Holbein Duo Aqua. I’m also using a Naphthol Red, instead of Cadmium and am finding its transparency makes it harder to get a full value range with decent saturation when painting on top of the dark underpainting. I’ve been adding a bit of yellow, in addition to white in the lighter values to keep the red on the warmer side.
This composition is interesting in all four orientations. I keep rotating it as I paint and haven’t decided which is best. I’m thinking this design will be really fun to do as a 48″ x 60″ painting.
Pipe Wrench Study
Starting a new study, inspired by the success of the Diagonal Cutters. If the study goes well, I will do it as a 48″ x 60″ companion piece.
This study is 16″ x 20″ and at this point is just an block in with a thin wash of diluted paint. The black markings are vine charcoal notes from crit.
Getting Close
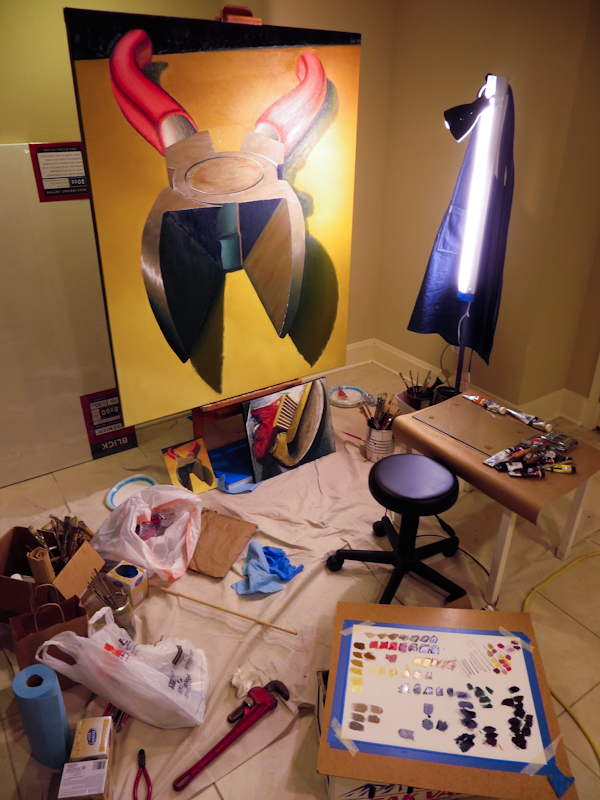
I’ve painted in the background and the shadows and added a bunch of small specular highlights. Overall, the larger painting size has been a good thing and made painting easier. The only challenge is that I haven’t been able to work wet into wet quite as much as I’d like because each painting session takes so long. As an example, I painted the green shadows one day and when I came back a few days later to do the yellow tabletop, the green shadows were dry so I couldn’t feather them into the tabletop. I will need to either do longer painting sessions or get good at touching up the soft edges after the fact.
My plan for the painting is to first repaint the red handles to better turn form and darken the form shadows while making the ends recede into the distance. Then I will, in one session, redo the green shadows and then darken the yellow background, while feathering in the penumbra where the green and yellow meet. After that the painting should only need small touch ups and a signature.
Diagonal Cutters Redux
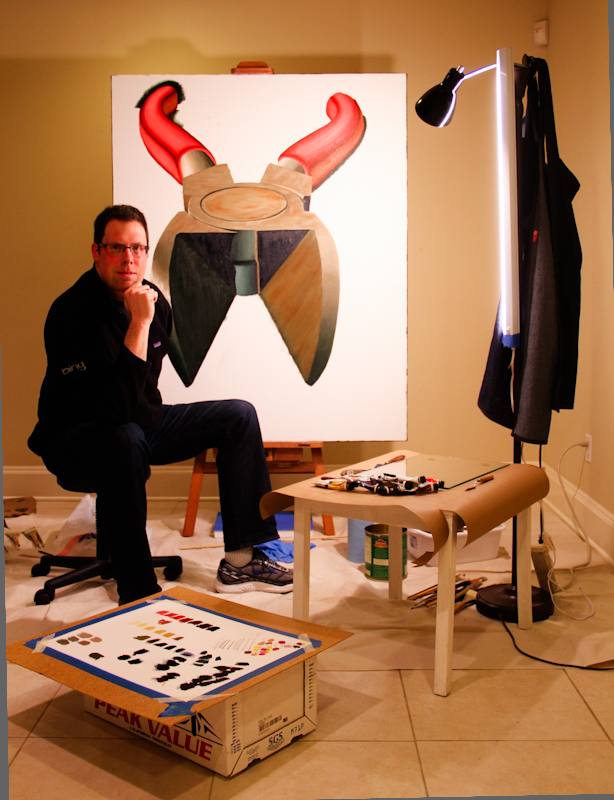
The 8″x10″ Diagonal Cutters painting was so inspiring that I started a 48″x60″ version! Initially the idea of painting such a large canvas was intimidating, but I found out that it is actually easier to paint on a larger canvas. I think part of the reason is that I can be very painterly up close and still enjoy a realistic image after stepping back twenty feet.
With the smaller 8″x10″ painting, I used tiny brushes and couldn’t really control the paint in the finer details. With the larger painting, I can paint loosely with 1″ brushes heavily loaded with paint and still create an image that seems precise and realistic from a distance. The cool thing is that a close inspection shows giant strokes of thick paint with lots of color variation and texture in areas that would be smooth in the smaller painting.
Andy Eccleshall Workshop 2014
I attended Andy Eccleshall’s painting workshop on the weekend of December 6th at the Cole Gallery in Edmonds. Andy is an excellent landscape painter and a great instructor and I highly recommend his workshops.
Red Diagonal Cutters II
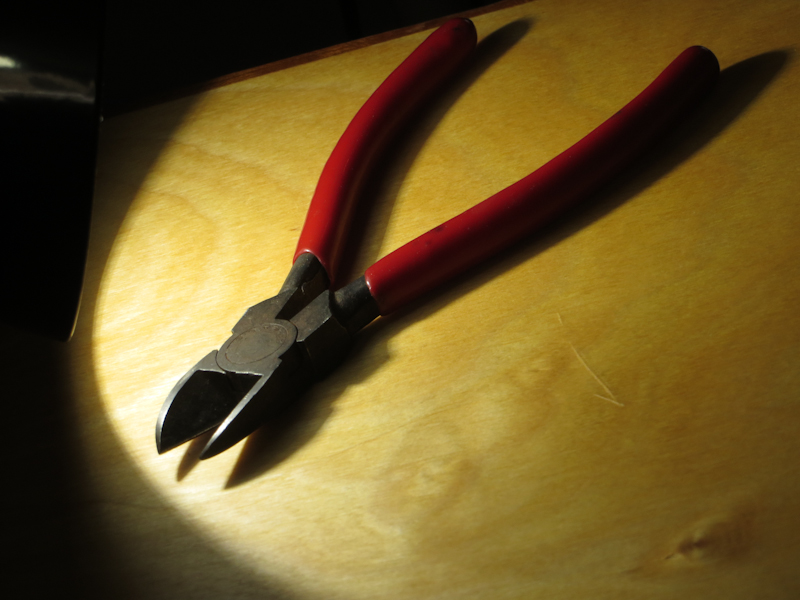
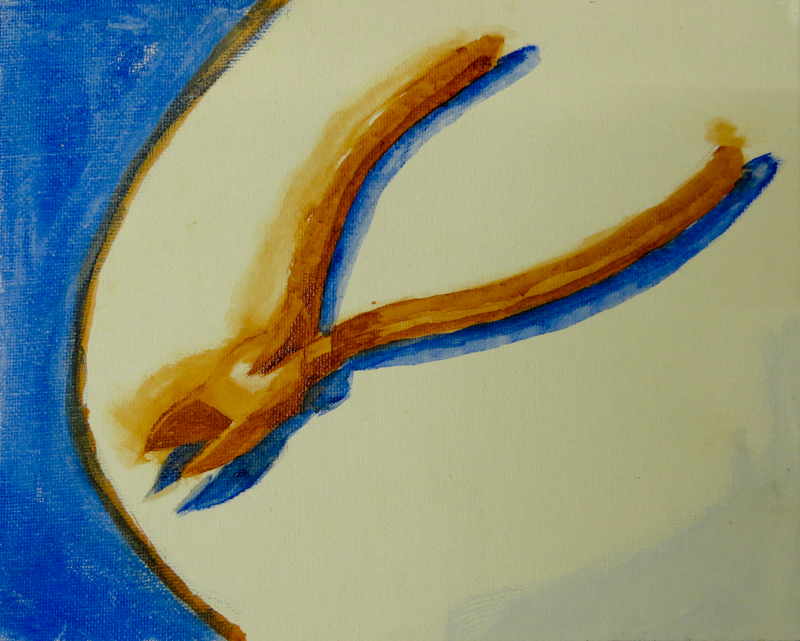
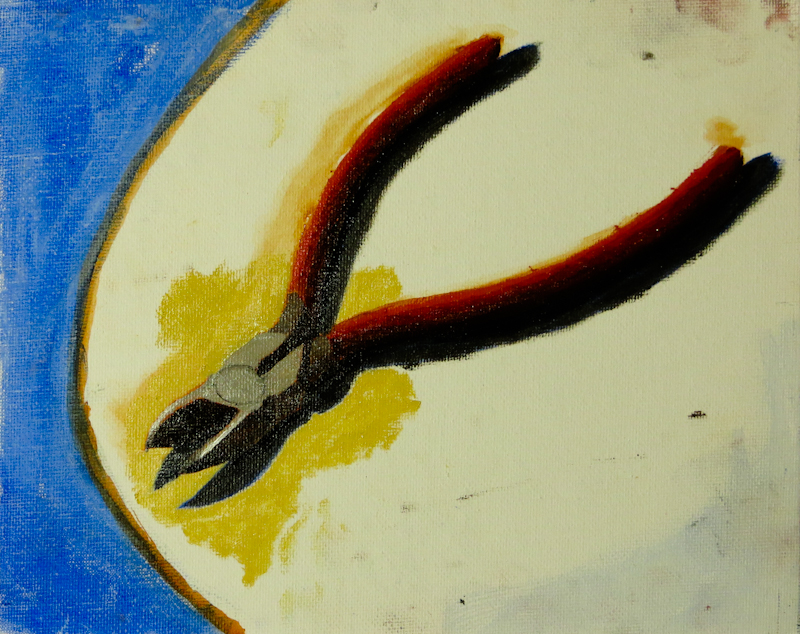
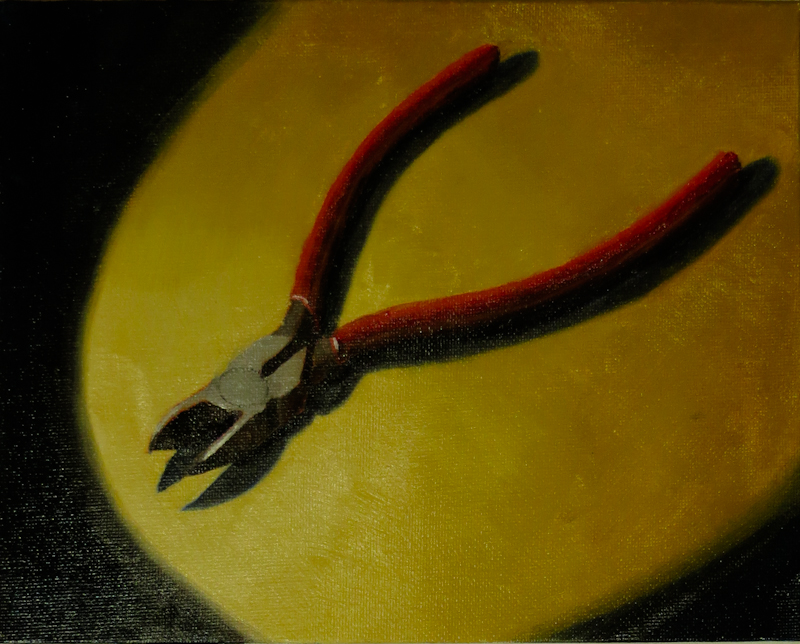
I’m really pleased with this second go at the diagonal cutters. This one is an 8″ x 10″ canvas panel with Royal Talens Cobra paint. It was fun adding all of the little highlights and cracks at the end. The design is strong, so I’m considering doing it again, but larger.

