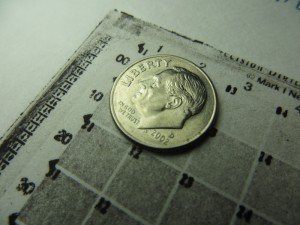
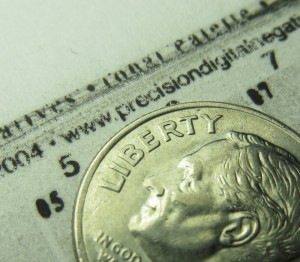
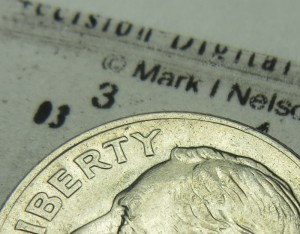
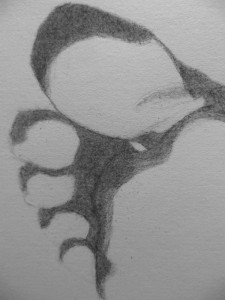
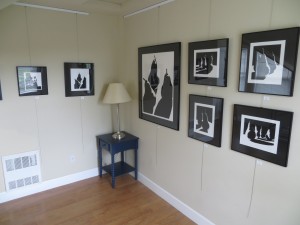
I’m getting much finer detail now in my SolarPlate intaglio prints. It appears the improvements come from better plate wiping technique, and adjusting my press to apply significantly more pressure.
Working on a Bargue Plate
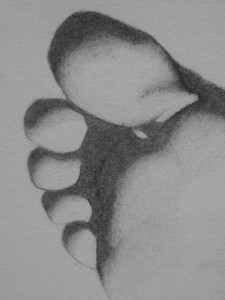
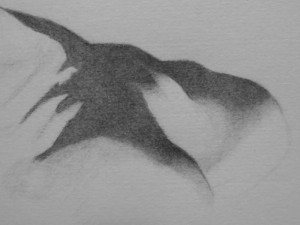
Now that I’m able to render smooth tones in charcoal, I’ve started on a new Bargue plate copy. The plate I am copying is from the Charles Bargue Drawing Course which is a set of plates used to train classical artists in the late nineteenth century. The course begins with simple drawings from casts, initially focusing on individual body parts. It progresses to portraits, torsos, and finally full figures. Vincent van Gogh copied the complete set of plates in 1880 and 1881 and then again in 1890.
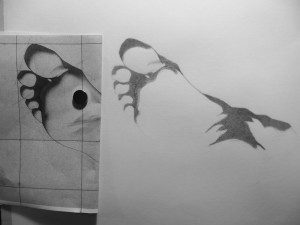
I’m using my magnetic drawing board to hold a copy of the Bargue plate while I draw. My goal here is to precisely locate all of the edges and shadow edges and then build up a uniform base level of shading in all of the shadow regions. At this point, I am not using intermediate tones to convey three dimensional form. This will come later once I am sure of the shapes and their locations.
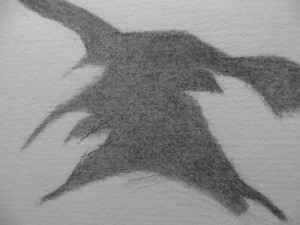
Here I am going back to clarify the locations of the core shadows before turning form. All of the shadow regions are still flat.
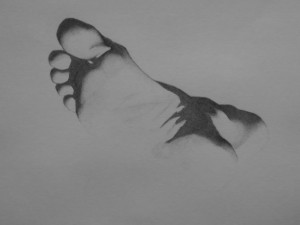
Here’s an overview of the plate shortly after starting to turn form. When the plate is finished, most of the transitions will be softer and very little will be pure white.
Best of Gage 2013
We closed out the year at the atelier with the opening of the Best of Gage show on June 14th. There is a lot of fantastic work in this show from many talented Gage students. The show is in the Steele, Rosen, and Entry Galleries at the Gage Academy of Art and it runs through July 26th.
Adventure in Moving
The Glen Alps press presented a bit of challenge when it came time to move it from Vashon Island to my studio on the mainland, but this was also part of the appeal. Had I purchased a new press, the manufacturer would have arranged for a motor freight company to drive it to my studio and drop it off with a forklift. In the case of the Glen Alps press, I could have hired movers, but the cost would have been exorbitant, and I relished the idea of an adventure on the ferry and a challenging engineering project.
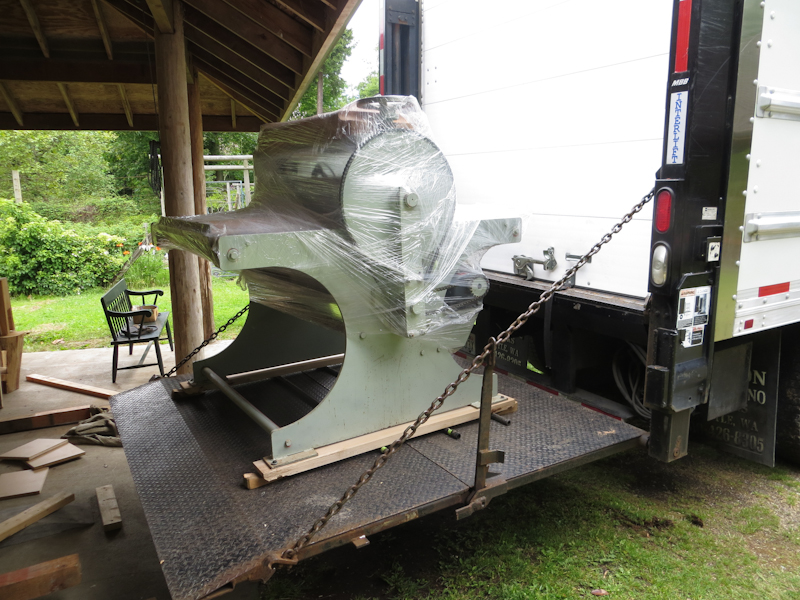
Fortunately Tom, the seller, had a lot of experience moving heavy items by hand, and together we were able to come up with a pretty good plan. The idea was to use sections of ¾” steel gas line pipes as rollers to move the press across the shop to a truck with a liftgate. This worked out pretty well, taking a couple of hours for three of us to load the press. The main challenges were getting the press up a 3” ramp at the edge of the liftgate and rolling the press across the gaps between the liftgate and the truck bed.
We used a 4” x 4” x 8’ board as a pry bar to get the press onto the rollers and to turn the press and get it moving. When we got to the ramp, we had to pry the press up a half an inch at a time and build up a stack of boards underneath until the press was as high as the top of the ramp. We used a block and tackle to pull the press on its rollers into the truck and used the pry bar to help us across the cracks.
My friend, Kevin, a third year student from the Aristides Atelier, helped me unload the press. Since there were only two of us, I rented a pallet jack and this greatly simplified the unloading.
Brains are more important that brawn when moving heavy objects by hand. The reason is that in many cases you and your helpers won’t be strong enough to rectify the situation if the load gets off balance and starts to tip over or rolls away from you on a ramp. The key is to think everything through before starting and then move inch by inch while constantly communicating and reevaluating the situation. You need contingency plans in case you get stuck – every move should be reversible. Also, keep fingers and toes and larger limbs well away from the load and anywhere the load might go if a support failed. Avoid applying strong and abrupt forces – it is easy to pull a muscle or push the load into a dangerous position.
The photos below tell the story of the press’s journey from Vashon Island to my studio.
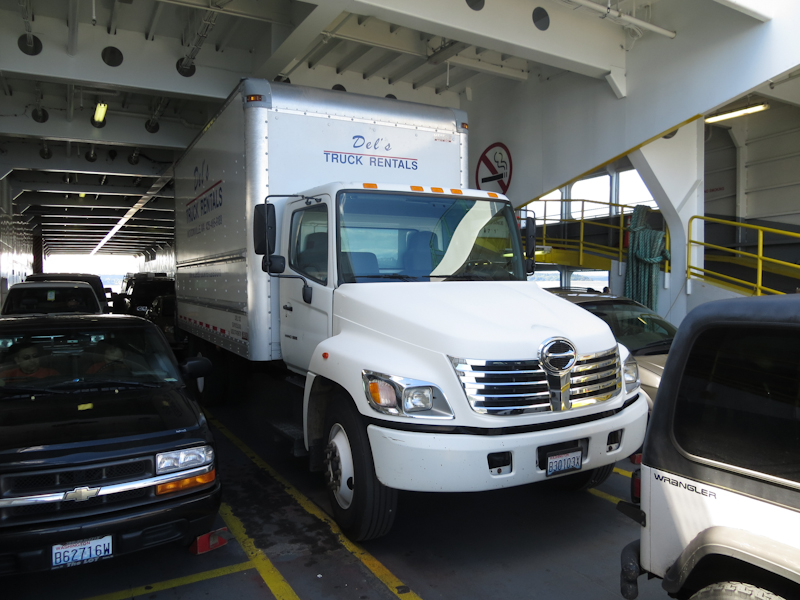
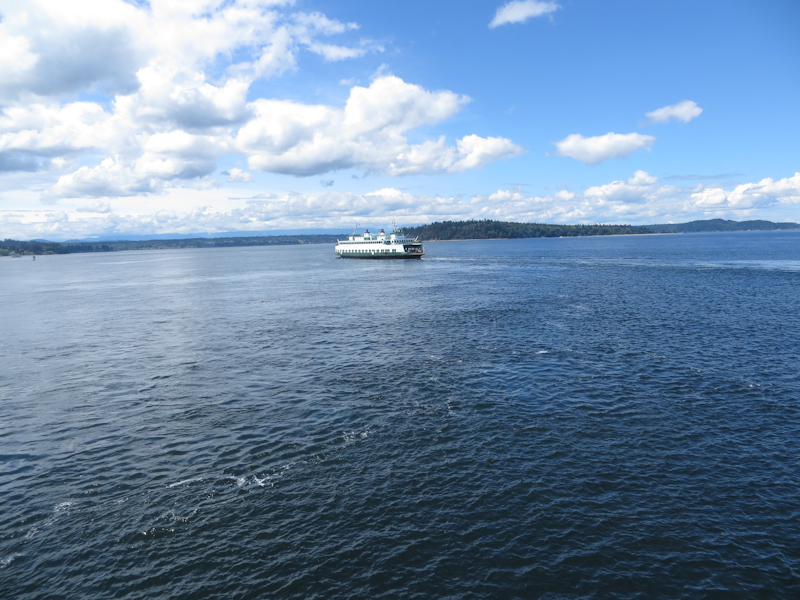
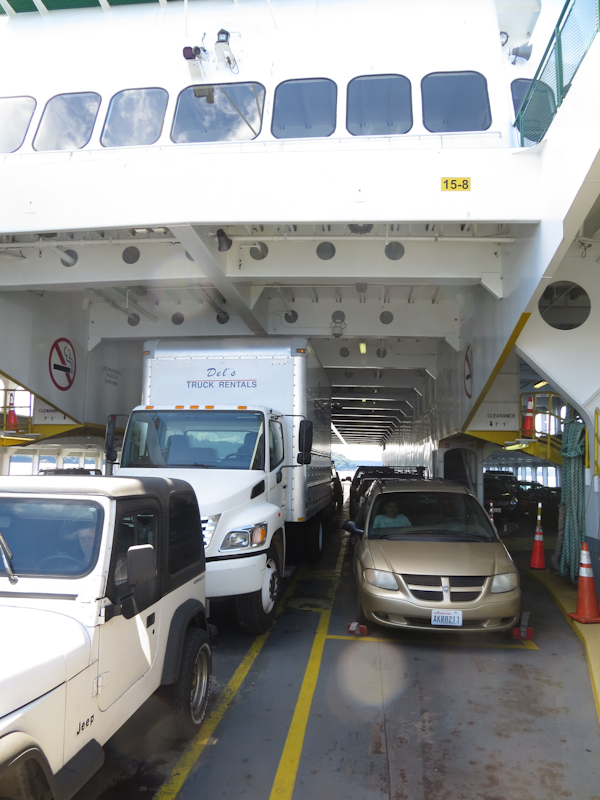
I set out right after the morning rush hour to pick up the press. The trip involved a ride on the Vashon Island Ferry. It was a bit of a squeeze getting the truck onto the ferry, but that was nothing compared to the ticket booth which had about 2″ clearance on either side. I also got to learn about air brakes. It turns out that the truck’s air pressure will deplete completely if you are sitting motionless, say in a line to board a ferry, and you leave you foot on the brake. This approach works fine in a car, but in a truck with air brakes, you need to go into park from time to time to let the air pressure build up.

Here is Tom’s shop on Vashon Island. After a bunch of backing and filling, the truck was ready for loading.

We used four pieces of 3/4″ steel gas pipe as rollers to move the press out of its old home. The rollers worked really well when moving the press straight ahead. Turns were another story altogether. We used an eight foot long 4×4 as a pry bar to rotate the press a few degrees at a time.
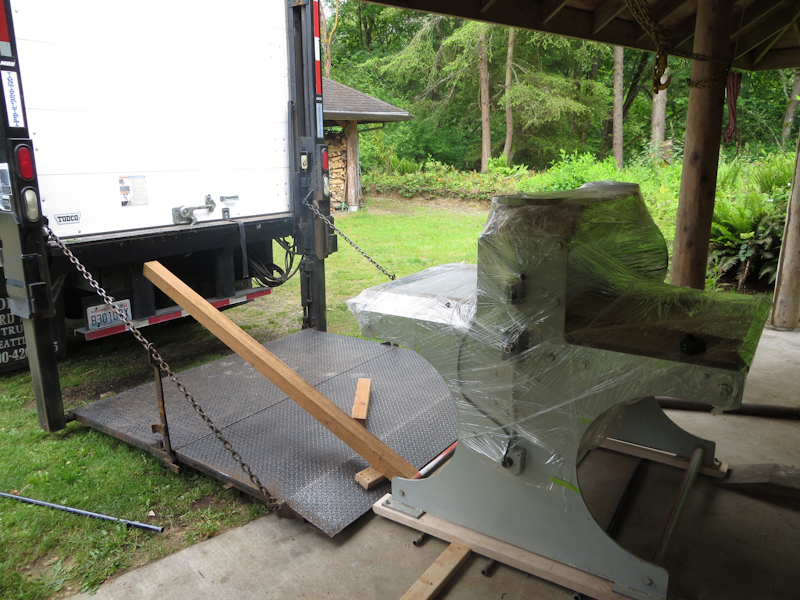
This eight foot long 4×4 came in handy as a pry bar for putting the press on the rollers and moving it onto the lift gate.
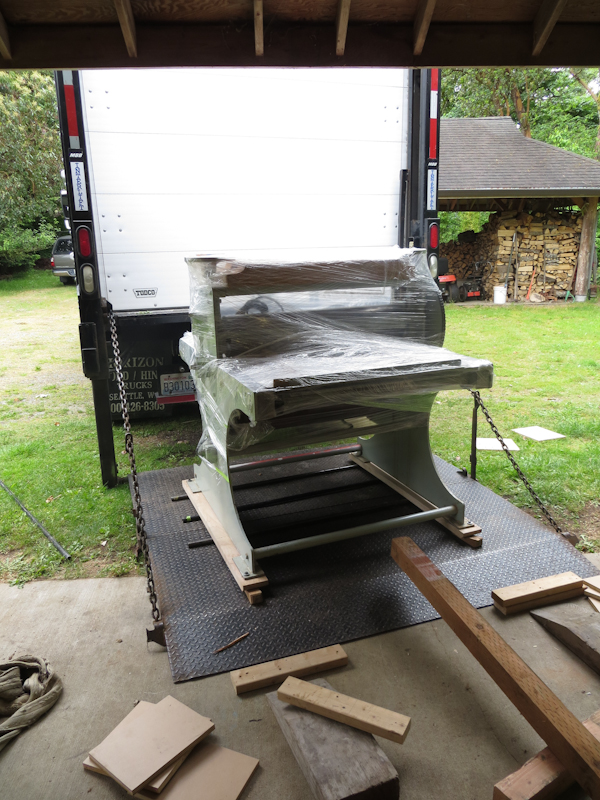
After about an hour of work, we managed to wrestle the press onto the lift gate. The blocks of wood on the ground were used to raise the press up to the level of the lift gate. We’d pry the press up with the 4×4, insert more blocks, and repeat until it was 3″ off the ground.

Once the truck was clear of the workshop, it was pretty easy to run the lift up to the level of the truck bed. We used a block and tackle to pull the press into the truck.
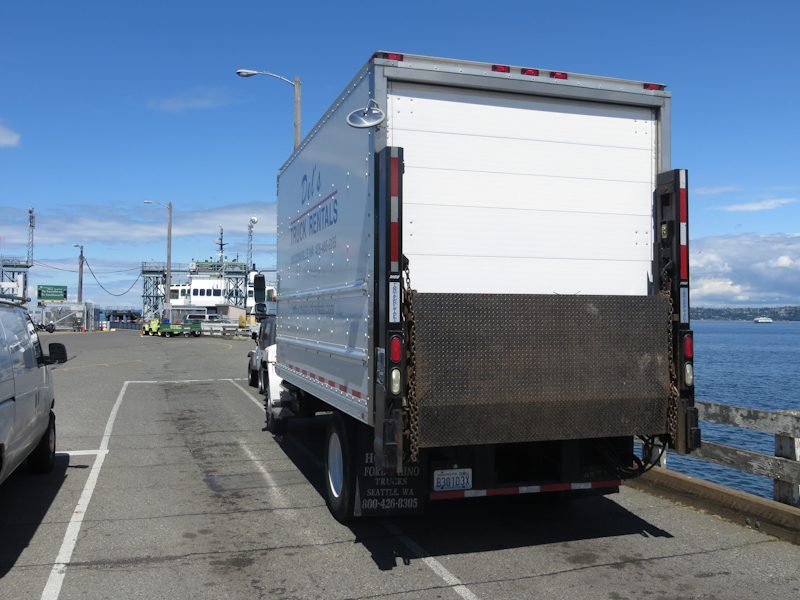
There’s not a lot of room for the truck in the narrow ferry lanes. Fortunately the lane to my left was not in use.
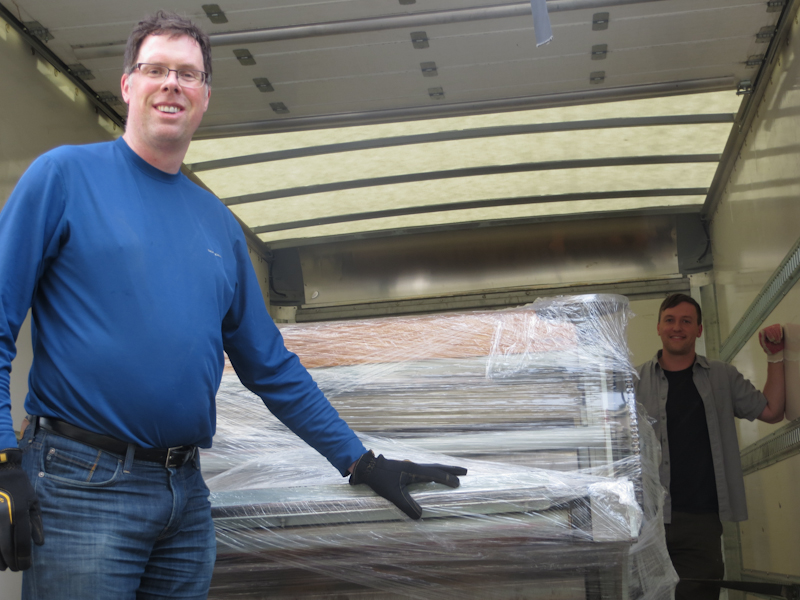
My friend Kevin from the Aristides Atelier helped me unload the press. Kevin is a 3rd year student. His dog, Bo, came along to give moral support.

I’ve backed the truck right up to my studio and we’re ready to unload. After the morning’s adventure in loading, I decided to borrow a pallet jack which greatly simplified the unloading.

Here’s a closeup of the pallet jack in action. It takes five pumps of the handle to lift the press and it can be gently lowered with the flick of a switch. Kevin is behind the press, prying with a 4×4 while I pull the jack from the front.

The main challenge in unloading was that the truck bed tilted down towards the lift gate. Our fear was that if we lost control of the press it could shoot off the back and fall to the ground. In the end we used a tie down strap to belay the press from above and we placed a 4×4 at the end of the gate to act as a barrier in case the strap failed. Before starting we made sure that we were strong enough to push the press back up hill and into the truck in case we got the press halfway out and ran into a problem. It turned out to be simple matter to ease the press down inch by inch and we had excellent control the entire time.

This shot gives a good idea of the slope we were working with. I am beginning to jack up the press so that its entire weight rests on the wheels of the pallet jack. The jack works like those long-handled automotive jacks. It takes about five pumps of the lever to lift the press completely off the ground. Note the 4×4 jammed against the chains. We placed it there in an abundance of caution to catch the press if it suddenly started rolling and the strap failed to hold it.

A brief pause for a celebratory photograph now that the press is safely on the lift and halfway down to the ground. The hard work is mostly behind us and we’ve safely dealt with the biggest risks.
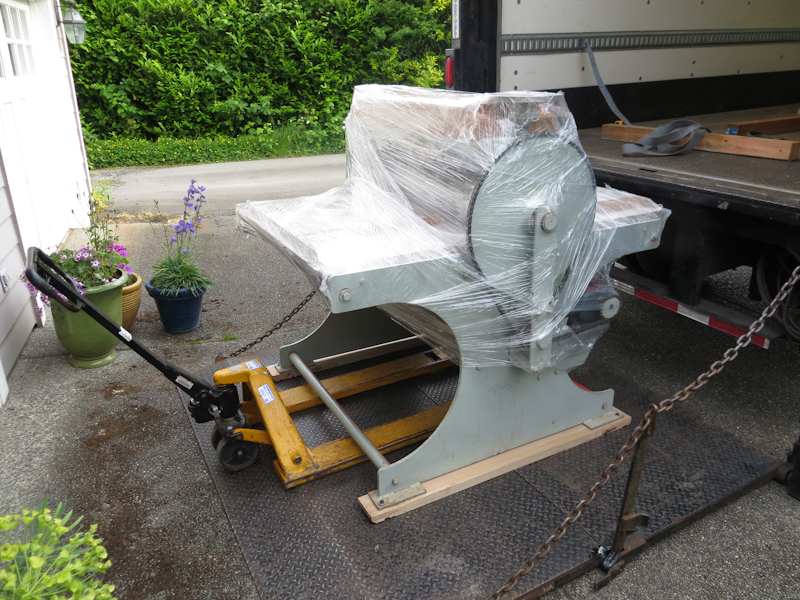
The press is safely on the ground and ready to roll into the studio. The only remaining challenge is to work the press off of the lift gate and keep from getting stuck when it high sides. We were able to get across the edge of the ramp by adjusting the pallet jack height, why levering the press forward with the 4×4.
Glen Alps Press
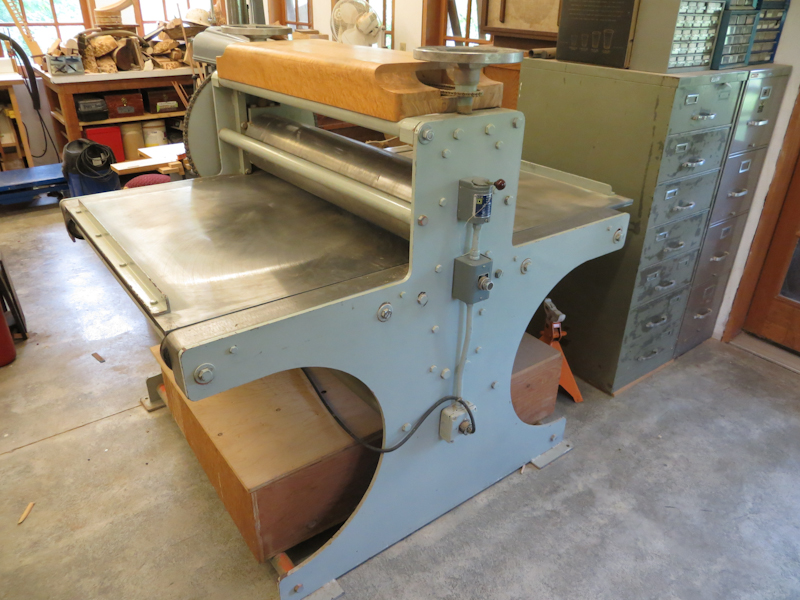
Meet the newest addition to my studio – a very large, and very sturdy etching press. This press was designed and built over 30 years ago in Seattle by the late Glen Alps. Glen was head of the University of Washington Printmaking Department, and taught there between 1949 and 1978. He is credited with developing the collagraph technique of printmaking. Glen designed and fabricated about 30 of these very durable presses over his lifetime. This was one of the last presses made while Glen was still alive.
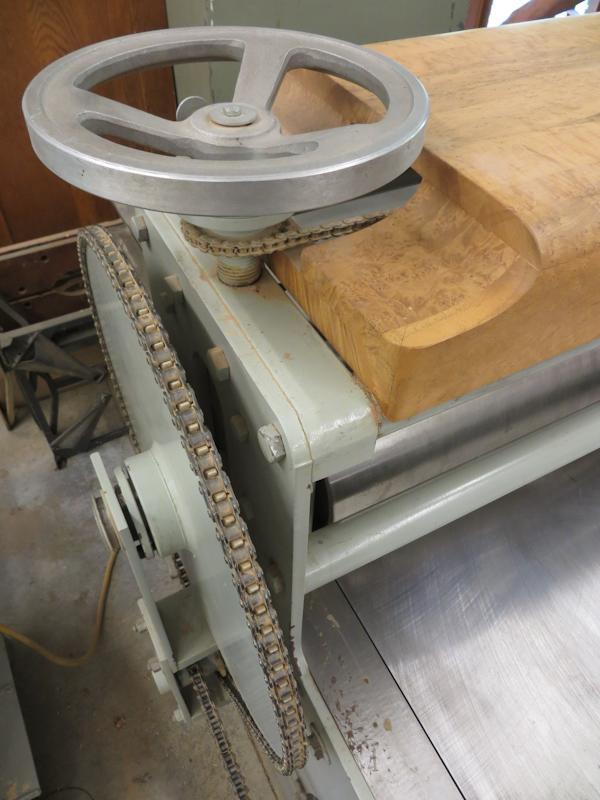
The press is really robust, made of sheets of 3/8” steel. I’m guessing it weighs about 1500lbs. The bed is 40” wide and 63” long and it is powered by a really sturdy electric motor. The top roller is 7” in diameter and the bottom roller is 16”. The pressure adjusting screws on the top roller are linked with a chain so that both sides move in unison.
I had been interested in a larger press, but wasn’t actively looking when I stumbled upon this Glen Alps press in a cabinet maker’s workshop on Vashon Island and it struck a chord with me.
I like the design which is completely utilitarian, but elegant at the same time. As an example, the press has these lovely curves cut into the side. The curves give it a great esthetic, but the real reason they are there is that the press was designed to be constructed with minimal waste from couple of sheets of steel and the curves are the result of cutting out the circular end pieces for the large bottom roller. The entire design is similar – every facet of every part exists for a reason and the function is always apparent from the form.
Another thing I like about this press is that it is a bridge to the past and to the region where I make my home. The gentleman who sold me the press studied under Glen Alps and eventually became Glen’s teaching assistant and close friend. Glen made the press for him in the 70s and helped him move it and set it up. Now Glen’s protégé has helped me move the press to my studio and I will continue the tradition.
SolarPlate Intaglio Value Scale
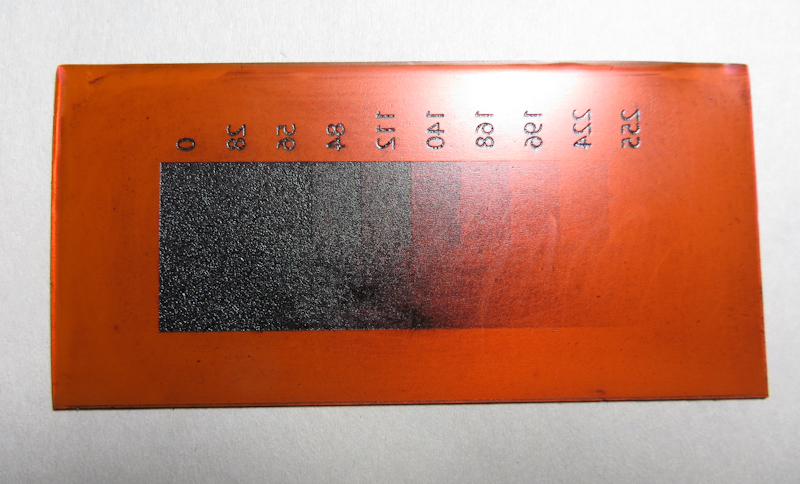
This evening I tried my first intaglio value scale with SolarPlate. My main takeaways are that the process has very high contrast, but the results are really promising.
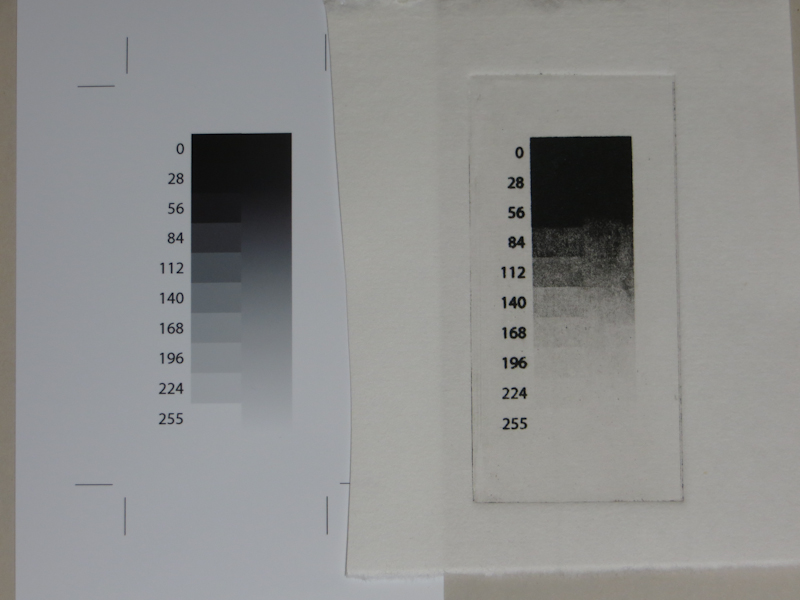
My goal is to reproduce the value scale on the left. The results, printed on Hosho, are on the right. It is readily apparent from this initial test that my SolarPlate process has too much contrast, compressing most of the dark end of the value scale into a couple of steps. My next test involves a more detailed test print that will allow me to create contrast adjustment curves in PhotoShop.
Solarplate Intaglio Experiments
This evening I made an intaglio print from SolarPlate for the first time. This is the first step in working out the details of a process that will ultimately use a NuArc 26-1K platemaker to expose Imagon HD with Pictorico OHP positives created on an Epson 3880 printer. The first experiment was to determine the correct exposure and development to get a good solid black from the aquatint screen.
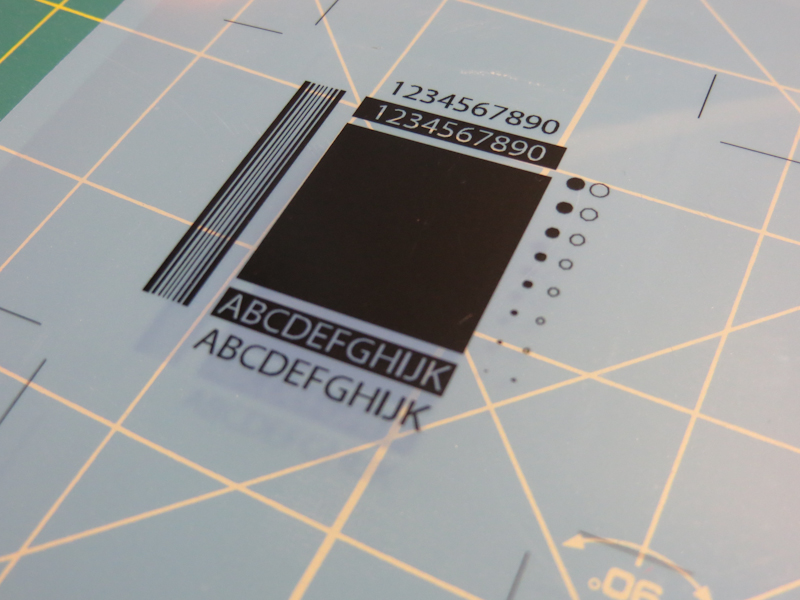
For this first test, I am just trying to get the correct exposure for the aquatint screen. The goal is to get an exposure and development process that gives a rich black with good edge detail. Once I get a good black from the aquatint, I can start to experiment with gray scales. This test pattern was printed with an Epson 3880 on Pictorico OHP. The central rectangle is an inch square, and the text is 12pt.

This 2″ x 2″ plate was exposed on a NuArc 26-1K Mercury platemaker. I first exposed the aquatint screen with 10 exposure units which took about a minute. Then I exposed my test pattern with 25 exposure units. I developed in water for one minute with gentle abrasion from a paint brush. The plate was blotted and then dried with a hair dryer and then exposed one more time with 25 exposure units to fully harden the photopolymer.

Here’s what the plate looked like after wiping with tarlatan cloth and then newsprint. I didn’t realize it at the time, but the region with the white letters on black actually needed more wiping.
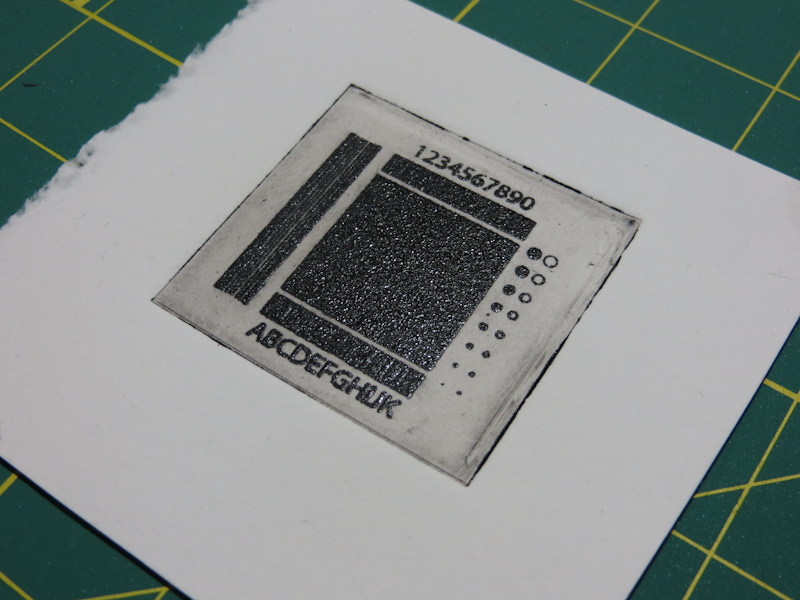
Here’s my first intaglio print from SolarPlate. The paper is wet Rising Stonehenge. The impression is nice for a first try, but the plate had too much ink. This resulted in solid black rectangles where the white letters should be and too much plate tone. I printed a second piece of paper off the same plate without reapplying ink and got a decent print.

This print is on a dry piece of Hosho. I wiped the plate a bit more carefully, and this improved the print quality.
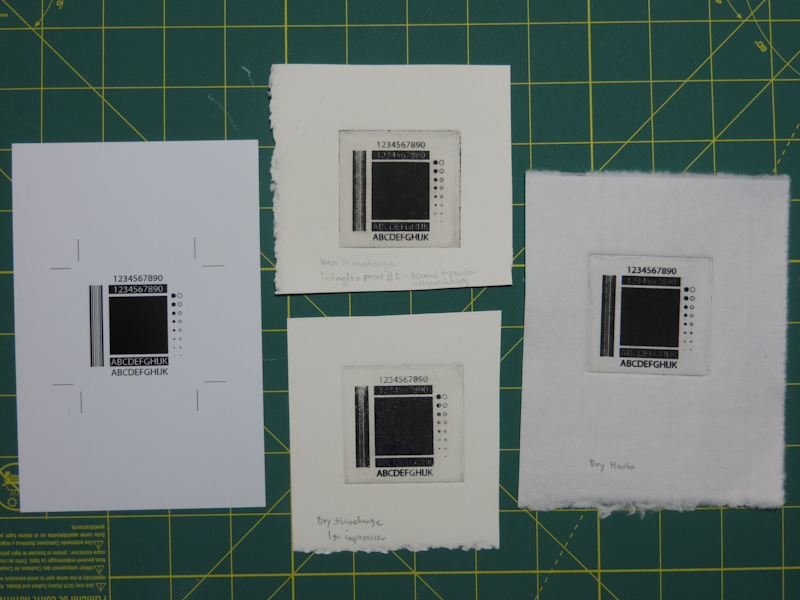
This photo shows the test pattern on the left, wet and dry Stonehenge in the center, and dry Hosho on the right. Overall, pretty satisfactory results for my first stab at intaglio with SolarPlate. I want to continue experimenting with exposure, inking, wiping, paper types, moisture levels, and roller pressures until I can reliably reproduce details down to a quarter point. Then I will start to work on gray levels.
Laser engraving for detail
Today I experimented with laser engraving to create a relief plate with details that are too small for laser cutting. I was able to get decent results on a very small sample design of a bunch of pine trees, but the resulting plate was hard to print and it took a lot of laser time. I will probably do some additional experiments with plywood and MDF plates, but I think I may have reached the limit of detail that one can achieve cheaply with a laser cutter/engraver.
I suspect that for this level of detail I will need to move from relief printing to intaglio, either with photo polymer plates or perhaps etched aluminium plates. Stay tuned for more details.
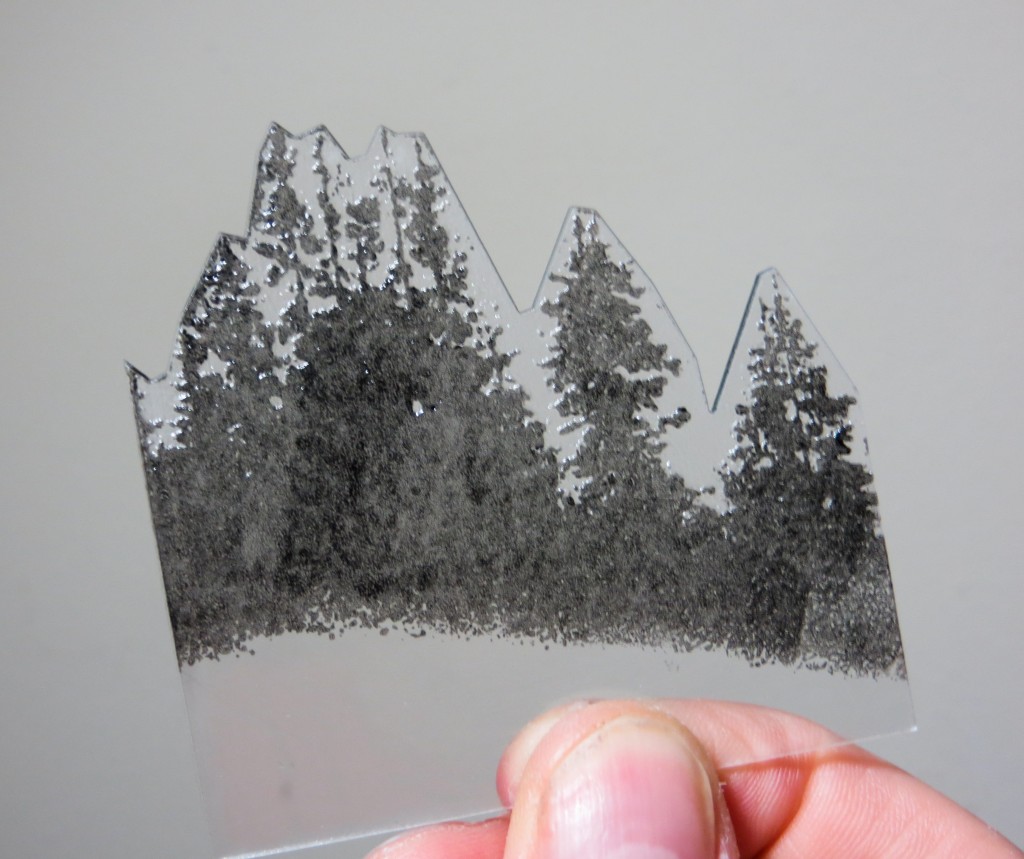
Here’s my 2.75″ x 3.25″ test plate, made by engraving and then cutting a piece of 1/16″ acrylic. The plate is inked and ready to print.
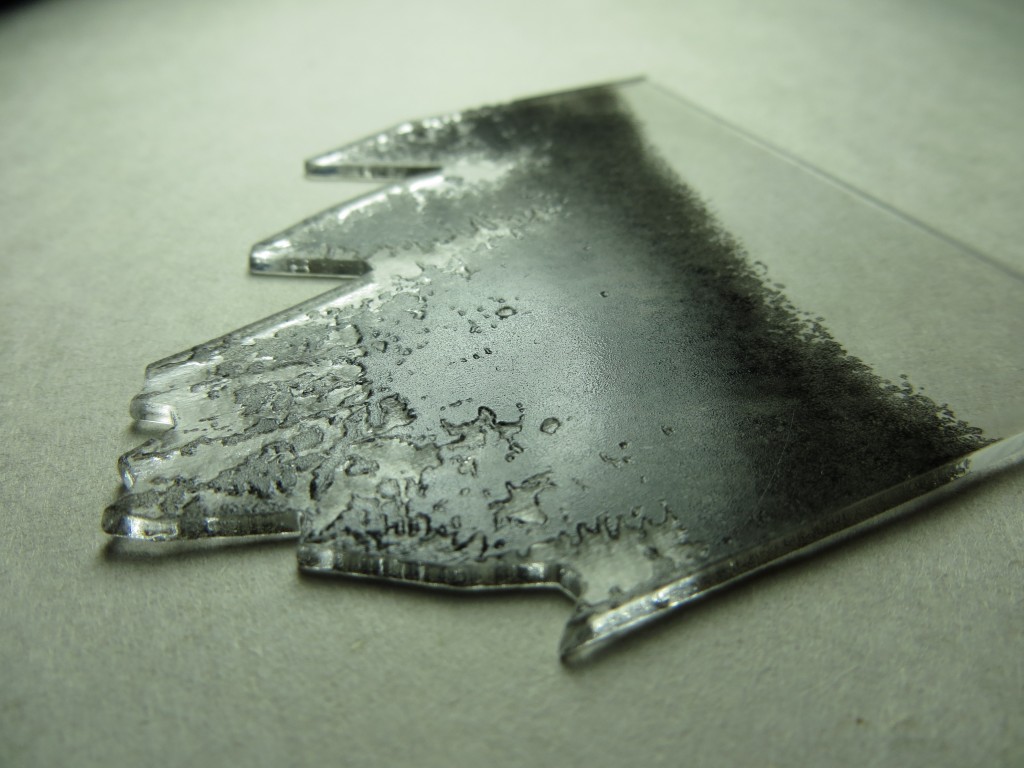
As you can see in this image, the engraved plate has very little relief. This makes it hard to ink. I experimented with various laser settings. The key is to use a low enough power to avoid turning plate into a pool of molten plastic, while using enough power to get sufficient relief for printing. This sample used two engraving passes at a lower power.
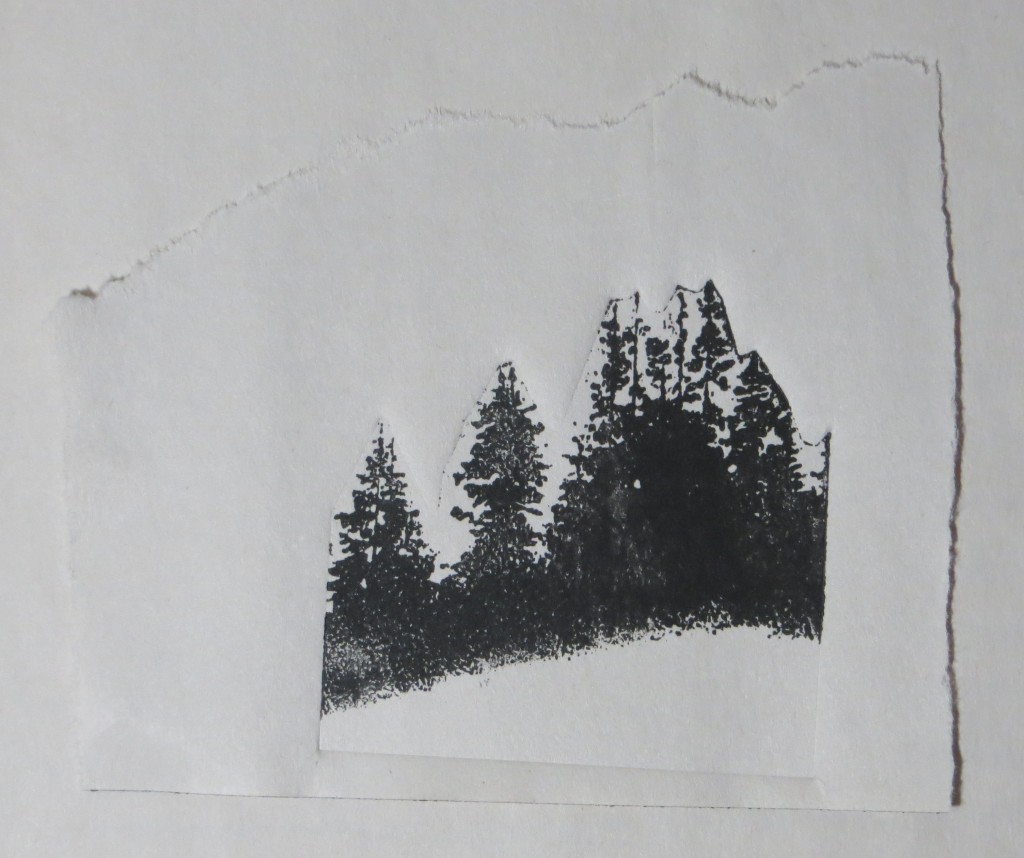
Here’s the first proof. I had to use a very light touch when applying ink, but I did get decent results with quite a bit of detail.
Students of the Aristides Atelier Opening
Had a great time at last week’s opening of the Students of the Aristides Atelier show at the Rosen Gallery at Gage Academy. The show runs until June 7th.
Studio open house
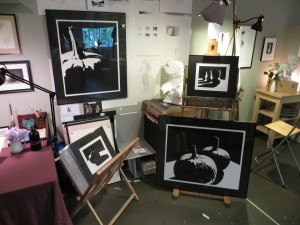
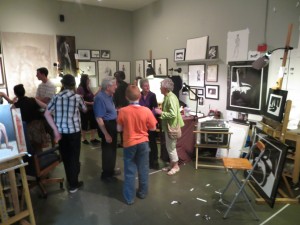
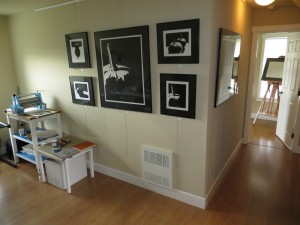
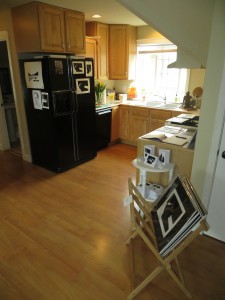
Thanks to everyone who came to my studio open house. I made new friends, reconnected with old friends, and had some great conversations! An added benefit is that I now have a clean studio.

