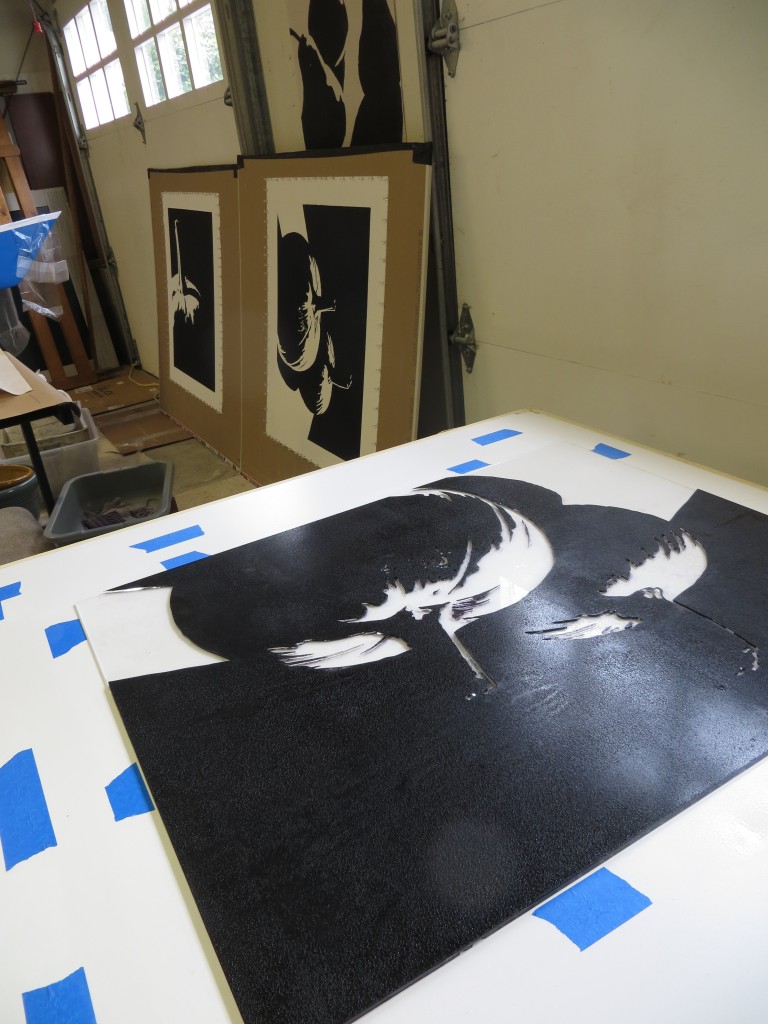
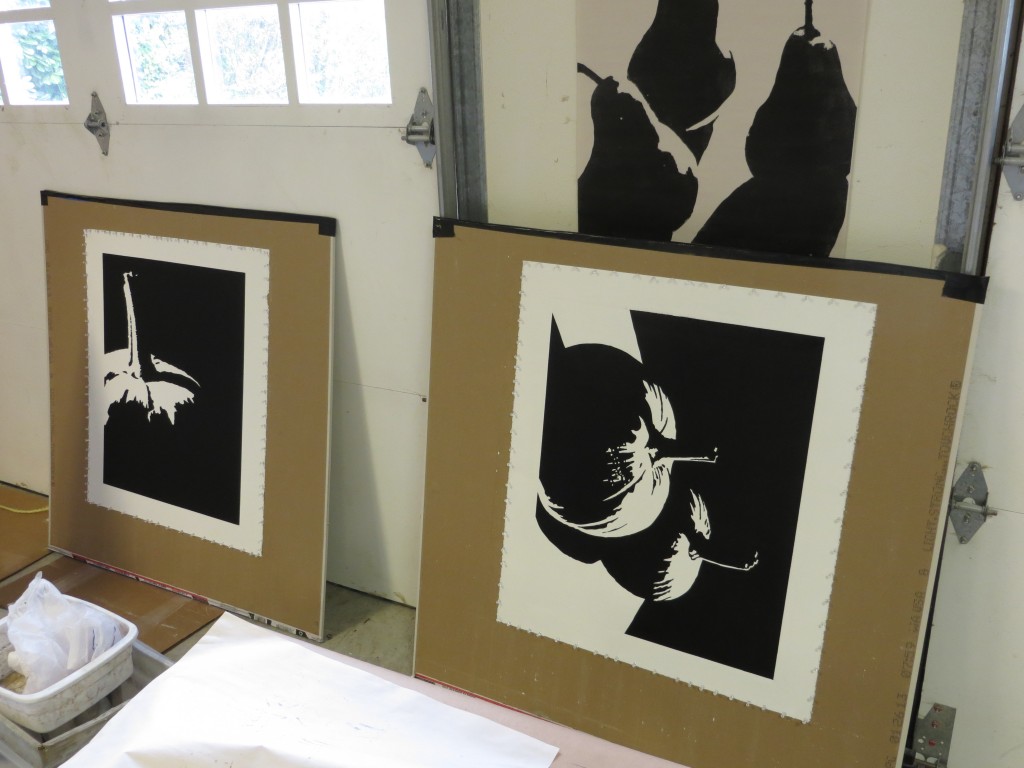
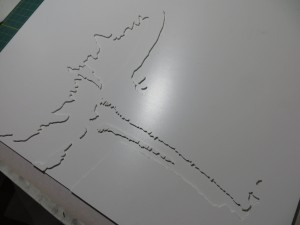
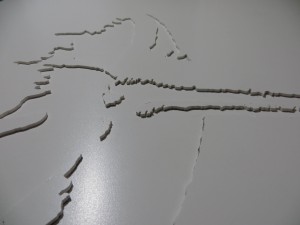
I’m trying a new approach to making giant relief plates. Instead of cutting FPVC by hand with a jig saw, rotary tool, and file, I am using a laser cutter to burn a plate from a sheet of clear acrylic. Goodbye dust and noise and goggles and respirators. Hello fire!
Laser cutters are huge and very expensive. Fortunately Metrix Create: Space in Seattle has one available for hire at really reasonable rates. They charge by the minute, with rates varying depending on your membership level. My 24″ x 30″ plate had about 700″ of cuts and we were cutting at about 10mm/s, so the whole job took about 30 minutes. From reading the laser manufacturer’s documentation, it appears that it can cut my 3/32″ acrylic at 40mm/s which would reduce the cutting time and the cost dramatically.
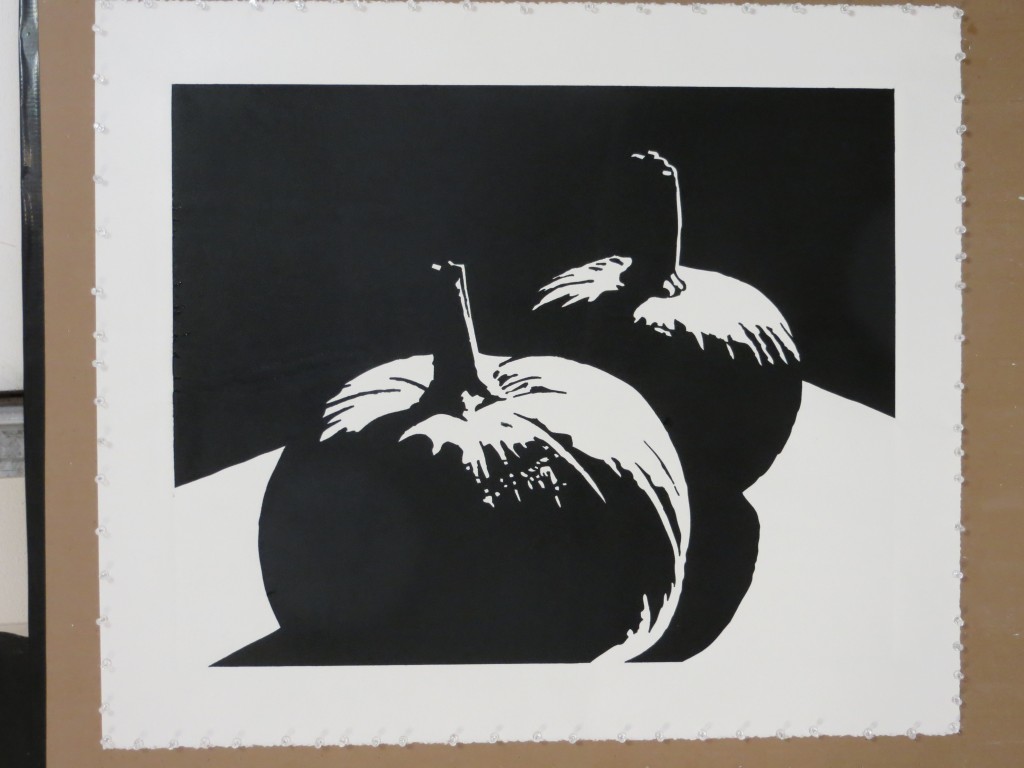
Today I cut the plate and glued the pieces together. If all goes well I am hoping to pull a print tomorrow!
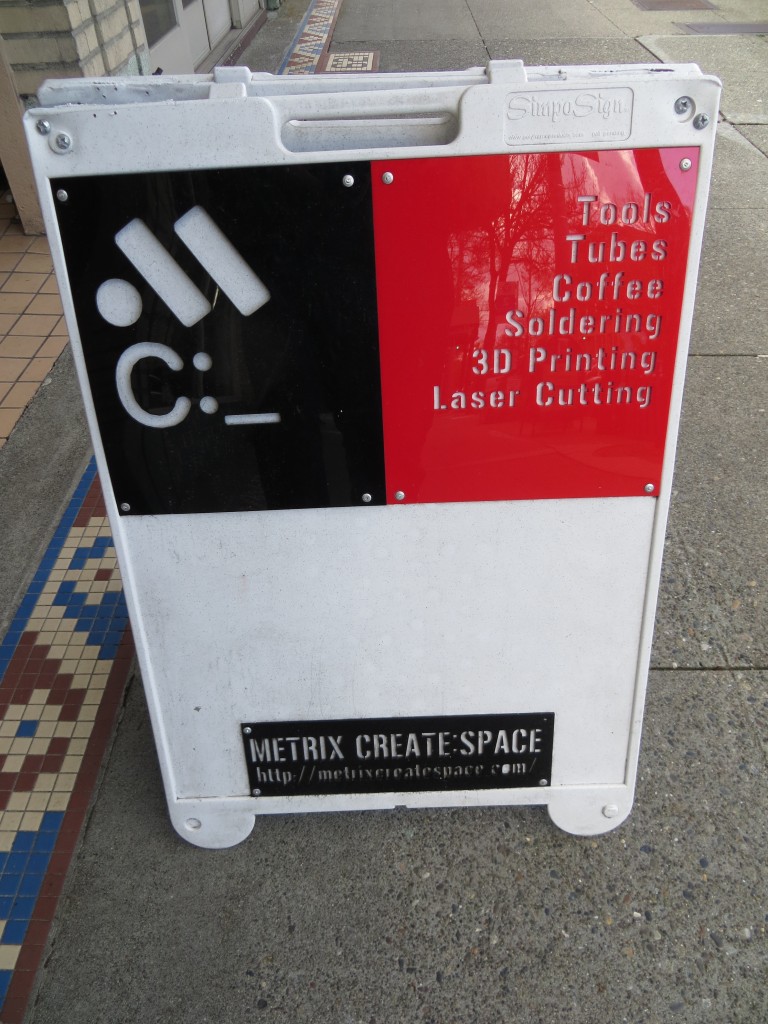
Metrix Create: Space on Capitol Hill near the intersection of Broadway and Roy. In their own words, “Part techshop, part hackerspace, part coffeeshop”. Metrix Create: Space has all sorts of goodies including laser cutters and 3D printers.
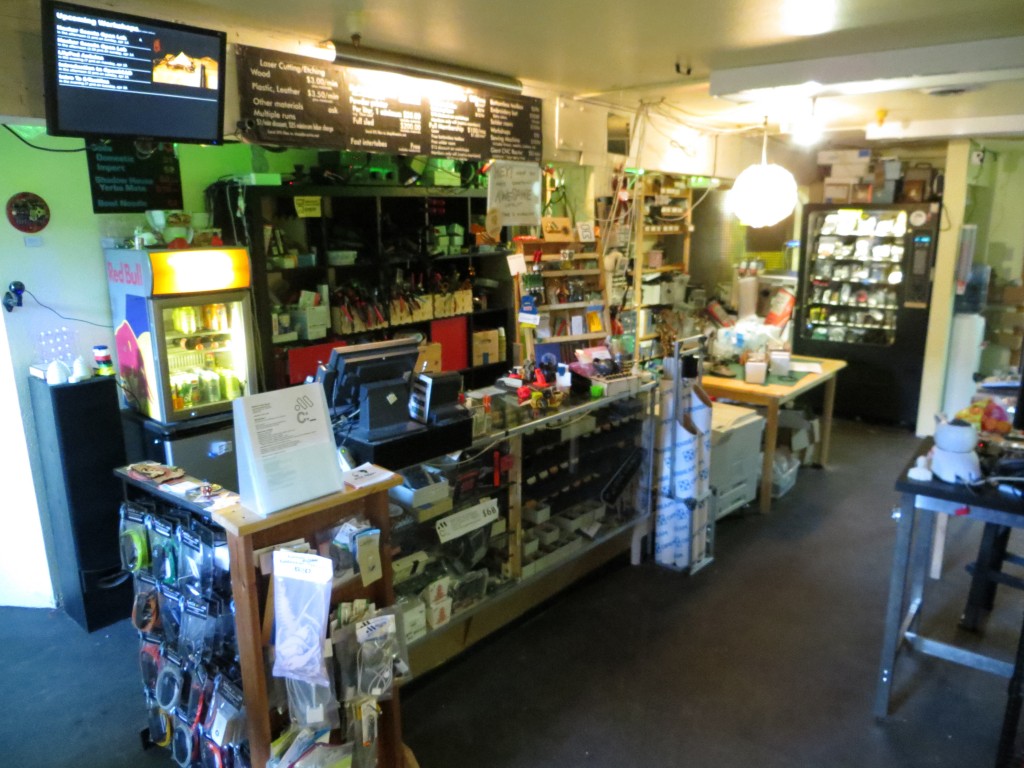
Matrix Create: Space is well stocked for all of your hacking/making/building needs. It is a great place to hang out and meet other builders and the staff are super friendly, knowledgable, and helpful.
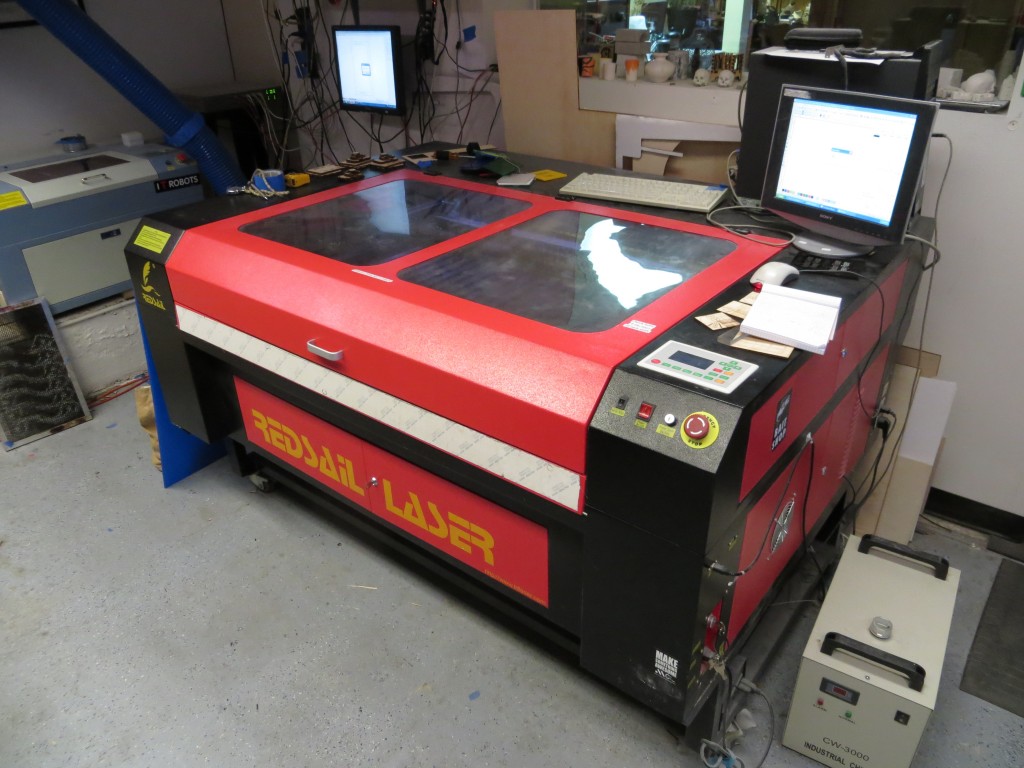
This monster is a 100W FullSail laser cutter. It handles material up to 32″ x 45″. Cuts acrylic and wood like butter at about 1000 dpi.
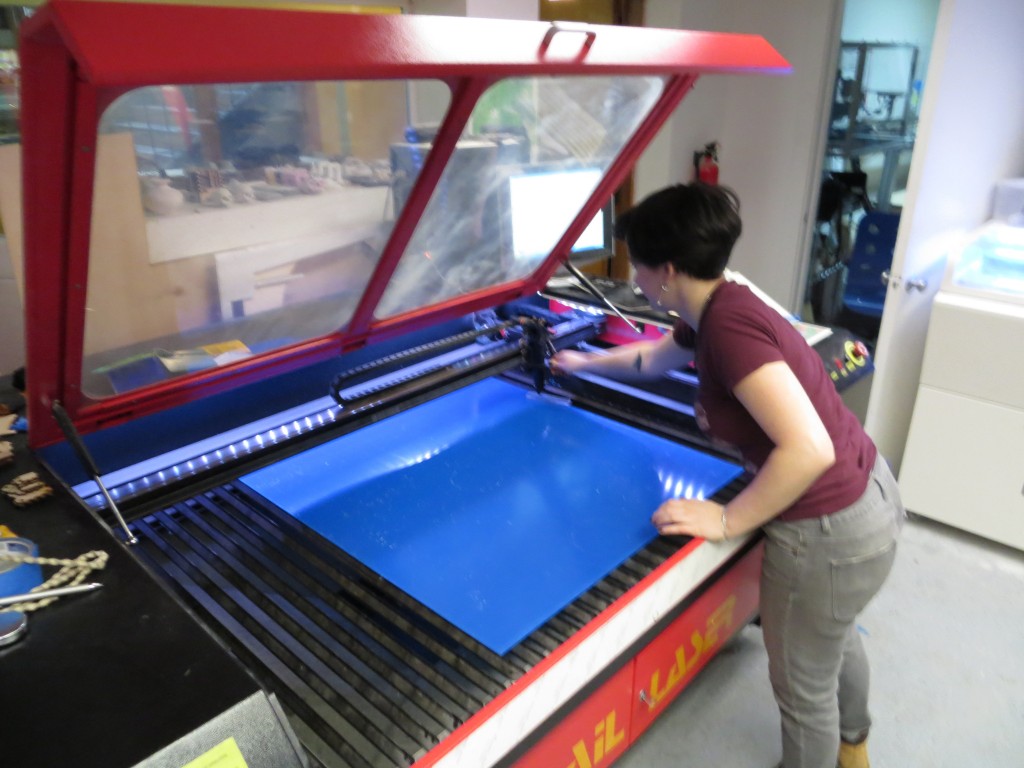
Lauren loads my sheet of acrylic into the laser cutter.
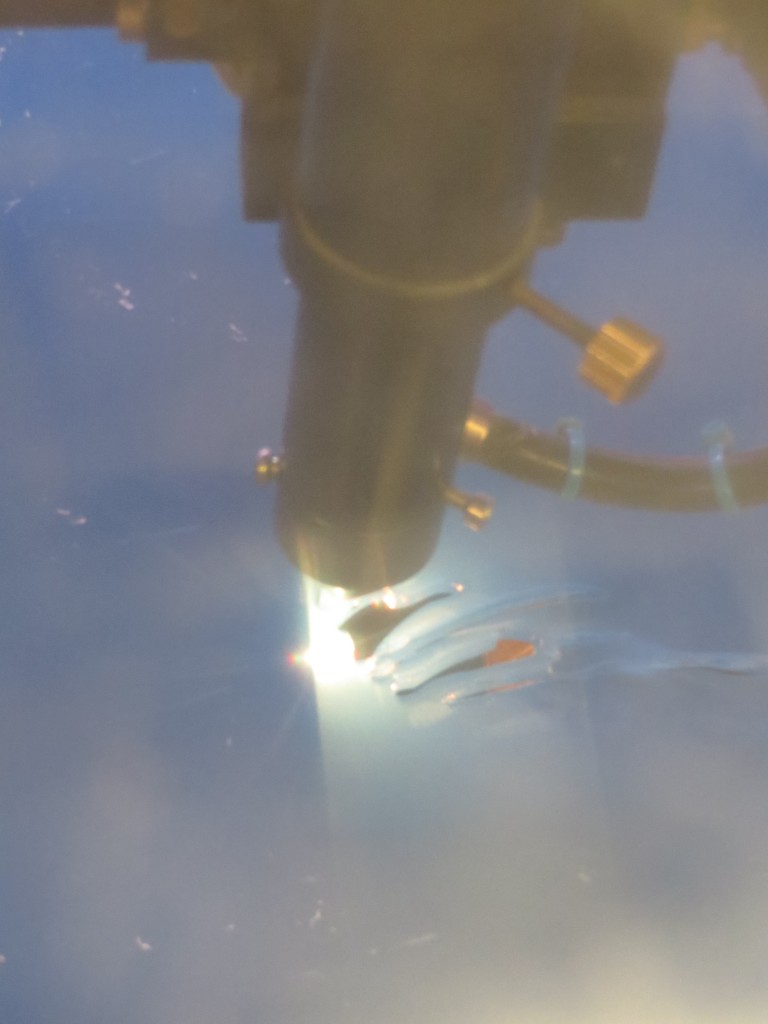
Laser cutter in action!
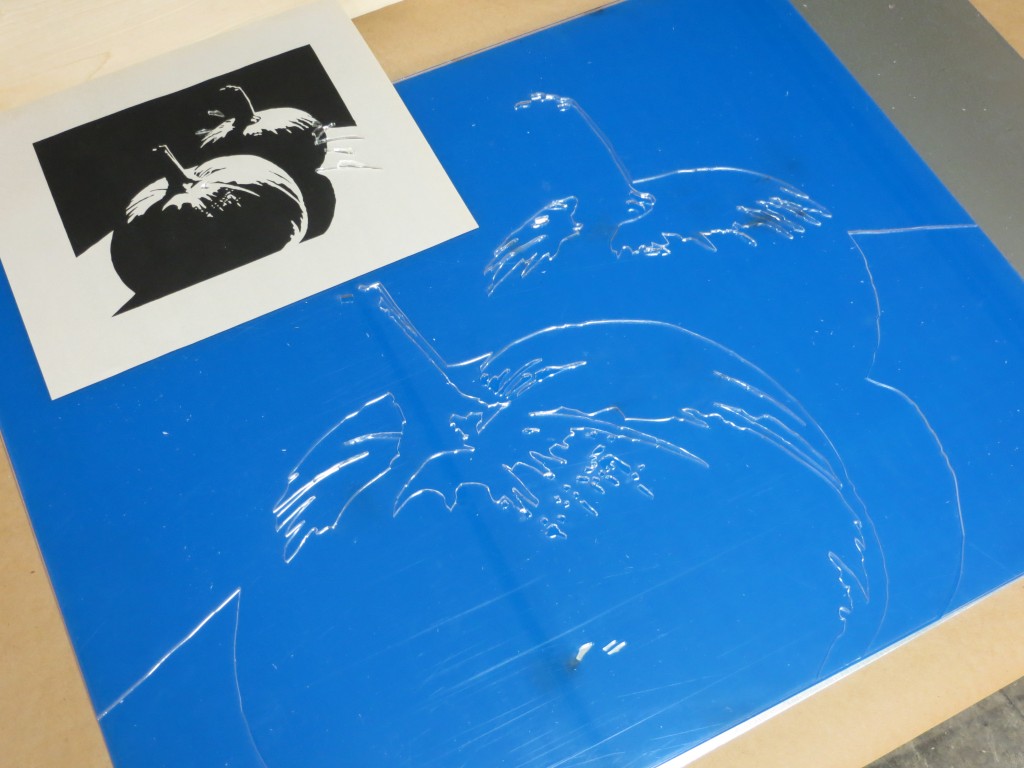
Here’s what the plate looks like fresh from the laser cutter. I am using clear acrylic. The blue that you see is a protective film.
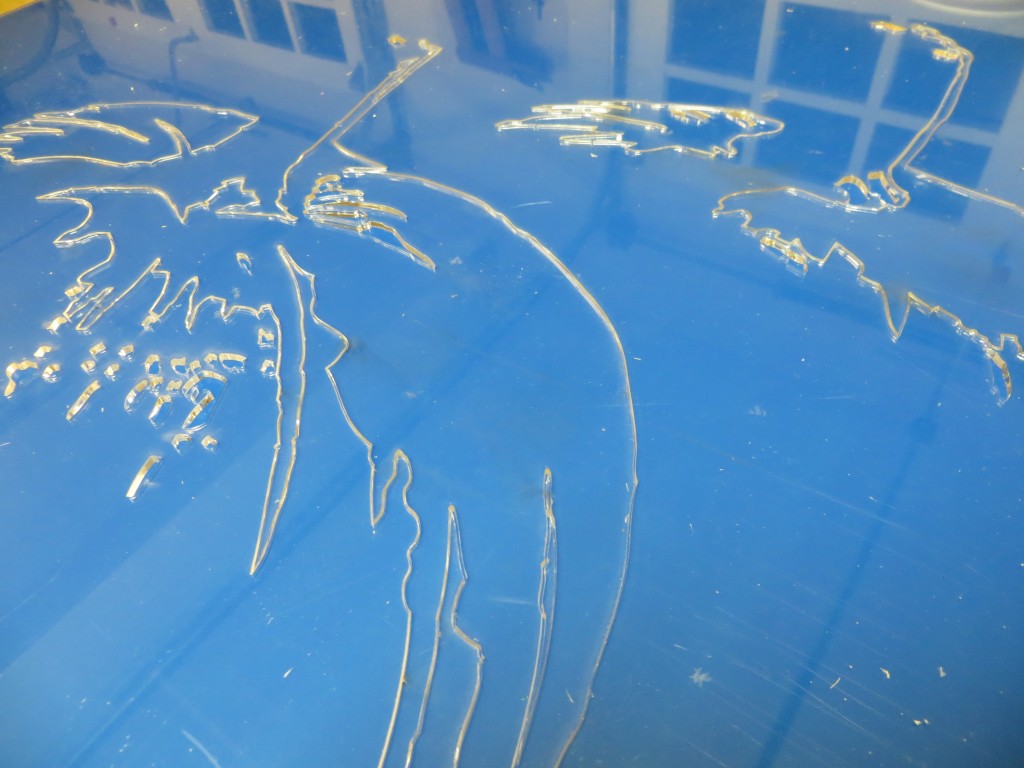
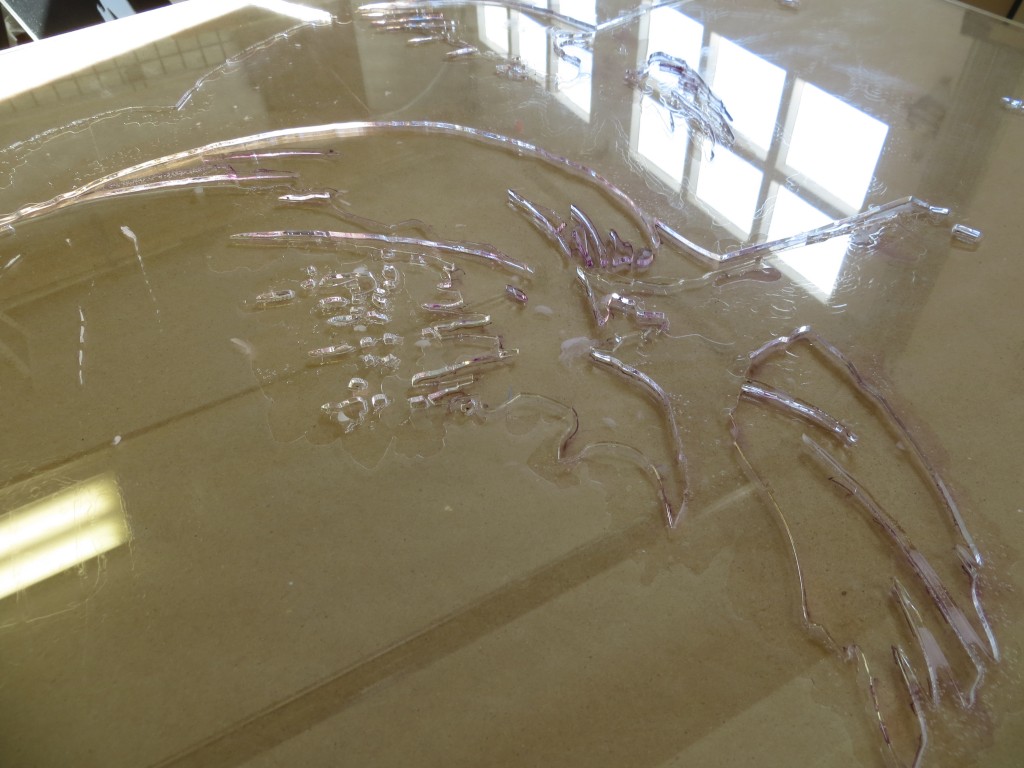
Closeup of the plate after cutting. The clear acrylic sparkles like jewels.
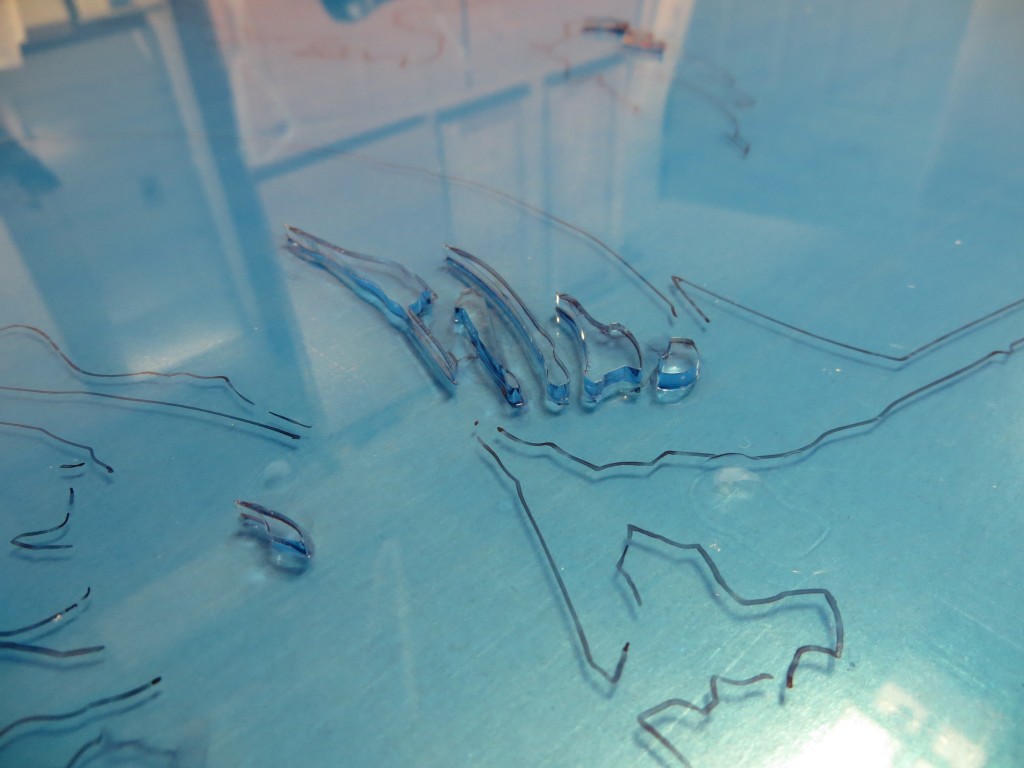
At this point I have just started to cement the small, isolated pieces.
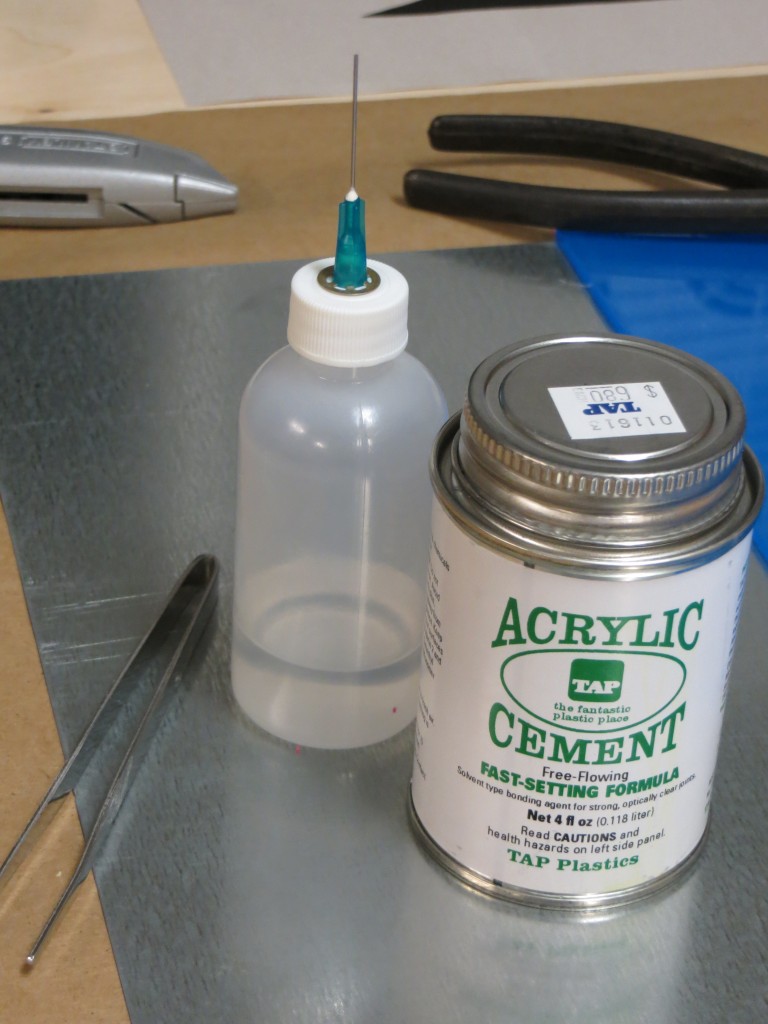
I am using acrylic cement from TAP Plastics to assemble the plate. The syringe bottle shown on the left is a huge help in spreading the cement and containing the fumes. The great thing about the syringe is that you can run it along the joints and they will draw in the cement through capillary action.
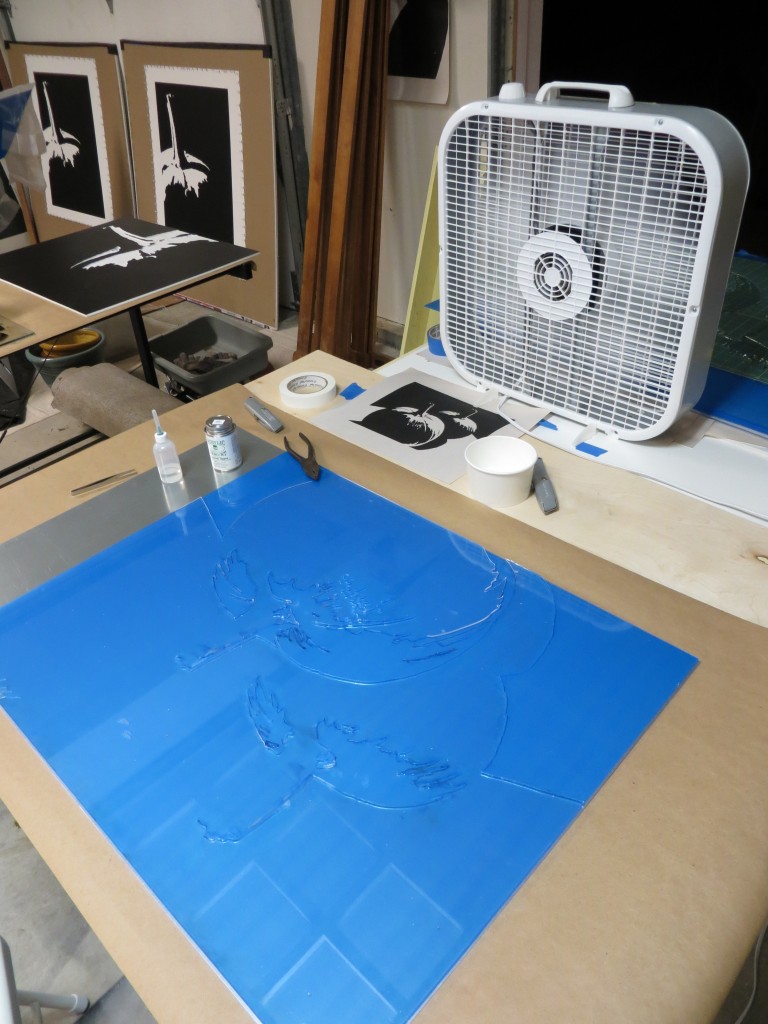
Acrylic cement contains methylene chloride and other nasty chemicals that dissolve your brain and latex and nitrile gloves. Use PVA gloves and be sure you have plenty of ventilation!
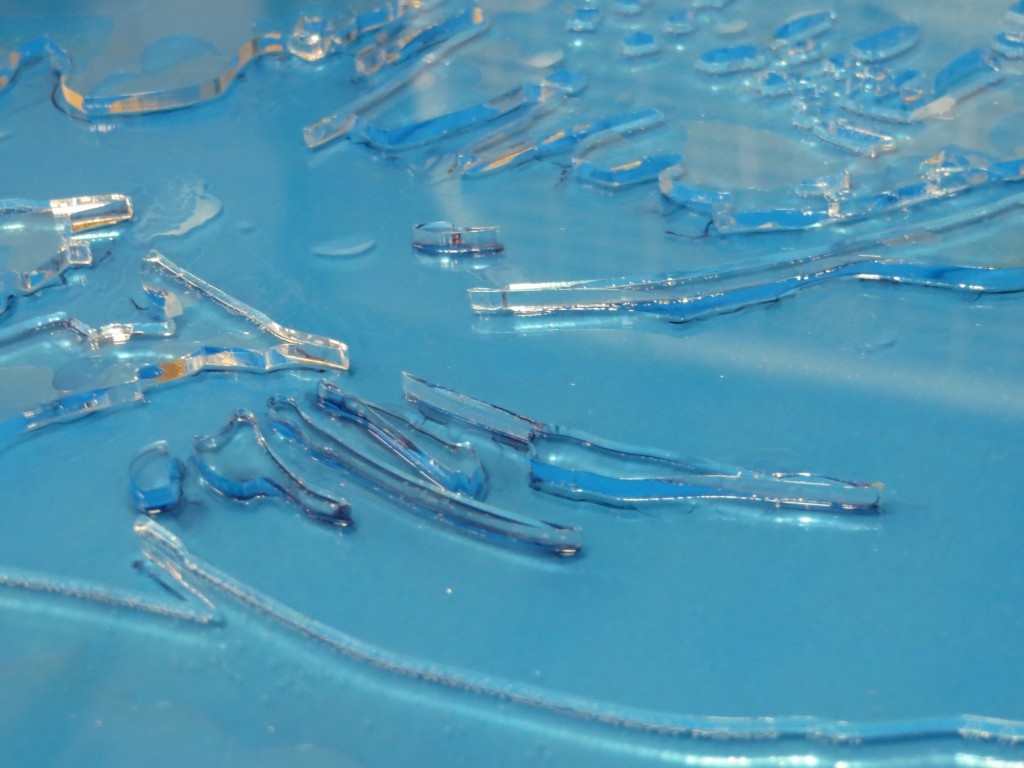
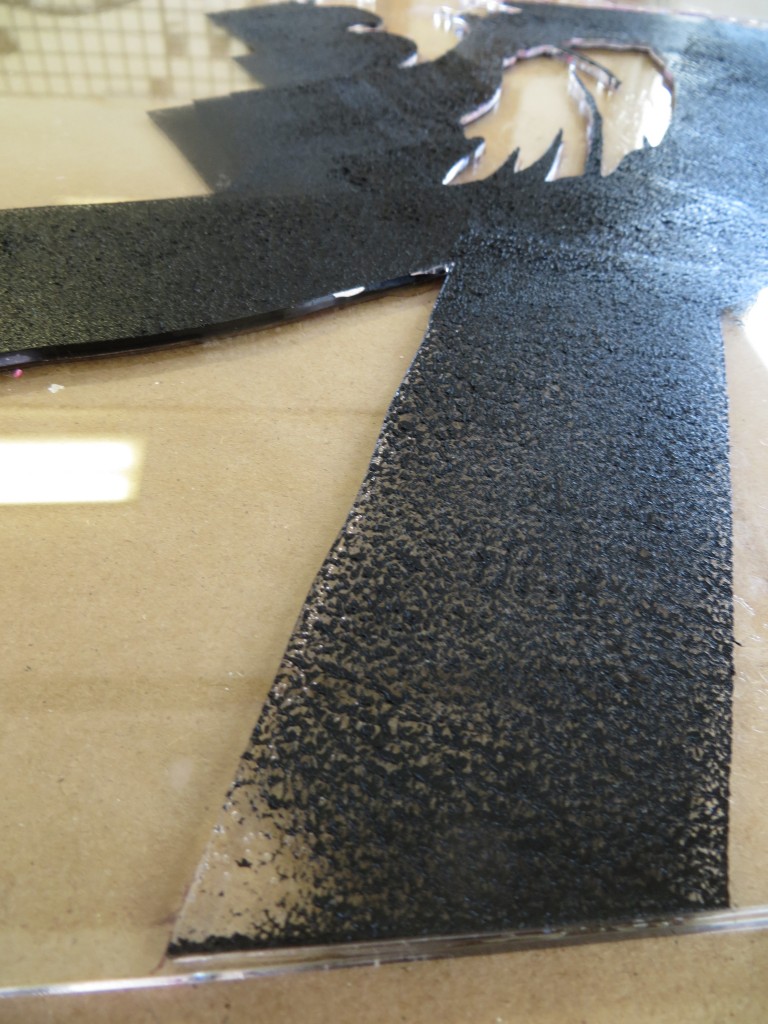
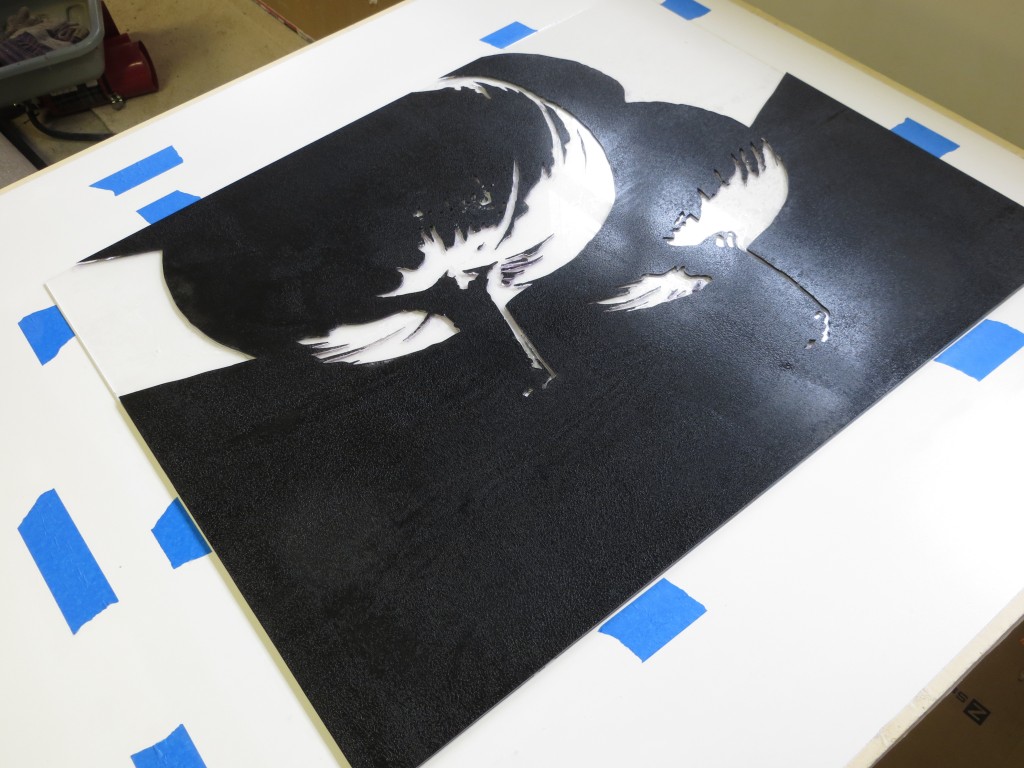
Closeup of the fully assembled plate.
