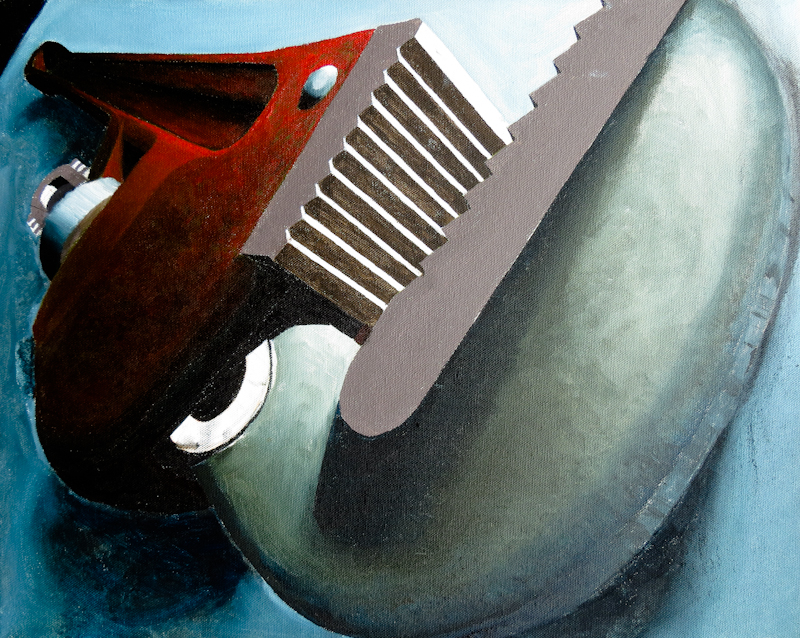
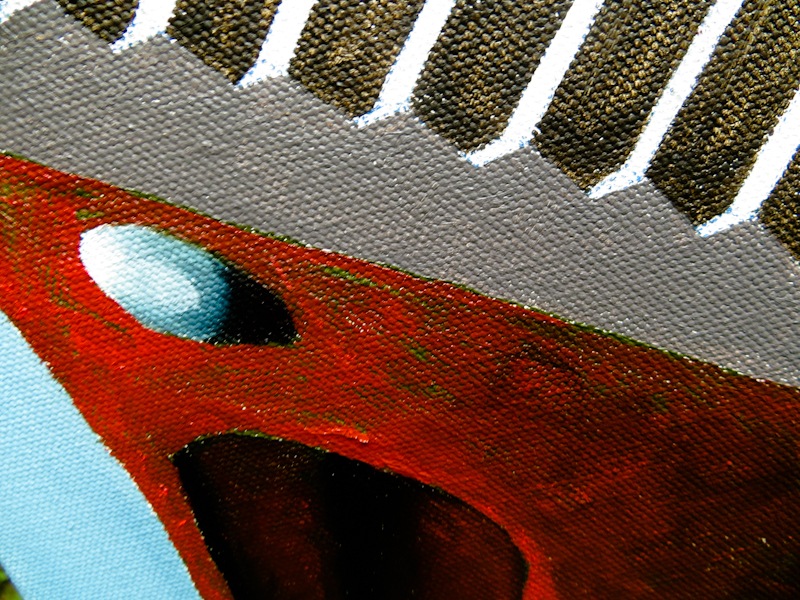
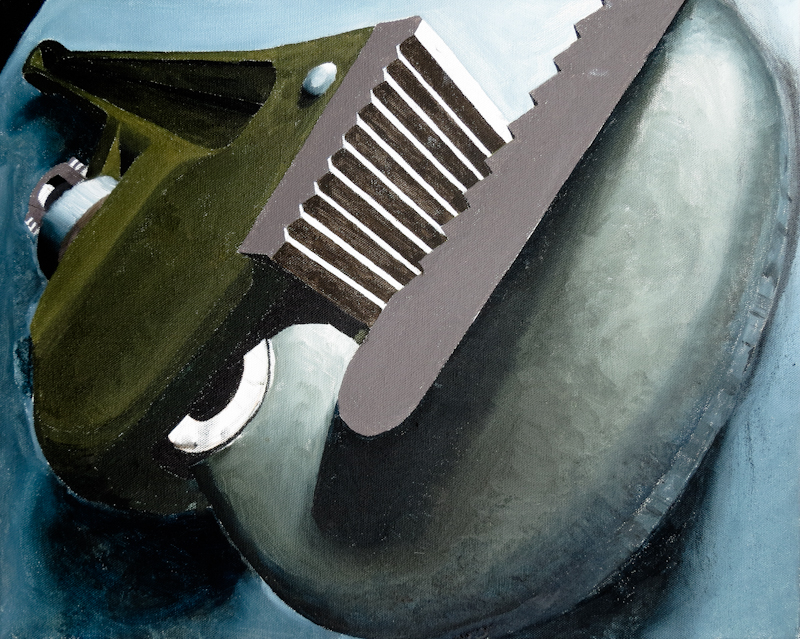
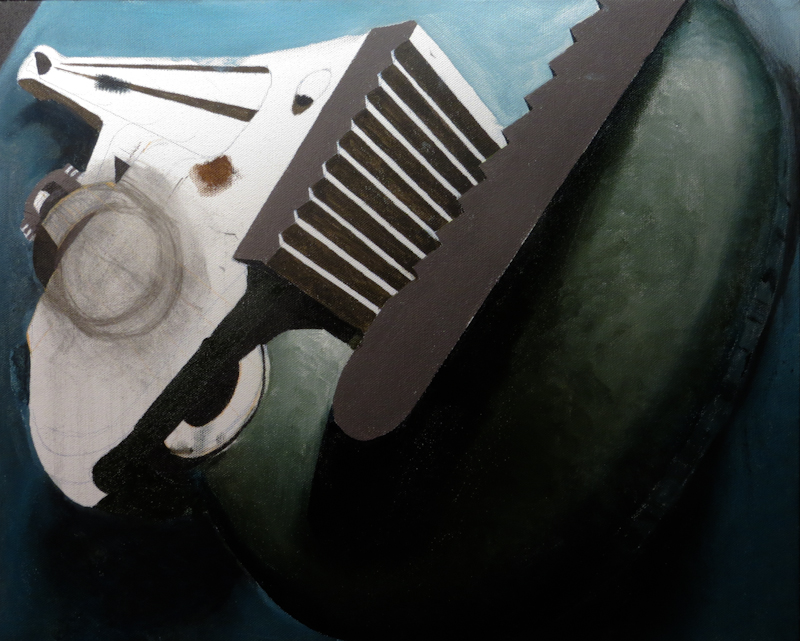
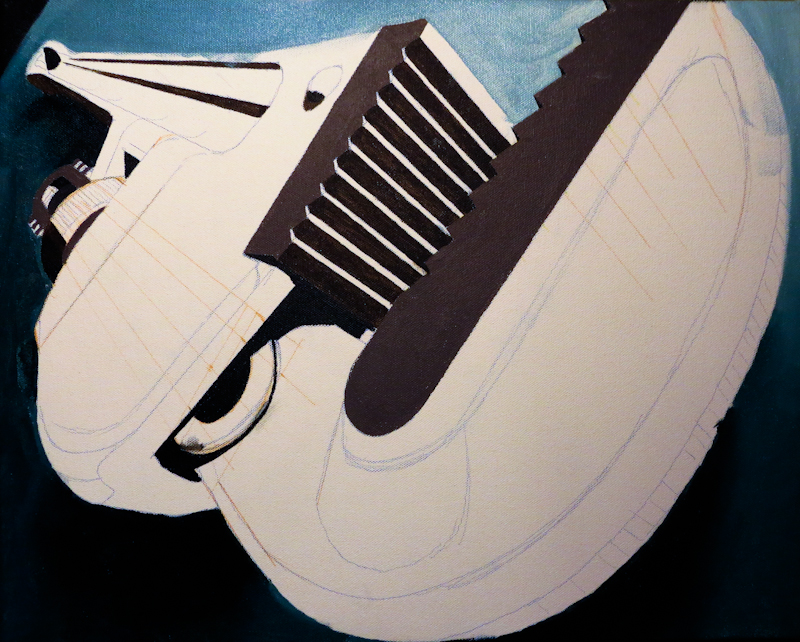
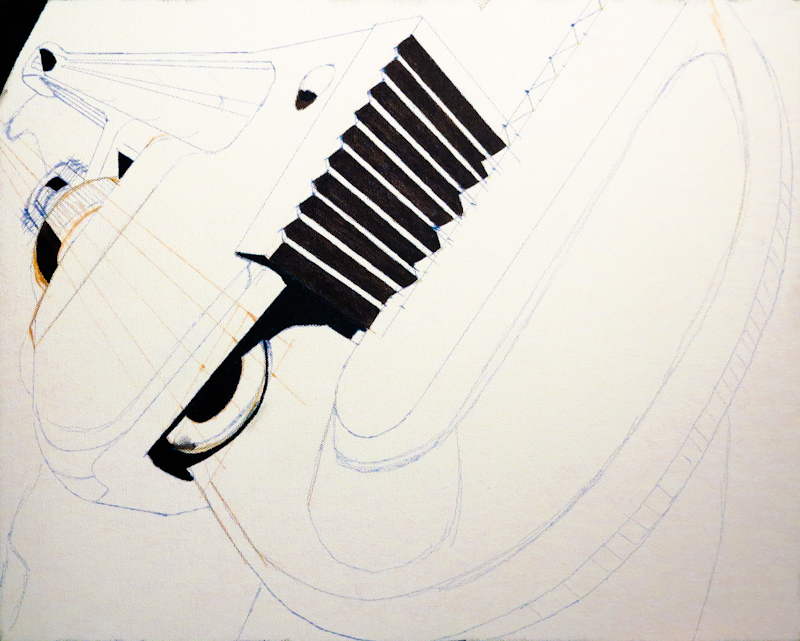
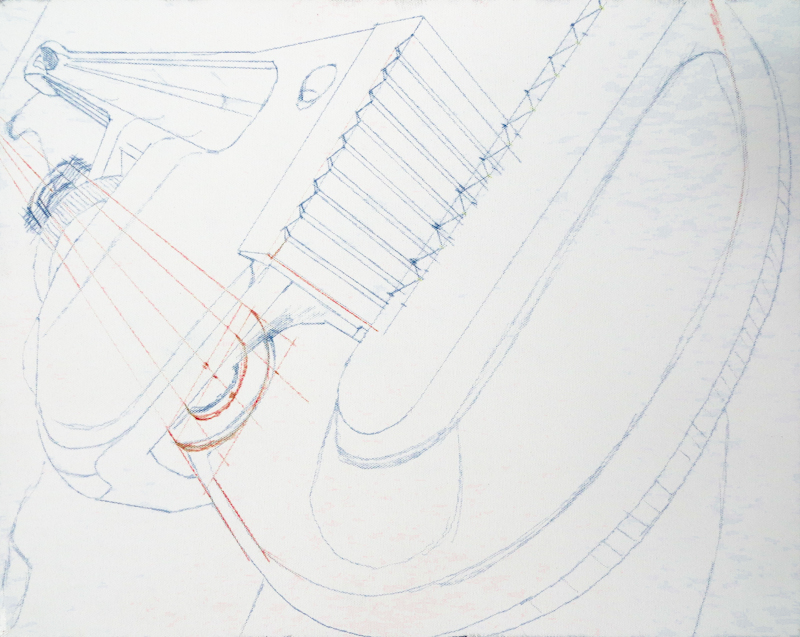
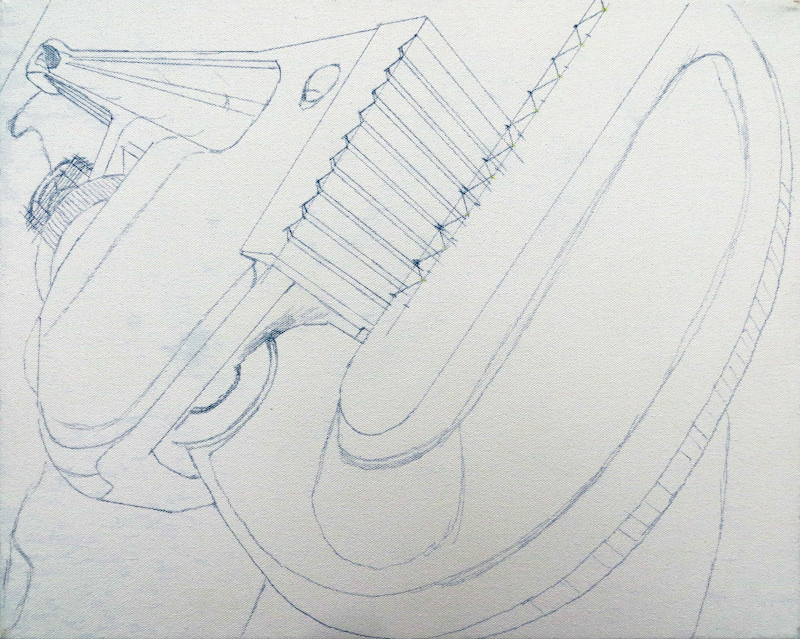
Here’s a time lapse sequence of my painting Big Diagonal Cutters.
Tag Archives: atelier
May 25, 2015
Today I painted a broken layer of red over the green on the handle. My string was based on Cadmium Red, desaturated with Terre Verte Hue, and darkened with a mixture of Raw Umber and Prussian Blue.
I really like the effect of the broken color. Painting the red went much quicker than the green, since all I was doing was changing the hue, while leaving the value alone. The technique is quite versatile – dabbing the paint gives a solid fire engine red, while rubbing it in yields anything from a desaturated red to a neutral to a green. Really cool.
May 17, 2015
I’ve covered the bottom of the handle with a dark green in preparation for a layer of fire engine red. The idea is that flecks of dark green will show through holes in the red paint. This should make it look like the paint is flaking off of the handle from years of wear.
The green on the handle is a bit warmer and lighter than I would like, so before adding the red paint, I will probably sponge on some dark blue to bring down the value while leaving patches of cooler color to show through the red.
The jaws are almost dry enough now for the next layer, which will be warmer and rust-colored.
I also need to fix some drawing errors in the linear gear and the knurled knob.
May 12, 2015
This evening I started painting the bottom layer of the metal texture for the second Pipe Wrench Study. Right now the color scheme looks dramatically different, compared with the first study, but this will change as I scumble a warmer, rust colored, texture on top of the green.
Here’s a close up view. The charcoal circles on the left are critique notes, drawn directly on the canvas.
Faigin Atelier Brochure
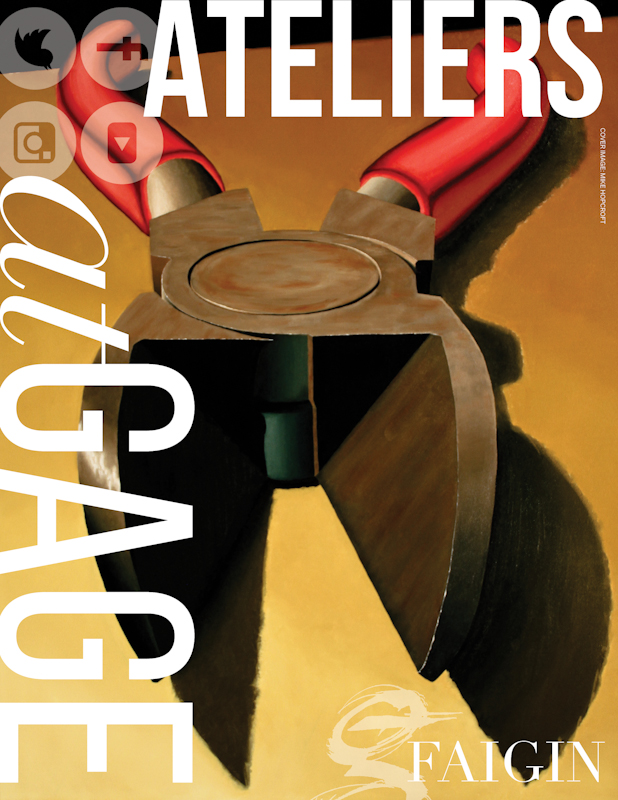
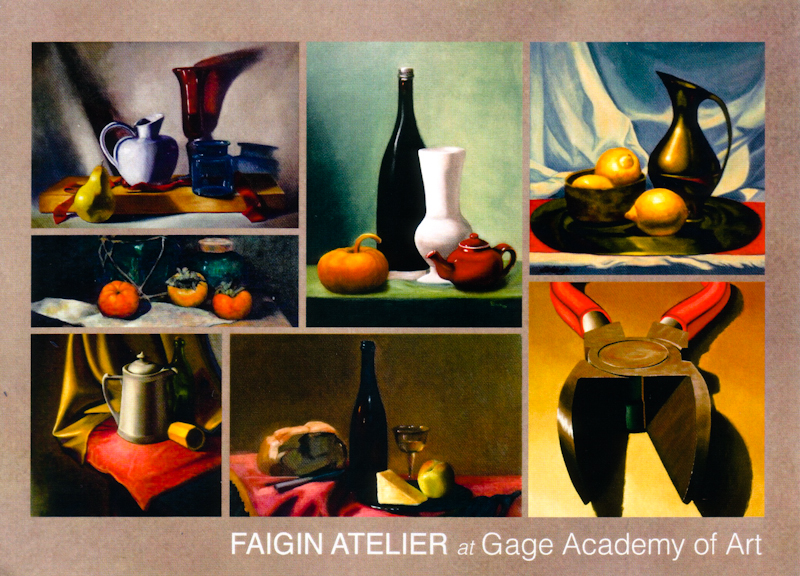
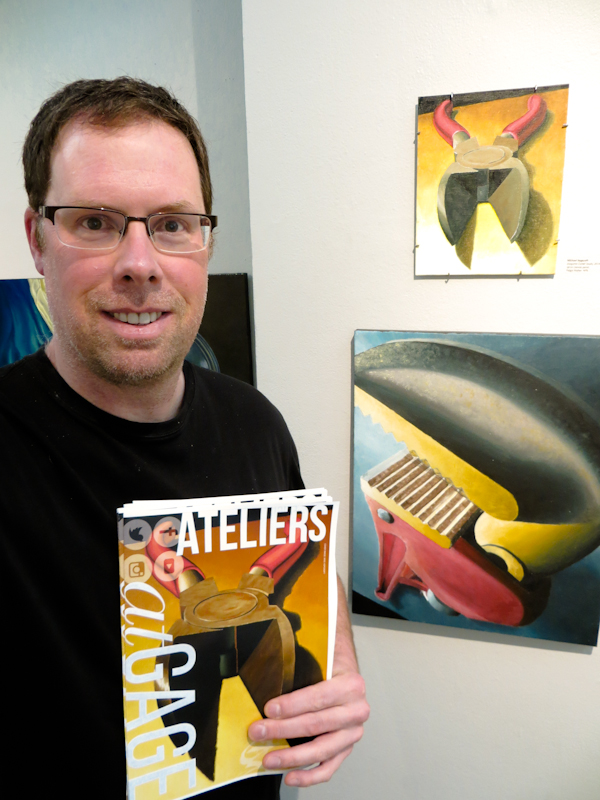
I was super excited to see that Gage featured my large Diagonal Cutters on the cover of their Faigin Atelier brochure!
Faigin Atelier 2015
March 31, 2015
This evening I started working on the teeth on the upper half of the jaws and then on the side of the linear gear. I had to work with a bunch of new vanishing points, but am now pretty happy with the drawing. I “inked in” jaws and the linear gear in acrylic to get a feel for how they would look, before starting on the oil-based under-painting. The jaws use a blend of Paynes Gray, Raw Umber, Burnt Sienna, and Titanium White.
I finished my session by quickly painting in the table top and shadows using a thin wash of Prussian Blue, Burnt Umber, and Titanium White from Winsor Newton’s Artisan line of water mixable oils. Overall I like the look, but I think the final background should be lighter along the top edge, and probably less saturated.
Inking in the Drawing
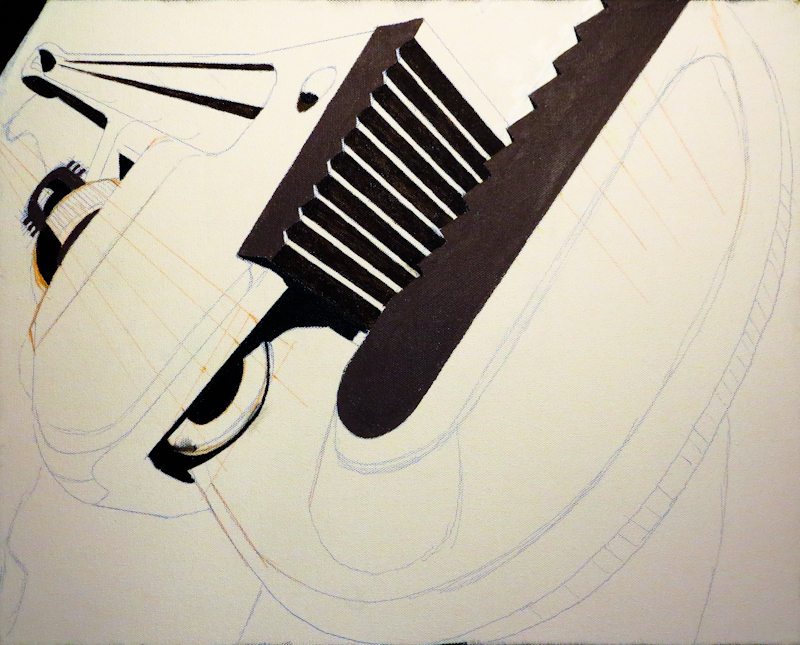
This evening I fixed the perspective problems in the knurled adjustment knob and then began “inking in” some of the darkest darks that have hard edges. Normally, I’d start by covering the entire canvas with a rough under-painting layer of diluted oils, but in this case, I want to retain the precise, dimensional nature of the drawing, so I’m marking key landmarks first with acrylic Mars Black and Raw Umber. These shapes will show through the initial washes of oil paint. I am being careful not to touch any of the darks that have soft edges. These softer, more organic shapes will be done in the next pass with oil paint.
Improved Pipe Wrench Drawing
I did some more work on the drawing for the new pipe wrench study. The extreme foreshortening presents real challenges, making it important to understand the wrench’s complicated geometry. Even though the wrench is an engineered object, few of its edges and surfaces are parallel. This means that the image has multiple vanishing points.
The extreme foreshortening also wreaks havoc with cylinders and circles. In the picture below, I’ve fixed some of the issues with the linear gear perspective, but I still need to work on the knurled adjustment wheel.
New Pipe Wrench Study
I’m starting a new study for the pipe wrench. In this drawing for the study, I have fixed some perspective problems and more carefully drawn the teeth in the jaws. I’ve also revealed a bit more of the linear adjustment gear on the left side of the image. This is a 16″x20″ canvas and the marks are from an Indigo Blue Prismacolor Premier Colored Pencil. I find these pencils are good for drawing on canvas. They are waxy so the lines stay put and don’t mix into the paint. They come in a wide variety of colors and values so it is always possible to choose a color that won’t show through the paint.

