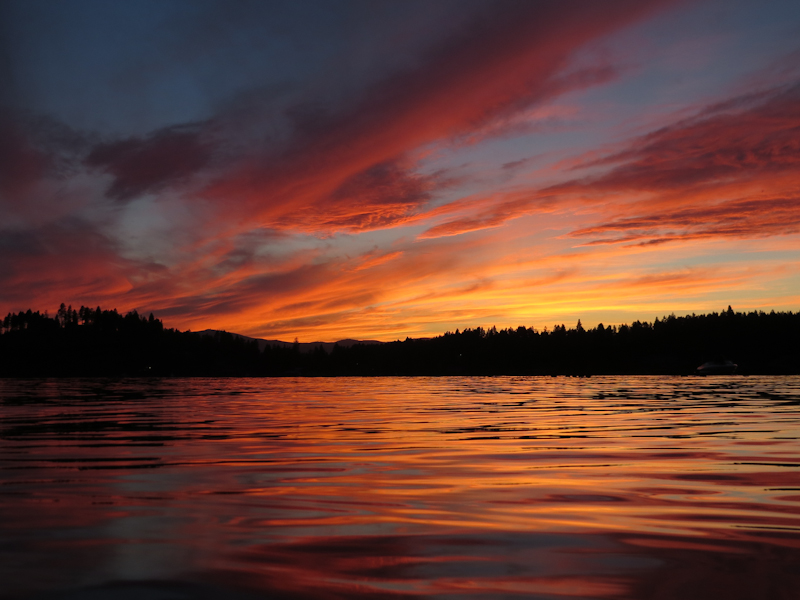
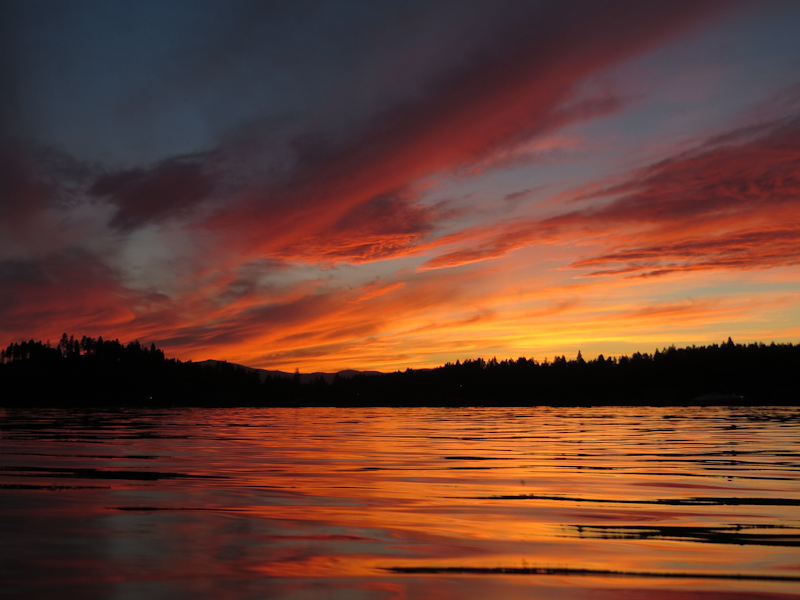
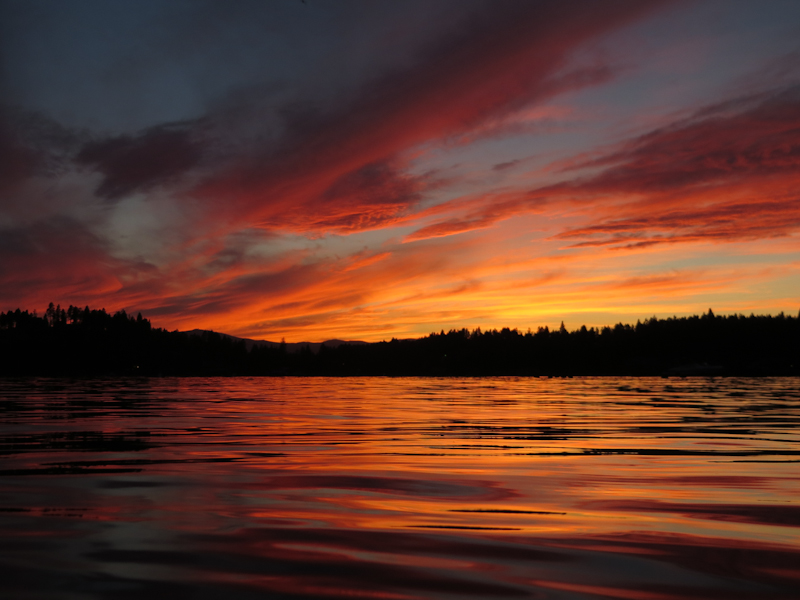
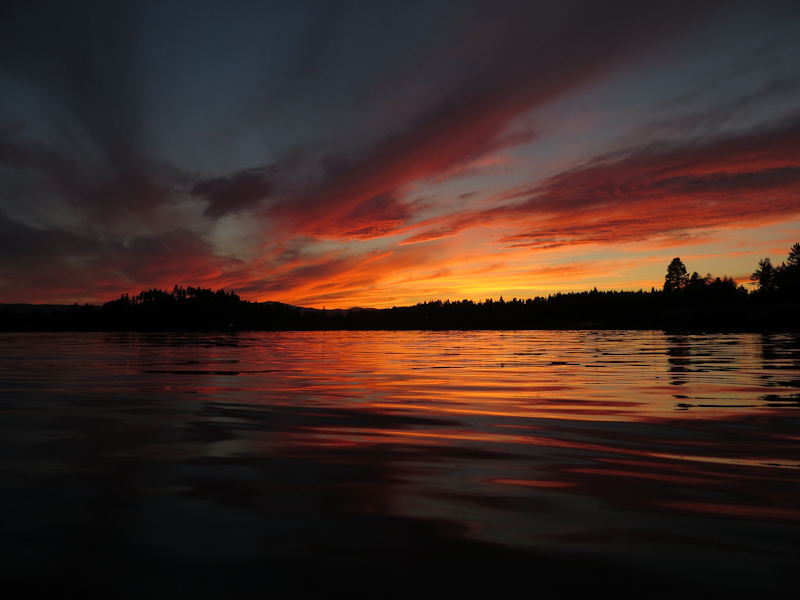
I love watching sunsets, both for their natural beauty and as inspiration for artwork. Last week I had the good fortune to be at Flathead Lake, Montana during this spectacular sunset. At first it seemed that the sun was just going sink into a mass of gray haze that had been building all afternoon and I almost stayed inside reading, but then at the last minute the sky lit up with colors. I probably took about a hundred photos and I learned a new technique. Read on to hear how I shot these photos.
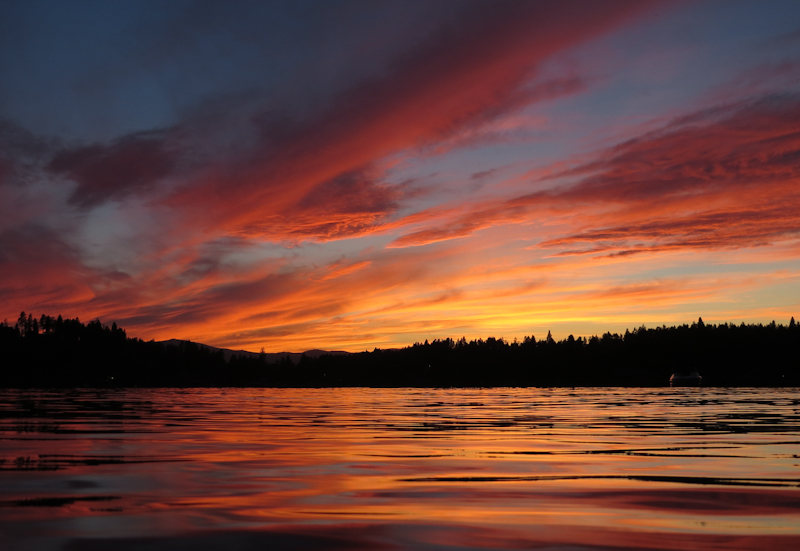
These photos were taken with a Canon SX260HS point-and-shoot camera. I used three techniques to help improve color saturation and make the compositions more appealing. These techniques are probably well known to experienced photographers, but two of them really surprised me.
The first technique, which I’ve always used for sunsets is exposure compensation. By underexposing by 1-2 f-stops it is possible to get saturated colors in the sky and the water at the expense of detail in the trees. I will take a silhouetted treeline any evening if it means I can get saturated clouds and sky. I found it was easiest to pick an exposure in program mode using the exposure compensation dial and then lock it in using the manual exposure setting. Using manual mode prevents the exposure from changing as I move the camera around.
The second technique was to place the camera about an inch above the surface of the water. The picture below shows the same scene, but from eye level. In my opinion, this picture is much less interesting than the water level shot because the colors in the water are chopped into little pieces. The water level shot has these gorgeous glossy waves that create interesting patterns and bring out reflections of the distant shoreline and sky.

The third technique was to switch the camera into macro mode. I’m not sure exactly how macro mode works on these simple point-and-shoot cameras, but what it seems to do is adjust the auto-focus system to focus at a point that puts more of the image depth into focus. These tiny cameras already have superb depth of field, but the macro mode seems to put the focus center closer to the viewer so that less depth of field is wasted beyond infinity.
Here’s another water level shot . . .
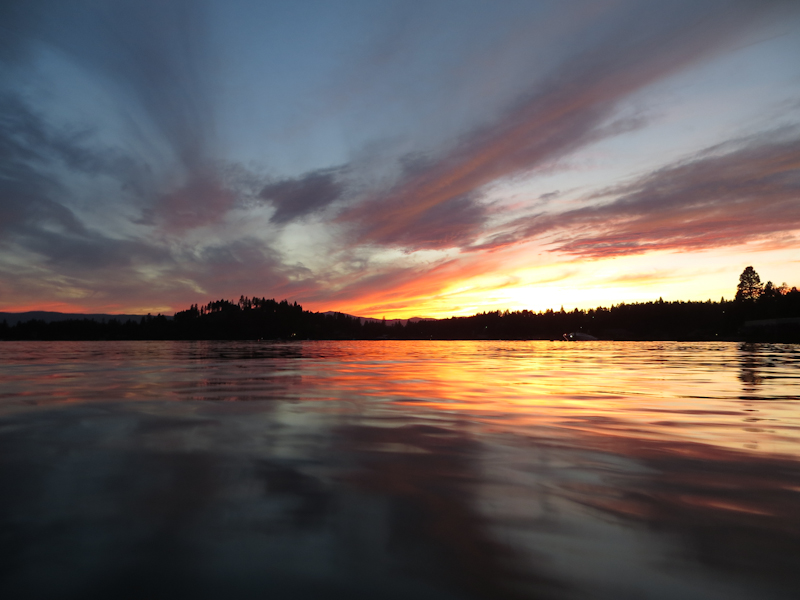
And here’s the same, less interesting eye level version . . .

Here are a few more of my favorites from the evening . . .
