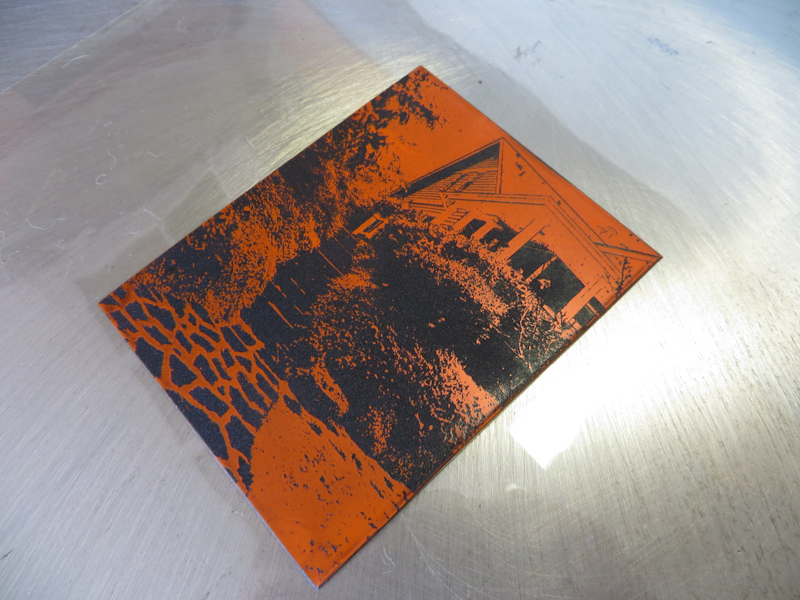
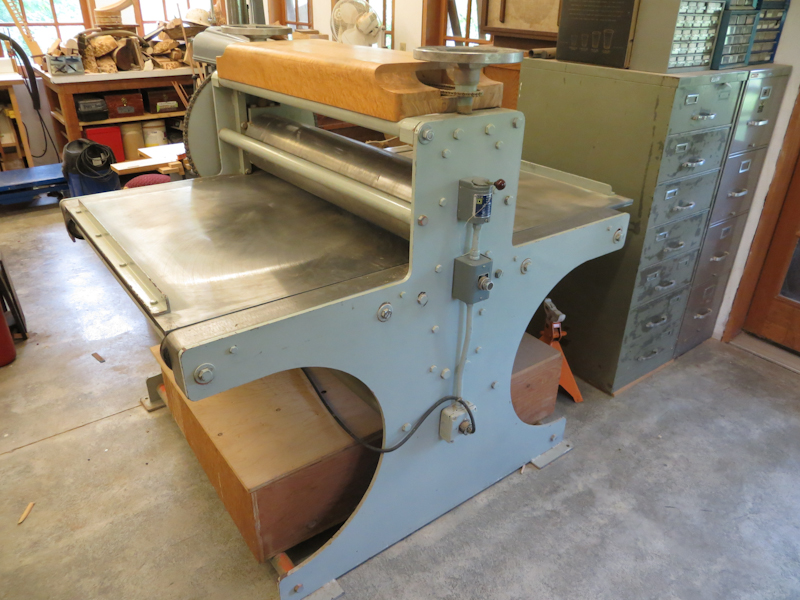
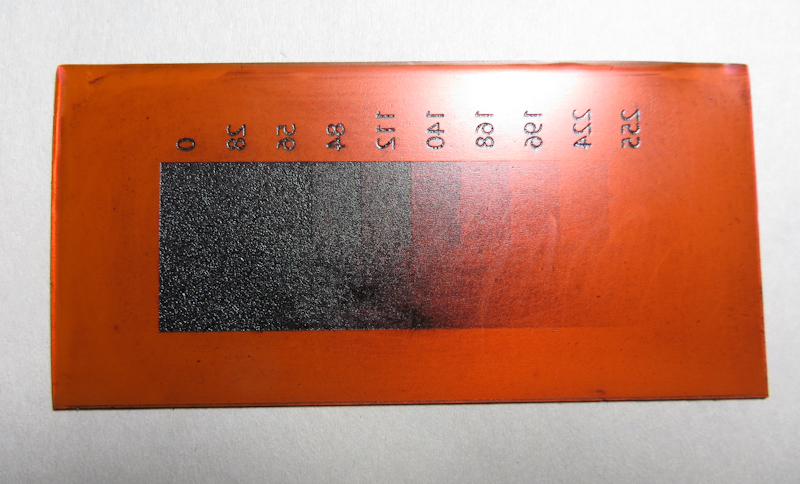
I finally got a chance to use the Glen Alps Press for the first time. It has been over a month since the press arrived, but before I could make prints I needed to get new felt blankets and level and adjust the press. Today I made my first print on the press – it was a 3″ x 5″ photopolymer gravure plate.
Tag Archives: printmaking
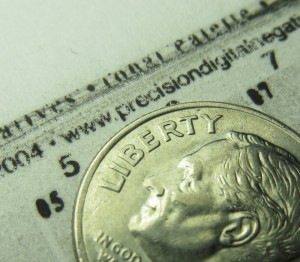
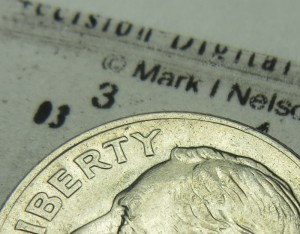
Precision Digital Negatives
Musicians practice scales before concertos. As an art student I practiced value scales in vine charcoal before attempting to render a sphere. Now in the printmaking domain, I am doing the same thing, only this time I am working with Mark Nelson‘s Precision Digital Negative (PDN) process to calibrate my photopolymer platemaking and printing process.
The goal is to develop a repeatable, end-to-end process starting from the creation of the original artwork, to exposing and developing the plate, through the final printing step. There are many variables that impact contrast, texture, the range of values, the richness of the blacks and the purity of the whites. I want to be able to control each of these variables in order to make the print that I see in my mind’s eye.
The PDN system is a general process for calibrating the production of digital negatives and positives for alternative photographic processes that use ultraviolet light to expose the final image. Mark has put a huge amount of effort into developing and refining the PDN system. His e-book is excellent and chock full of details and explanations of the process itself and related topics like image acquisition and preparation and Photoshop tips. The e-book also comes with membership to a PDN discussion forum where you can get answers to most questions. If you are making digital negatives or positives, I highly recommend purchasing the PDN book.
Creating photopolymer plates for intaglio requires exposure to a positive, rather than a negative. I print my positives onto a transparency film called Pictorico OHP, using an Epson Stylus Pro 3880. I use two types of plates – ready-made SolarPlate and plates I make by laminating ImageOn film to sheets of acrylic. I expose the plates using an old Nuarc 26-1K platemaker that I picked up on Craig’s List.
I’m most of the way through calibrating my SolarPlate process. Once I have the SolarPlate process refined and stabilized, I will repeat the calibration for the more complex ImageOn process.
At a high level, the PDN calibration process involves 4 steps:
- Determine the correct exposure time for clear film.
- Determine the mixture of ink colors in the transparency that yields the ideal density range for exposing the plates.
- Generate a gradient scale using the ideal color mixture
- Generate a set of Photoshop level adjustment curves that linearize the gradient scale.
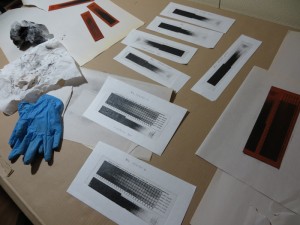
The photos below document my journey through the initial SolarPlate calibration.
The first step is to determine the correct exposure for clear Pictorico OHP film. One could do this by experimenting with a bunch of different exposure times, but it is much quicker to make a single exposure through a step wedge that incorporates a variety of calibrated neutral densities which simulate shorter exposure times.
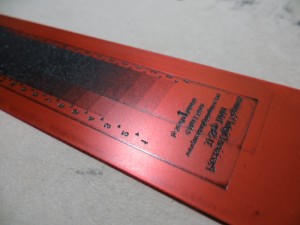
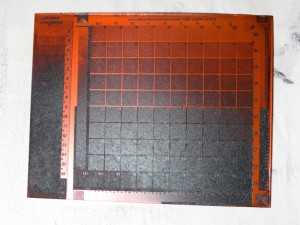
Here’s the step wedge plate, inked, wiped and ready to print. The darker portions of the wedge correspond to darker regions on the plate. Each step in the wedge corresponds to 1/3 f-stop.
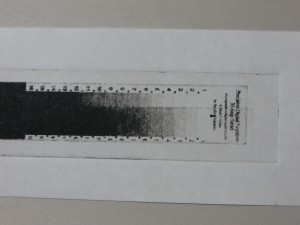
When exposing positives for photopolymer plates, it is important to choose an exposure that just hardens the plate so that it prints pure white in areas where the film is clear. The exposure for this test strip is spot on, but it is apparent that I have a contrast problem because the plate goes from white to black in about four f-stops.
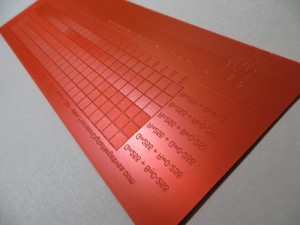
It turns out that black inkjet pigment is not well suited to producing fine tonal gradations in most alternative photographic processes. The problem is the black is just too strong and the printer can’t generate enough different gray values in the narrow range required by the photopolymer plates. Imagine trying to render a figure with a Sharpie and you get the idea. Mark’s insight is that one can choose a mixture of much weaker color inks in order to produce a positive with densities that match the response curves of the plates. By using color inks, it is possible to create hundreds of distinct values across the entire range from white to black. This is a huge improvement over black inks which are so dense they can only create a handful of distinct values in the densities useful for plate making. The squares in the test strip above represent about 150 different color mixtures. The goal is to choose the mixture that just barely yields black.
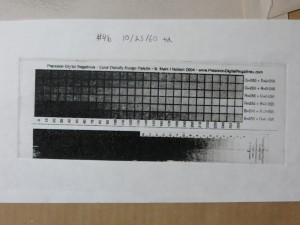
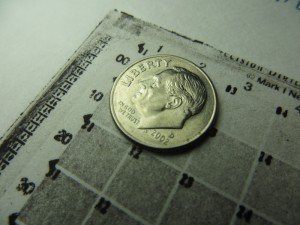
Here’s the color test strip, printed on white paper. Each of the gray boxes corresponds to a different color mixture in the inkjet positive. I chose the forth box from the left in the row labeled B=255 + R=0-255. This box corresponds to a the RGB color R=30, G=0, B=255. This color mixture just barely manages to give me black when it is at maximum intensity. Lighter versions of this color give me lighter shades of gray.
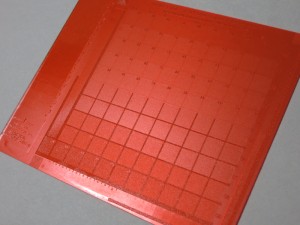
Here’s the plate for the initial gradient scale. This plate was created from a positive that used a mixture of red and blue ink, instead of black. Each square on this plate is a different shade of the RGB color R=30, G=0, B=255.
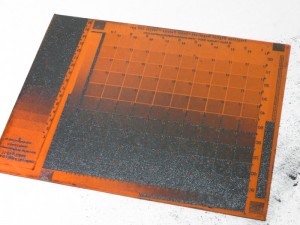
Here’s the initial gradient scale, inked, wiped, and ready to print. Already it is apparent that the plate has a contrast problem – most of the plate is very close to either black or white – only a tiny portion in the middle shows distinct gray levels.
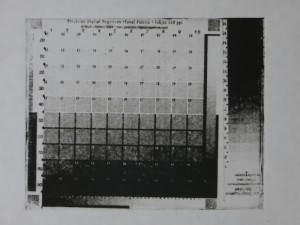
This is the initial gradient scale, printed on white paper and showing 100 different levels from white to black. This scale is not very linear – it is quite flat in the whites, then shoots up quickly to the dark grays and then flattens out again in the blacks.
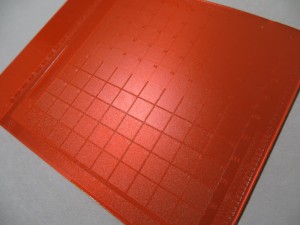
This plate was created from a new positive which combined the original gradient with the PDN process adjustment curves. The process adjustment curves should linearize the gradient.
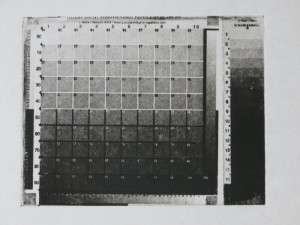
This gradient was produced by applying Photoshop process adjustment curves to the original gradient. This curve is much closer to linear.
Intagio Detail
I’m getting much finer detail now in my SolarPlate intaglio prints. It appears the improvements come from better plate wiping technique, and adjusting my press to apply significantly more pressure.
Adventure in Moving
The Glen Alps press presented a bit of challenge when it came time to move it from Vashon Island to my studio on the mainland, but this was also part of the appeal. Had I purchased a new press, the manufacturer would have arranged for a motor freight company to drive it to my studio and drop it off with a forklift. In the case of the Glen Alps press, I could have hired movers, but the cost would have been exorbitant, and I relished the idea of an adventure on the ferry and a challenging engineering project.
Fortunately Tom, the seller, had a lot of experience moving heavy items by hand, and together we were able to come up with a pretty good plan. The idea was to use sections of ¾” steel gas line pipes as rollers to move the press across the shop to a truck with a liftgate. This worked out pretty well, taking a couple of hours for three of us to load the press. The main challenges were getting the press up a 3” ramp at the edge of the liftgate and rolling the press across the gaps between the liftgate and the truck bed.
We used a 4” x 4” x 8’ board as a pry bar to get the press onto the rollers and to turn the press and get it moving. When we got to the ramp, we had to pry the press up a half an inch at a time and build up a stack of boards underneath until the press was as high as the top of the ramp. We used a block and tackle to pull the press on its rollers into the truck and used the pry bar to help us across the cracks.
My friend, Kevin, a third year student from the Aristides Atelier, helped me unload the press. Since there were only two of us, I rented a pallet jack and this greatly simplified the unloading.
Brains are more important that brawn when moving heavy objects by hand. The reason is that in many cases you and your helpers won’t be strong enough to rectify the situation if the load gets off balance and starts to tip over or rolls away from you on a ramp. The key is to think everything through before starting and then move inch by inch while constantly communicating and reevaluating the situation. You need contingency plans in case you get stuck – every move should be reversible. Also, keep fingers and toes and larger limbs well away from the load and anywhere the load might go if a support failed. Avoid applying strong and abrupt forces – it is easy to pull a muscle or push the load into a dangerous position.
The photos below tell the story of the press’s journey from Vashon Island to my studio.
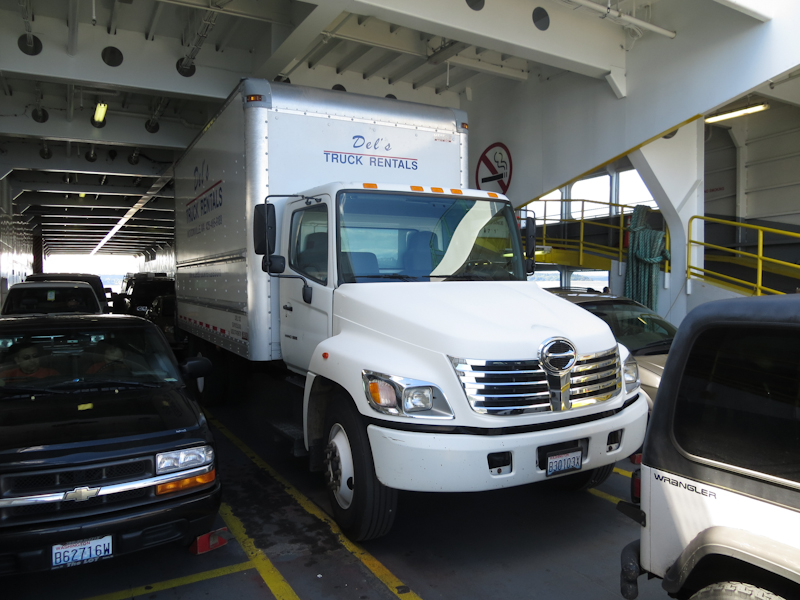
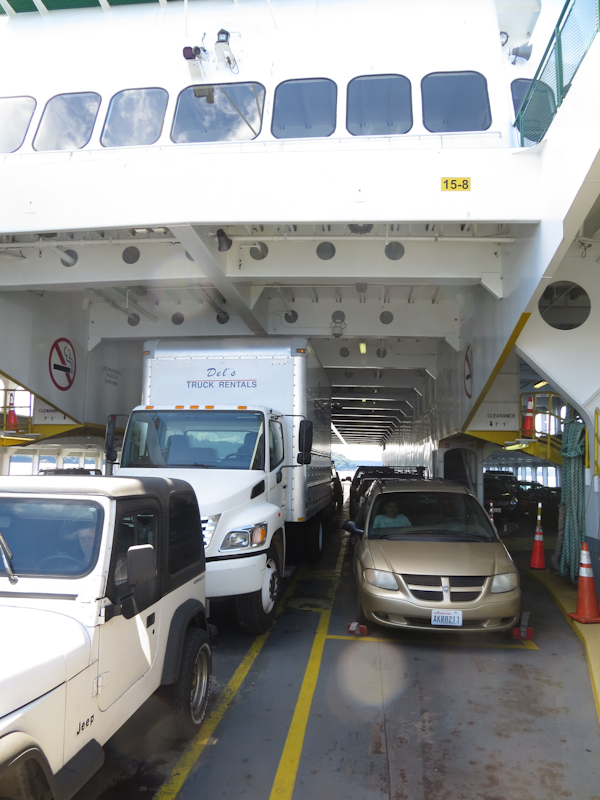
I set out right after the morning rush hour to pick up the press. The trip involved a ride on the Vashon Island Ferry. It was a bit of a squeeze getting the truck onto the ferry, but that was nothing compared to the ticket booth which had about 2″ clearance on either side. I also got to learn about air brakes. It turns out that the truck’s air pressure will deplete completely if you are sitting motionless, say in a line to board a ferry, and you leave you foot on the brake. This approach works fine in a car, but in a truck with air brakes, you need to go into park from time to time to let the air pressure build up.

Here is Tom’s shop on Vashon Island. After a bunch of backing and filling, the truck was ready for loading.

We used four pieces of 3/4″ steel gas pipe as rollers to move the press out of its old home. The rollers worked really well when moving the press straight ahead. Turns were another story altogether. We used an eight foot long 4×4 as a pry bar to rotate the press a few degrees at a time.
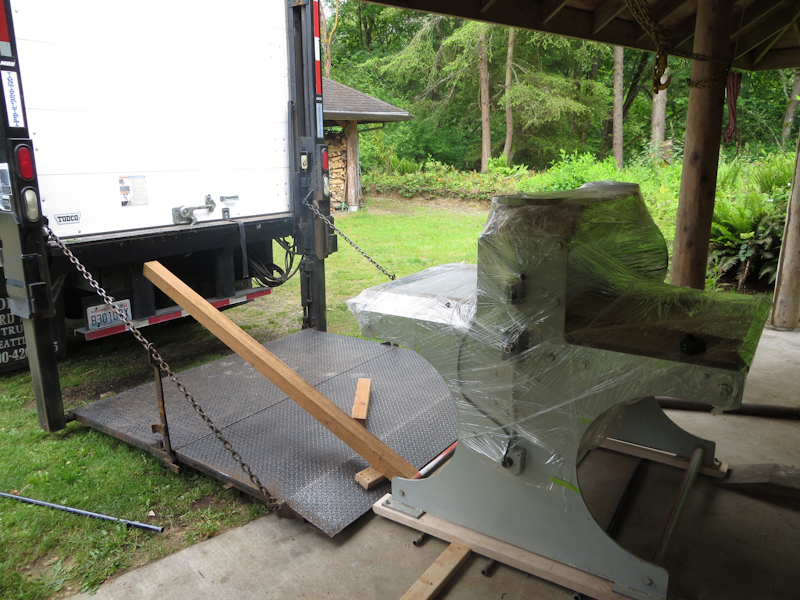
This eight foot long 4×4 came in handy as a pry bar for putting the press on the rollers and moving it onto the lift gate.
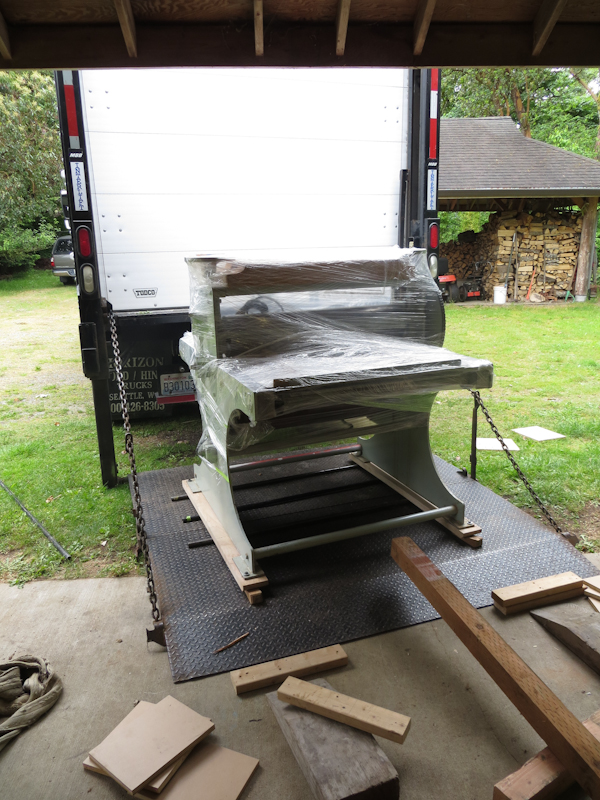
After about an hour of work, we managed to wrestle the press onto the lift gate. The blocks of wood on the ground were used to raise the press up to the level of the lift gate. We’d pry the press up with the 4×4, insert more blocks, and repeat until it was 3″ off the ground.

Once the truck was clear of the workshop, it was pretty easy to run the lift up to the level of the truck bed. We used a block and tackle to pull the press into the truck.
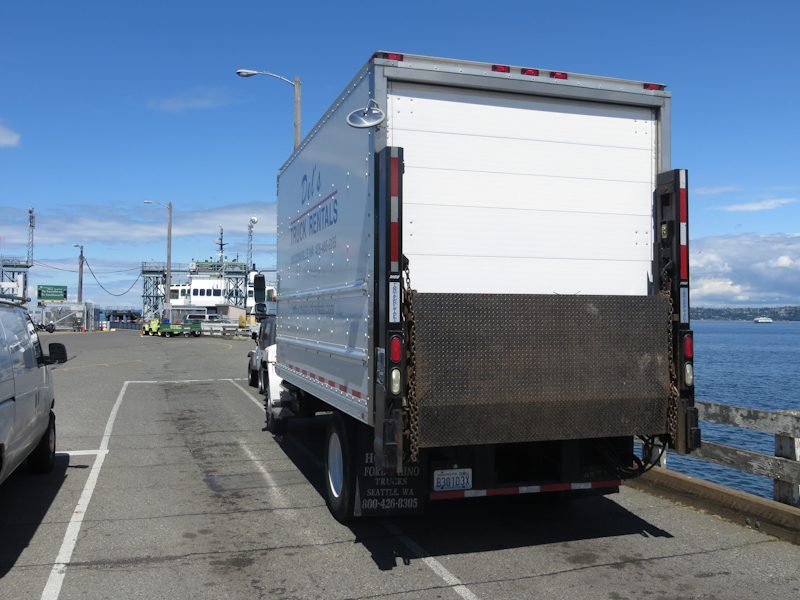
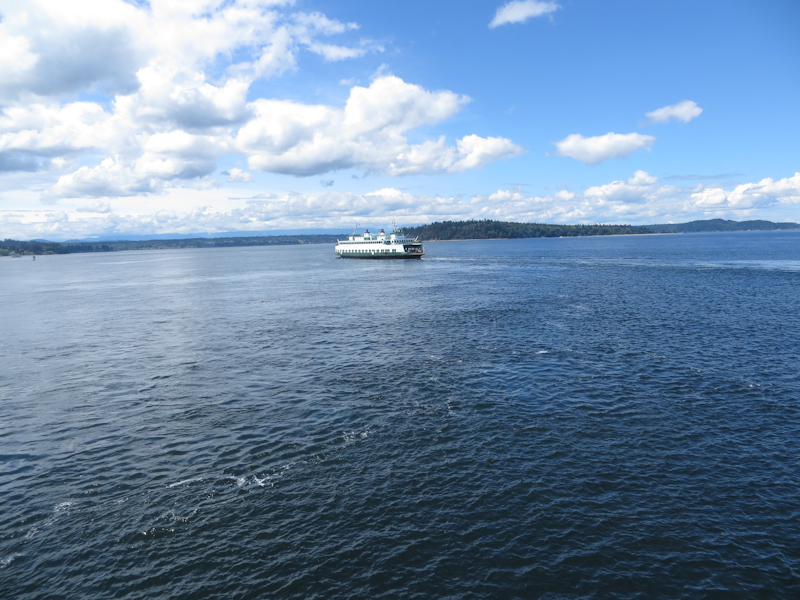
There’s not a lot of room for the truck in the narrow ferry lanes. Fortunately the lane to my left was not in use.
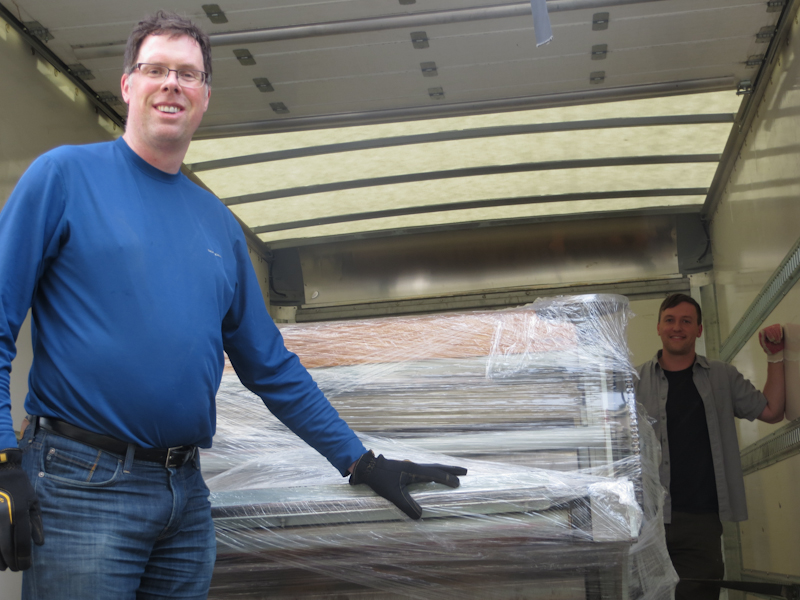
My friend Kevin from the Aristides Atelier helped me unload the press. Kevin is a 3rd year student. His dog, Bo, came along to give moral support.

I’ve backed the truck right up to my studio and we’re ready to unload. After the morning’s adventure in loading, I decided to borrow a pallet jack which greatly simplified the unloading.

Here’s a closeup of the pallet jack in action. It takes five pumps of the handle to lift the press and it can be gently lowered with the flick of a switch. Kevin is behind the press, prying with a 4×4 while I pull the jack from the front.

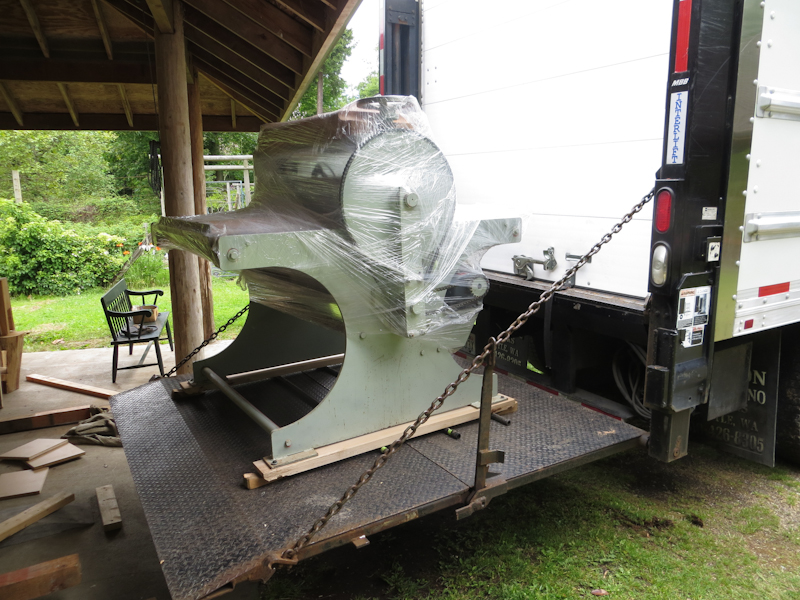
The main challenge in unloading was that the truck bed tilted down towards the lift gate. Our fear was that if we lost control of the press it could shoot off the back and fall to the ground. In the end we used a tie down strap to belay the press from above and we placed a 4×4 at the end of the gate to act as a barrier in case the strap failed. Before starting we made sure that we were strong enough to push the press back up hill and into the truck in case we got the press halfway out and ran into a problem. It turned out to be simple matter to ease the press down inch by inch and we had excellent control the entire time.

This shot gives a good idea of the slope we were working with. I am beginning to jack up the press so that its entire weight rests on the wheels of the pallet jack. The jack works like those long-handled automotive jacks. It takes about five pumps of the lever to lift the press completely off the ground. Note the 4×4 jammed against the chains. We placed it there in an abundance of caution to catch the press if it suddenly started rolling and the strap failed to hold it.

A brief pause for a celebratory photograph now that the press is safely on the lift and halfway down to the ground. The hard work is mostly behind us and we’ve safely dealt with the biggest risks.
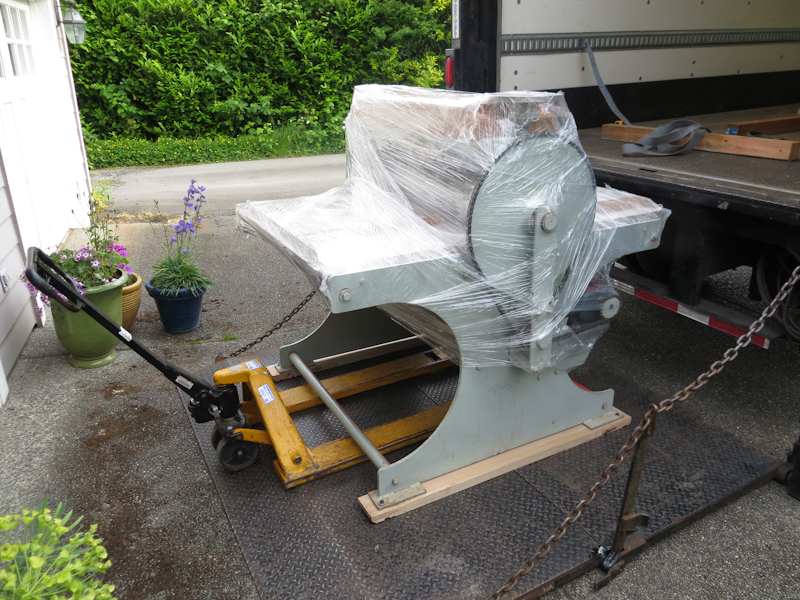
The press is safely on the ground and ready to roll into the studio. The only remaining challenge is to work the press off of the lift gate and keep from getting stuck when it high sides. We were able to get across the edge of the ramp by adjusting the pallet jack height, why levering the press forward with the 4×4.
Glen Alps Press
Meet the newest addition to my studio – a very large, and very sturdy etching press. This press was designed and built over 30 years ago in Seattle by the late Glen Alps. Glen was head of the University of Washington Printmaking Department, and taught there between 1949 and 1978. He is credited with developing the collagraph technique of printmaking. Glen designed and fabricated about 30 of these very durable presses over his lifetime. This was one of the last presses made while Glen was still alive.
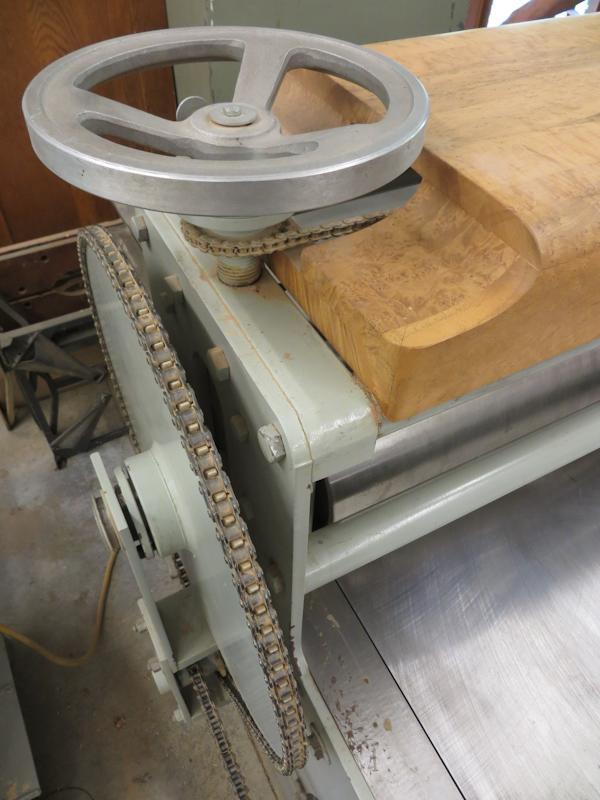
The press is really robust, made of sheets of 3/8” steel. I’m guessing it weighs about 1500lbs. The bed is 40” wide and 63” long and it is powered by a really sturdy electric motor. The top roller is 7” in diameter and the bottom roller is 16”. The pressure adjusting screws on the top roller are linked with a chain so that both sides move in unison.
I had been interested in a larger press, but wasn’t actively looking when I stumbled upon this Glen Alps press in a cabinet maker’s workshop on Vashon Island and it struck a chord with me.
I like the design which is completely utilitarian, but elegant at the same time. As an example, the press has these lovely curves cut into the side. The curves give it a great esthetic, but the real reason they are there is that the press was designed to be constructed with minimal waste from couple of sheets of steel and the curves are the result of cutting out the circular end pieces for the large bottom roller. The entire design is similar – every facet of every part exists for a reason and the function is always apparent from the form.
Another thing I like about this press is that it is a bridge to the past and to the region where I make my home. The gentleman who sold me the press studied under Glen Alps and eventually became Glen’s teaching assistant and close friend. Glen made the press for him in the 70s and helped him move it and set it up. Now Glen’s protégé has helped me move the press to my studio and I will continue the tradition.
SolarPlate Intaglio Value Scale
This evening I tried my first intaglio value scale with SolarPlate. My main takeaways are that the process has very high contrast, but the results are really promising.
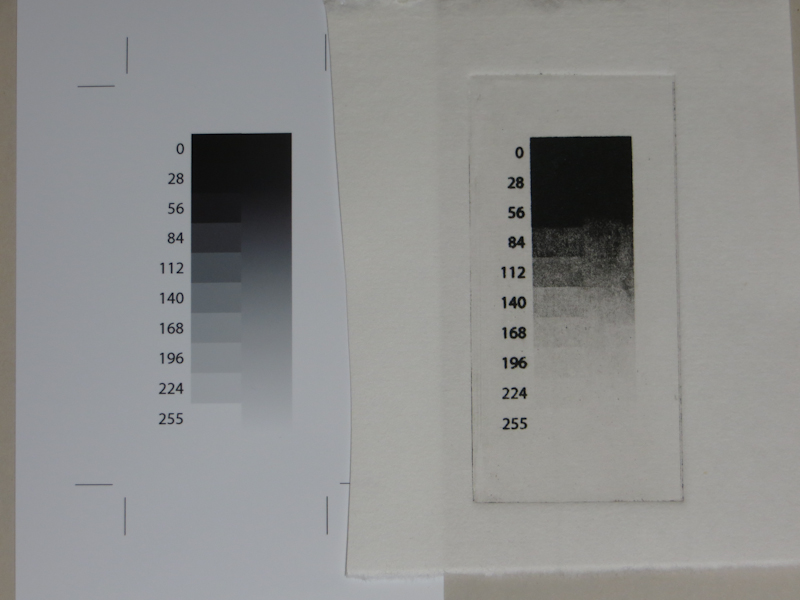
My goal is to reproduce the value scale on the left. The results, printed on Hosho, are on the right. It is readily apparent from this initial test that my SolarPlate process has too much contrast, compressing most of the dark end of the value scale into a couple of steps. My next test involves a more detailed test print that will allow me to create contrast adjustment curves in PhotoShop.
Solarplate Intaglio Experiments
This evening I made an intaglio print from SolarPlate for the first time. This is the first step in working out the details of a process that will ultimately use a NuArc 26-1K platemaker to expose Imagon HD with Pictorico OHP positives created on an Epson 3880 printer. The first experiment was to determine the correct exposure and development to get a good solid black from the aquatint screen.
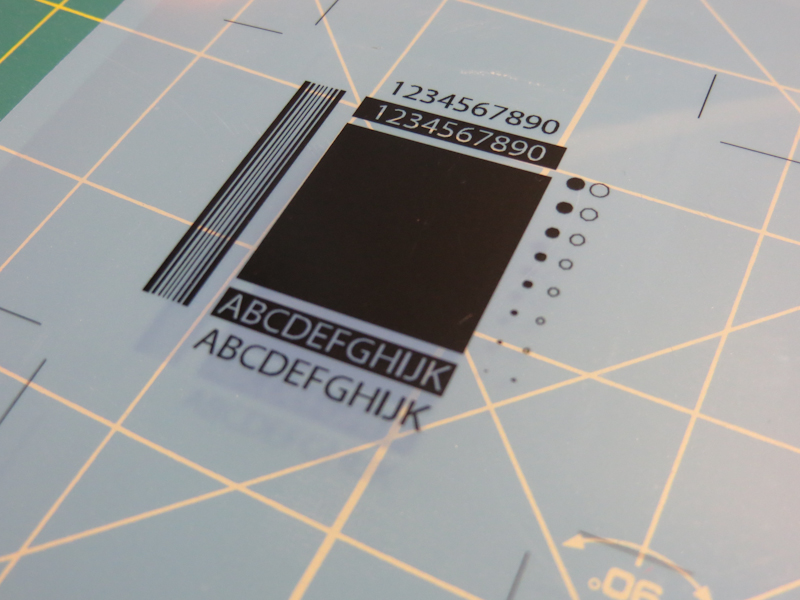
For this first test, I am just trying to get the correct exposure for the aquatint screen. The goal is to get an exposure and development process that gives a rich black with good edge detail. Once I get a good black from the aquatint, I can start to experiment with gray scales. This test pattern was printed with an Epson 3880 on Pictorico OHP. The central rectangle is an inch square, and the text is 12pt.

This 2″ x 2″ plate was exposed on a NuArc 26-1K Mercury platemaker. I first exposed the aquatint screen with 10 exposure units which took about a minute. Then I exposed my test pattern with 25 exposure units. I developed in water for one minute with gentle abrasion from a paint brush. The plate was blotted and then dried with a hair dryer and then exposed one more time with 25 exposure units to fully harden the photopolymer.

Here’s what the plate looked like after wiping with tarlatan cloth and then newsprint. I didn’t realize it at the time, but the region with the white letters on black actually needed more wiping.
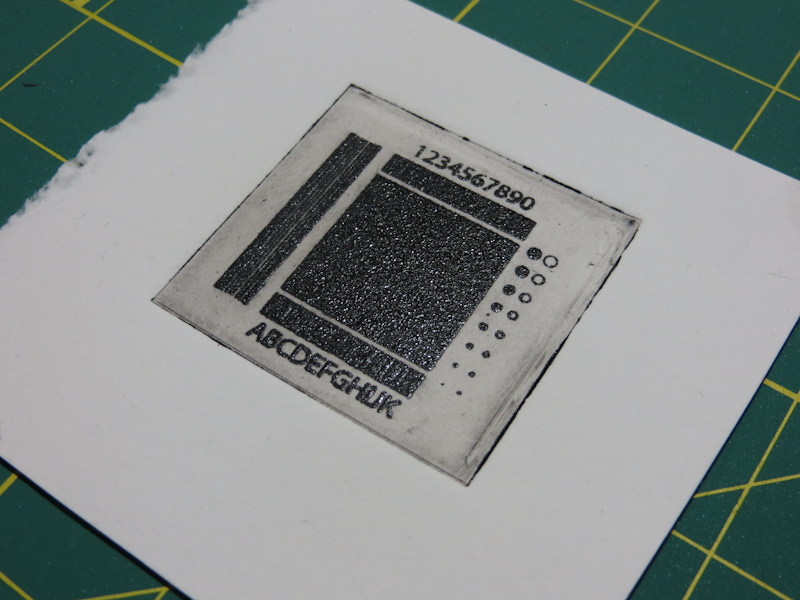
Here’s my first intaglio print from SolarPlate. The paper is wet Rising Stonehenge. The impression is nice for a first try, but the plate had too much ink. This resulted in solid black rectangles where the white letters should be and too much plate tone. I printed a second piece of paper off the same plate without reapplying ink and got a decent print.

This print is on a dry piece of Hosho. I wiped the plate a bit more carefully, and this improved the print quality.
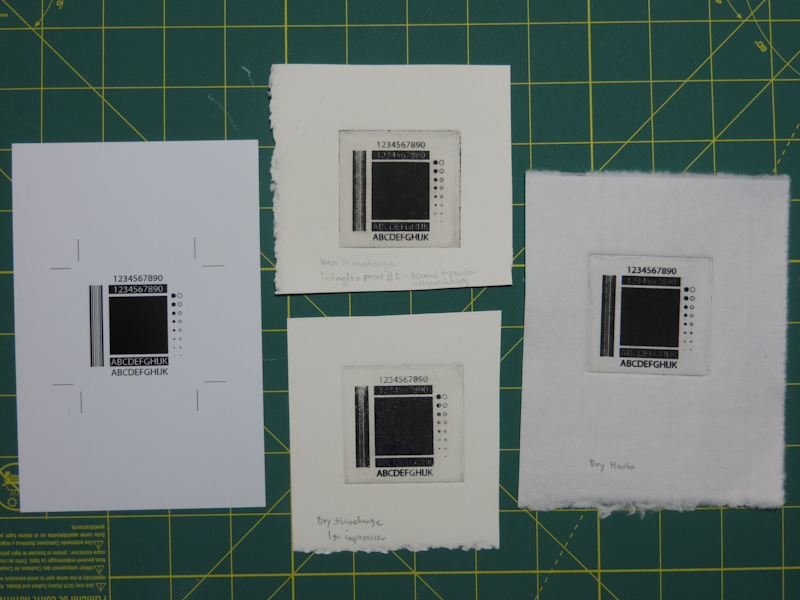
This photo shows the test pattern on the left, wet and dry Stonehenge in the center, and dry Hosho on the right. Overall, pretty satisfactory results for my first stab at intaglio with SolarPlate. I want to continue experimenting with exposure, inking, wiping, paper types, moisture levels, and roller pressures until I can reliably reproduce details down to a quarter point. Then I will start to work on gray levels.
Laser engraving for detail
Today I experimented with laser engraving to create a relief plate with details that are too small for laser cutting. I was able to get decent results on a very small sample design of a bunch of pine trees, but the resulting plate was hard to print and it took a lot of laser time. I will probably do some additional experiments with plywood and MDF plates, but I think I may have reached the limit of detail that one can achieve cheaply with a laser cutter/engraver.
I suspect that for this level of detail I will need to move from relief printing to intaglio, either with photo polymer plates or perhaps etched aluminium plates. Stay tuned for more details.
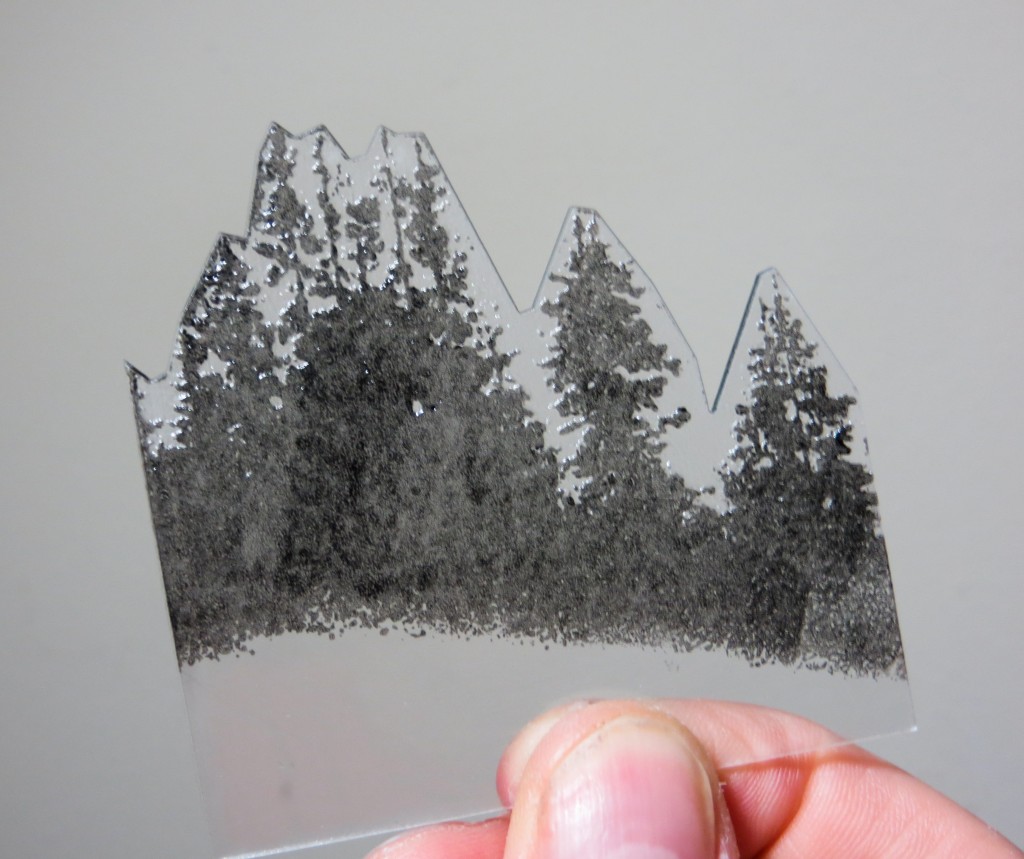
Here’s my 2.75″ x 3.25″ test plate, made by engraving and then cutting a piece of 1/16″ acrylic. The plate is inked and ready to print.
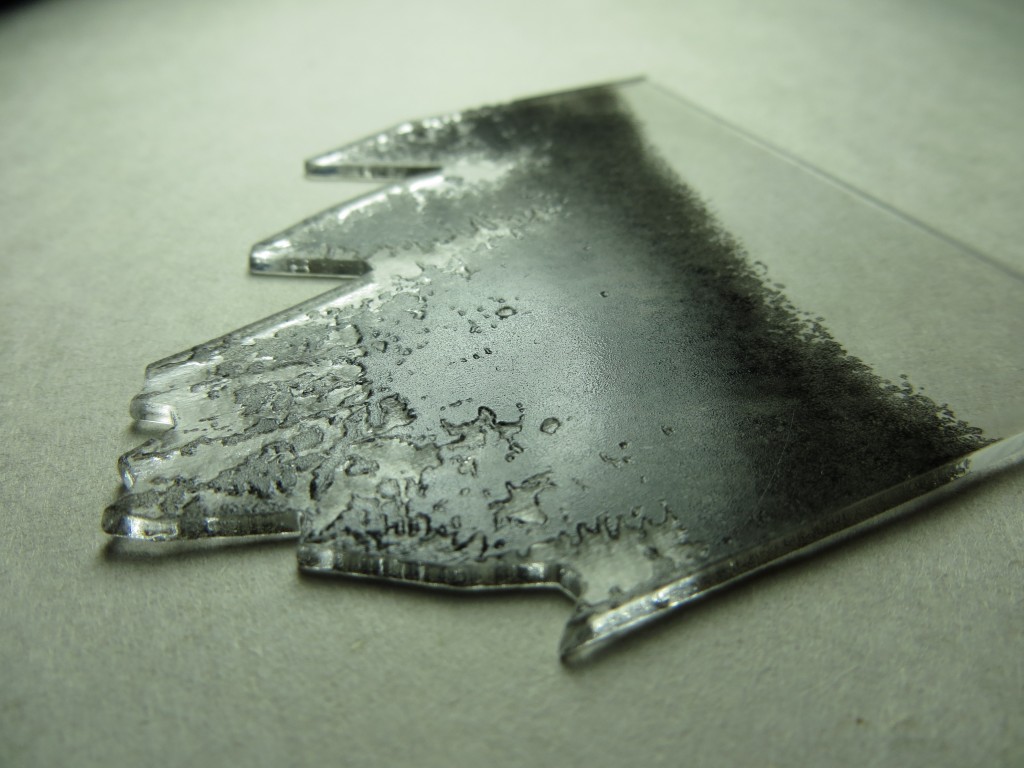
As you can see in this image, the engraved plate has very little relief. This makes it hard to ink. I experimented with various laser settings. The key is to use a low enough power to avoid turning plate into a pool of molten plastic, while using enough power to get sufficient relief for printing. This sample used two engraving passes at a lower power.
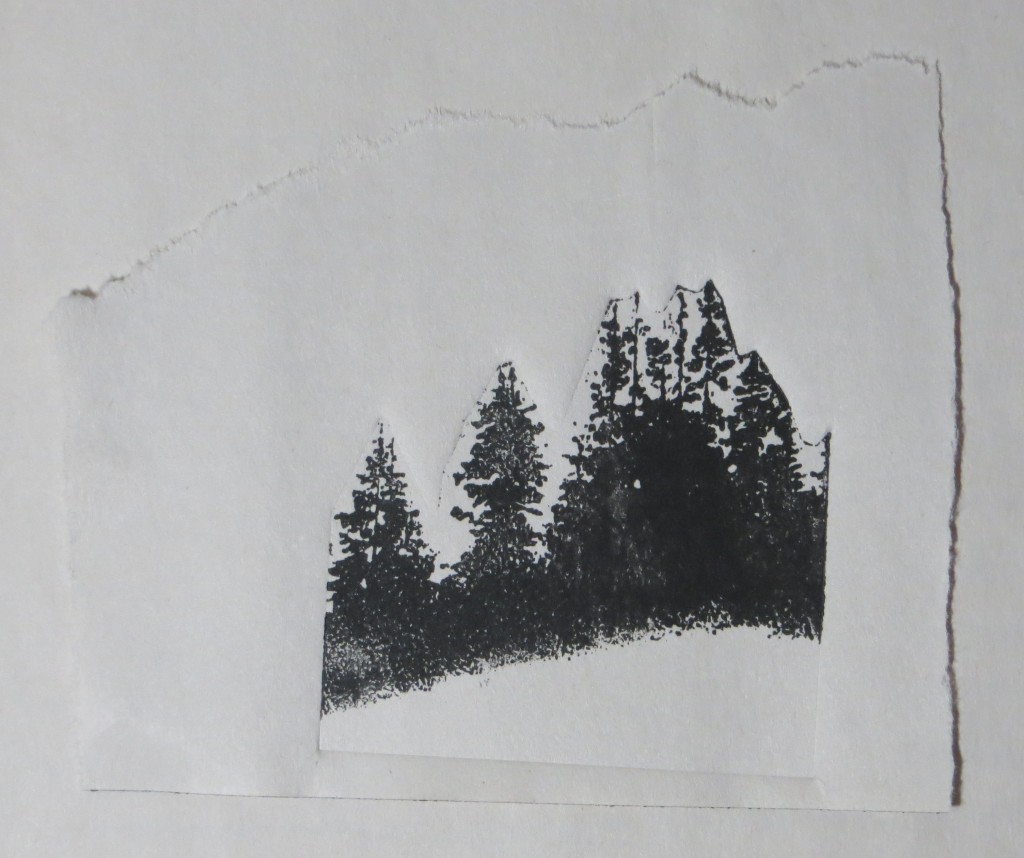
Here’s the first proof. I had to use a very light touch when applying ink, but I did get decent results with quite a bit of detail.
Laser Cut Pumpkins
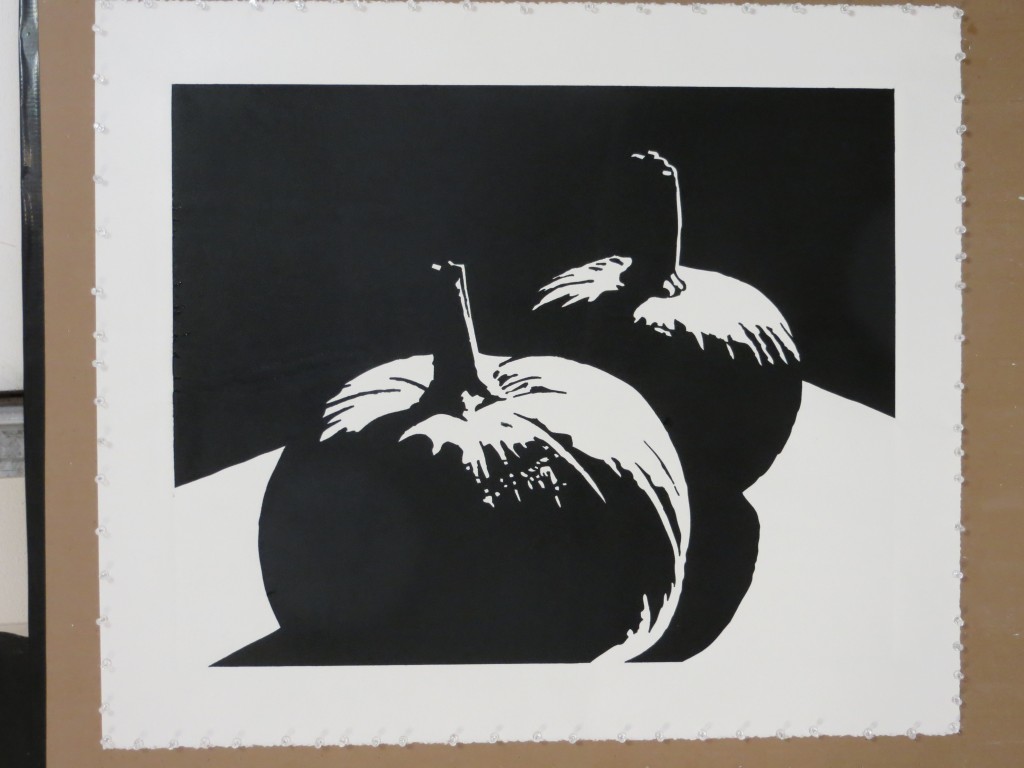
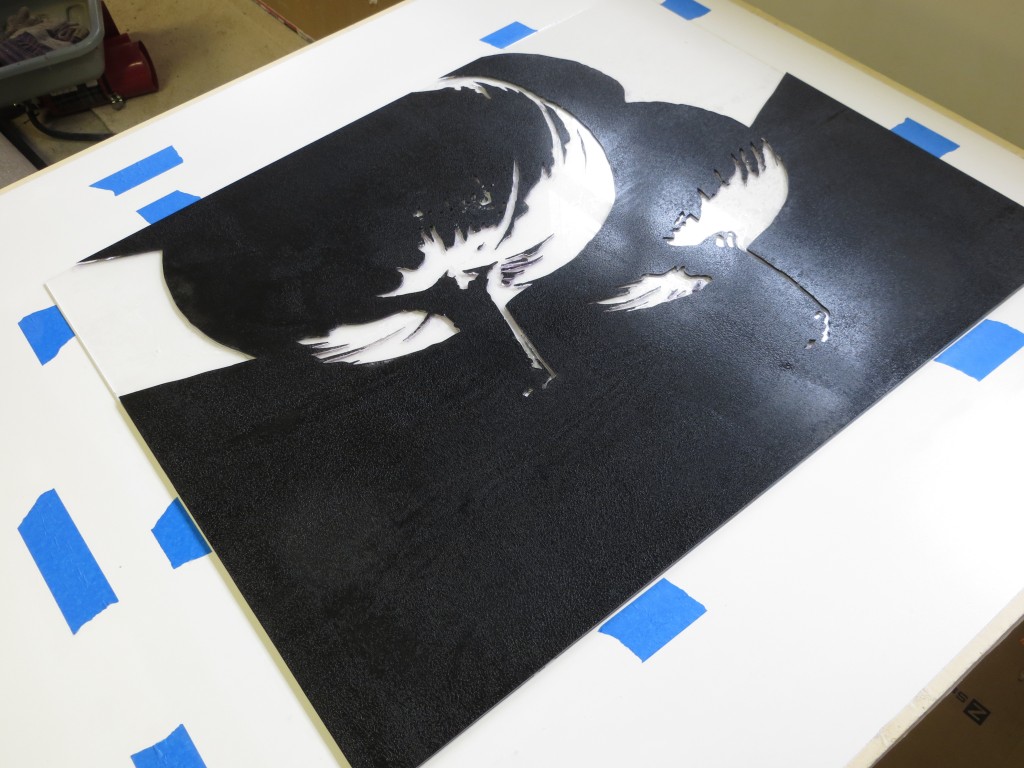
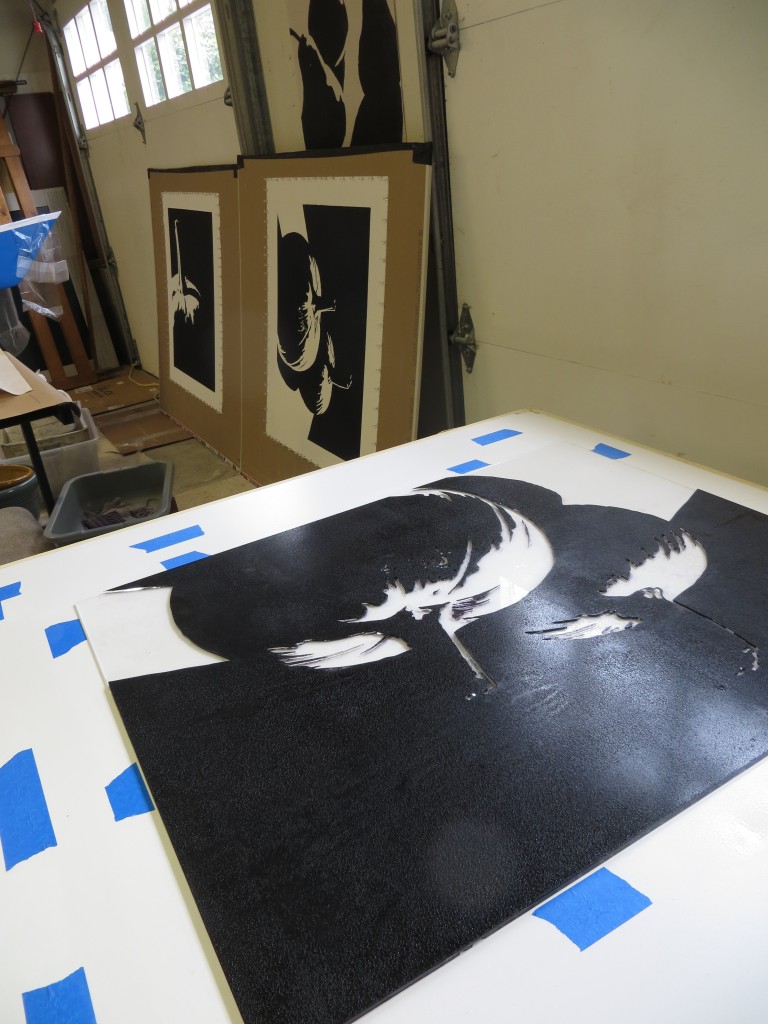
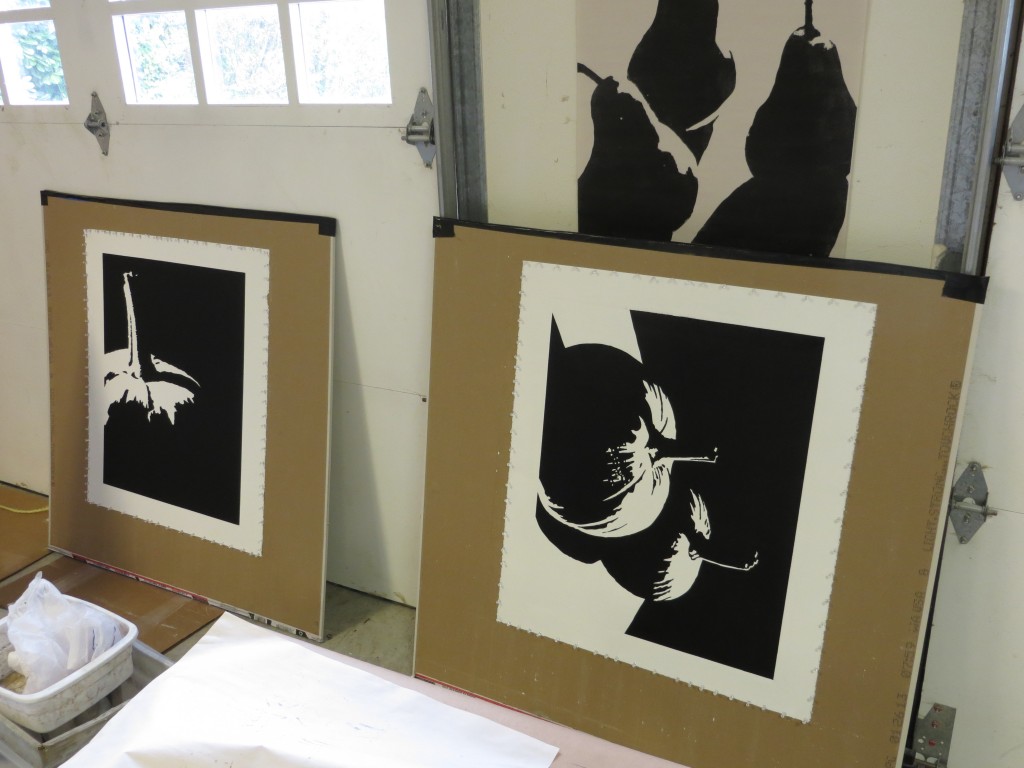
Tonight I had a really good session printing my first laser cut acrylic plate. I used Akua Intaglio Carbon Black ink on damp Rising Stonehenge ripped to 32″ x 36″. The acrylic plate worked much better than the FPVC plates I was using before, but I did have to take care with the baren because the cut edges are hard and sharp and could potentially tear the paper.
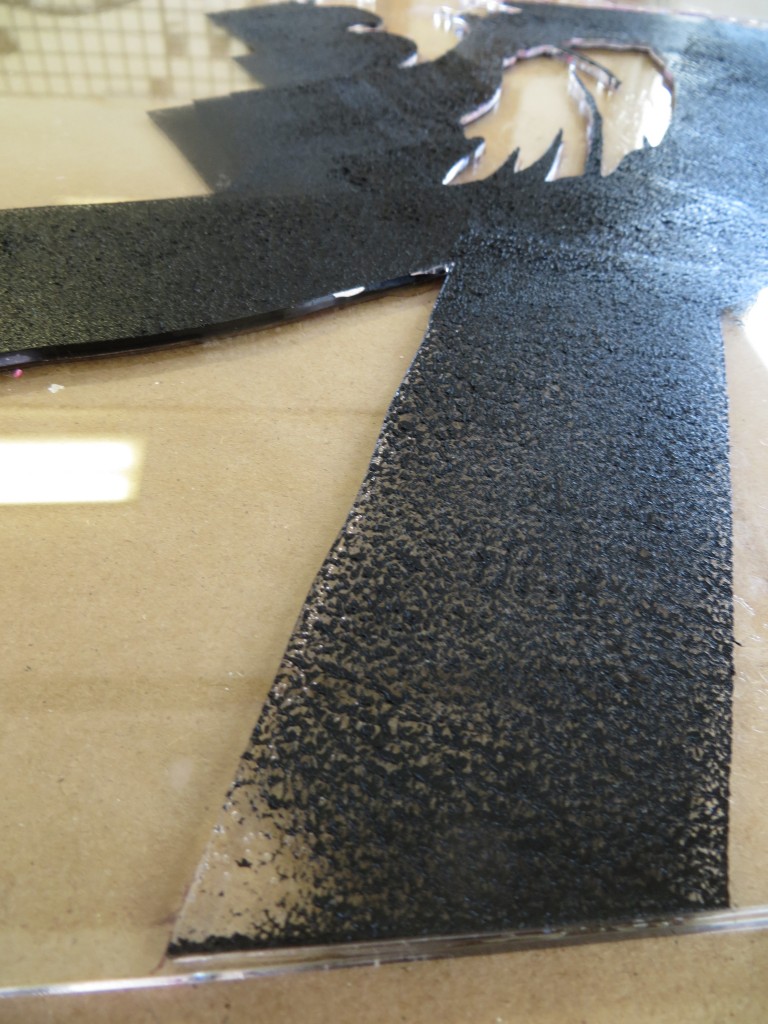
As I began to ink the plate, I realized immediately how acrylic is a better plate material than FPVC. The acrylic is very smooth and this makes it easy to apply the ink and transfer it to the paper. The fact that the acrylic is clear is a huge plus. Once the plate is fully inked, I can hold it up to the light and inspect for pinholes. The first time I did this, it was clear that the plate was far from ready. It was such a time saver to apply the ink once before printing. With the FPVC plates, I often have to lift the corner of the print a number of times to reapply ink to cover pinholes.
Laser Cutter
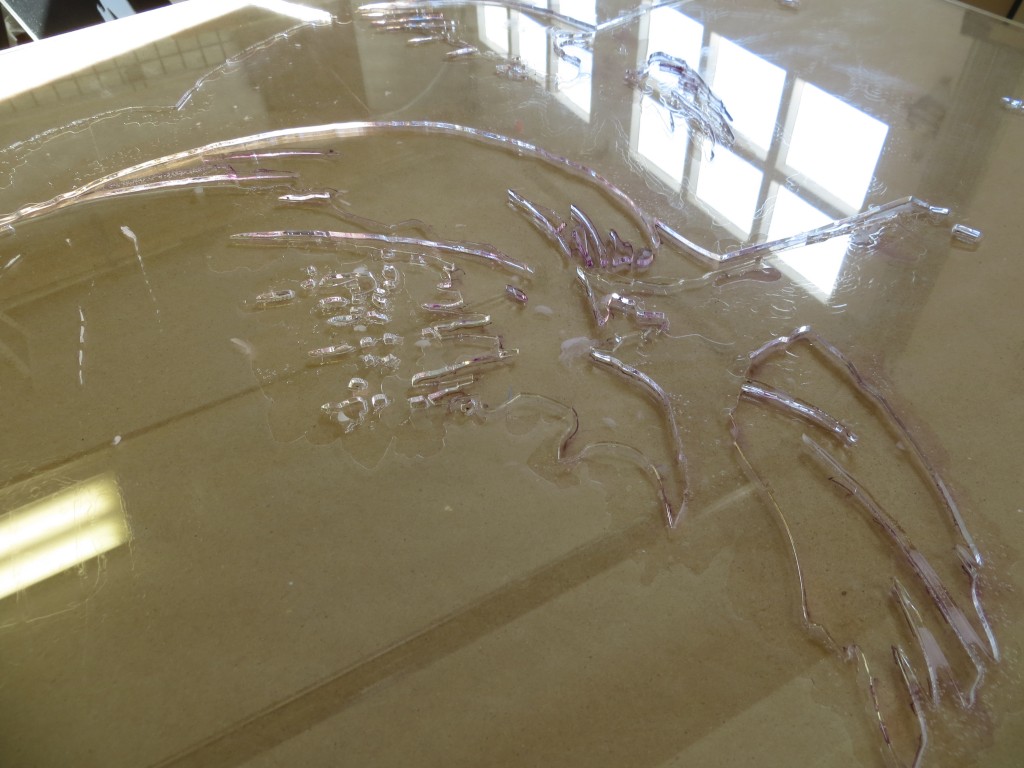
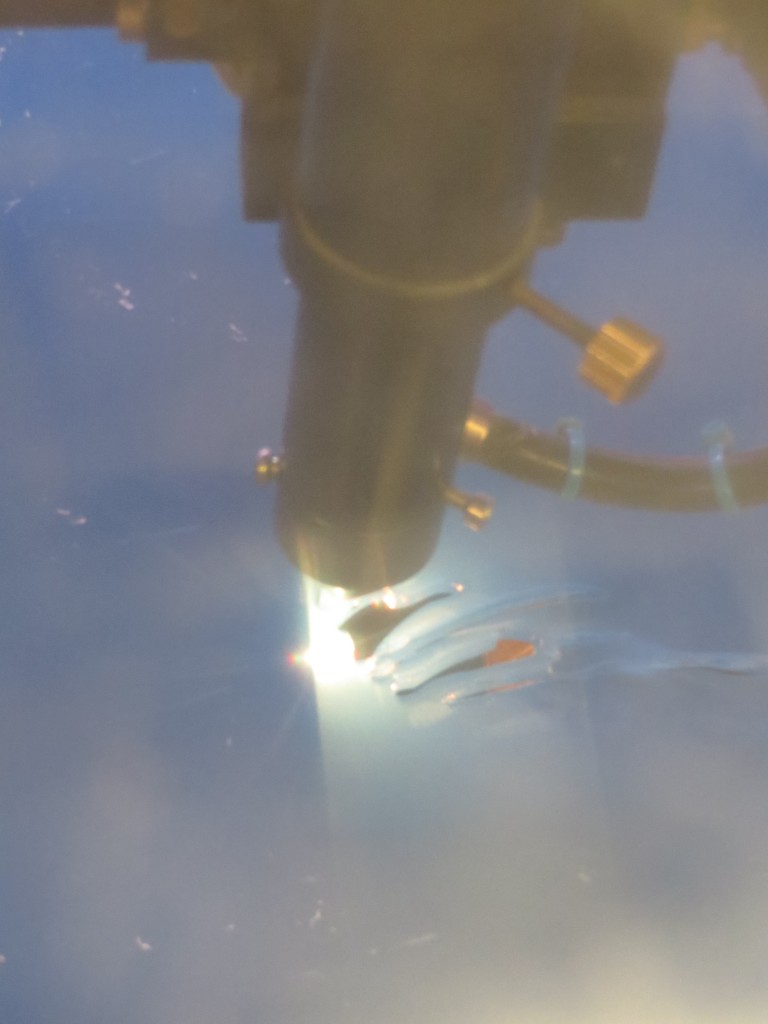
I’m trying a new approach to making giant relief plates. Instead of cutting FPVC by hand with a jig saw, rotary tool, and file, I am using a laser cutter to burn a plate from a sheet of clear acrylic. Goodbye dust and noise and goggles and respirators. Hello fire!
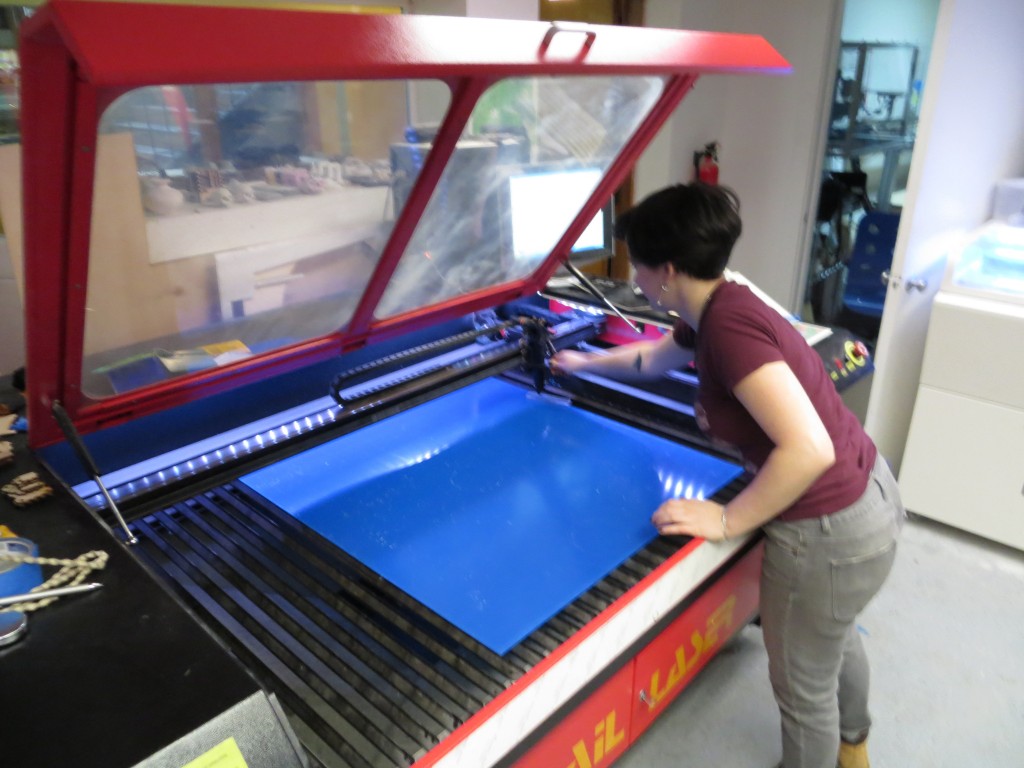
Laser cutters are huge and very expensive. Fortunately Metrix Create: Space in Seattle has one available for hire at really reasonable rates. They charge by the minute, with rates varying depending on your membership level. My 24″ x 30″ plate had about 700″ of cuts and we were cutting at about 10mm/s, so the whole job took about 30 minutes. From reading the laser manufacturer’s documentation, it appears that it can cut my 3/32″ acrylic at 40mm/s which would reduce the cutting time and the cost dramatically.
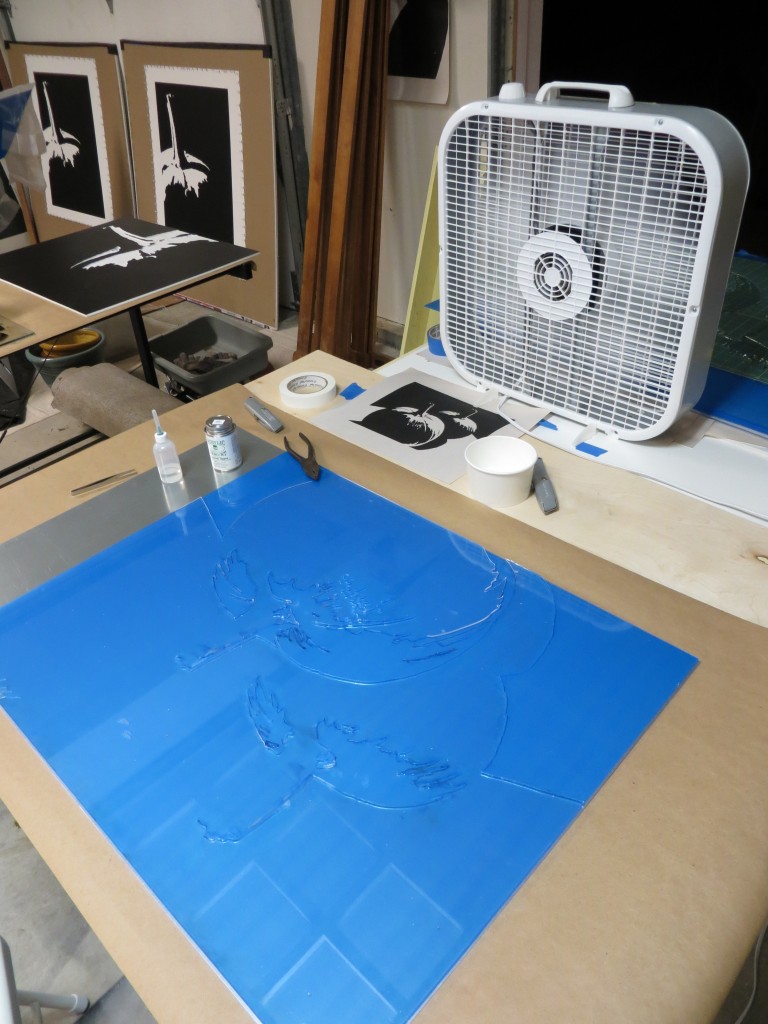
Today I cut the plate and glued the pieces together. If all goes well I am hoping to pull a print tomorrow!
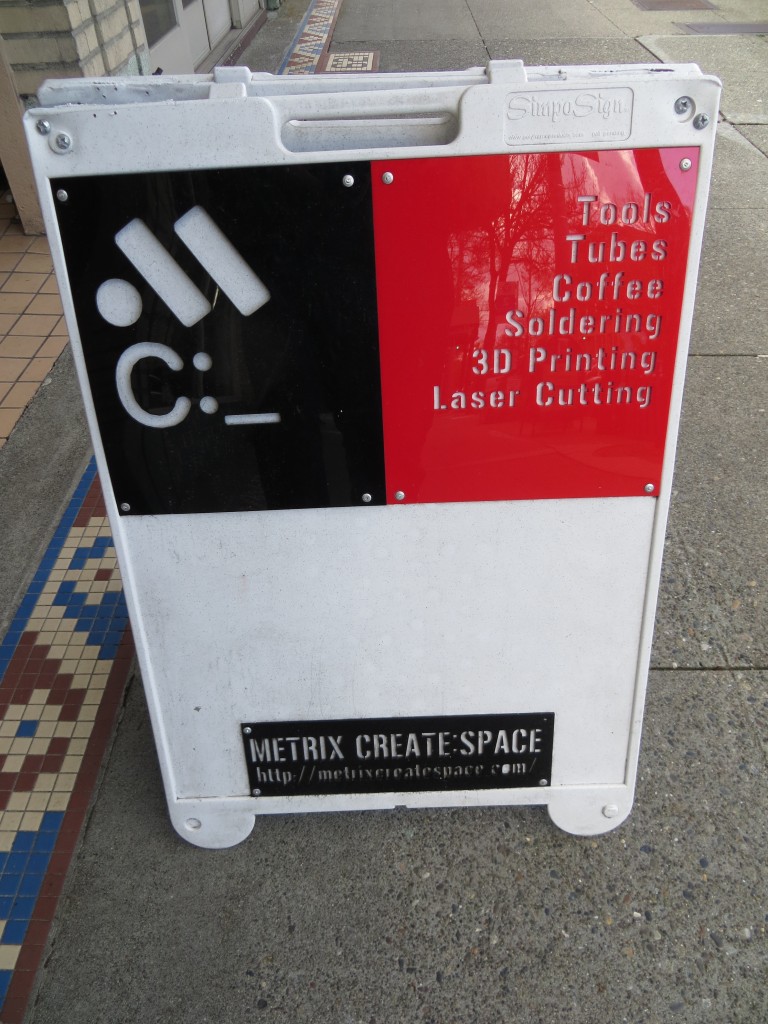
Metrix Create: Space on Capitol Hill near the intersection of Broadway and Roy. In their own words, “Part techshop, part hackerspace, part coffeeshop”. Metrix Create: Space has all sorts of goodies including laser cutters and 3D printers.
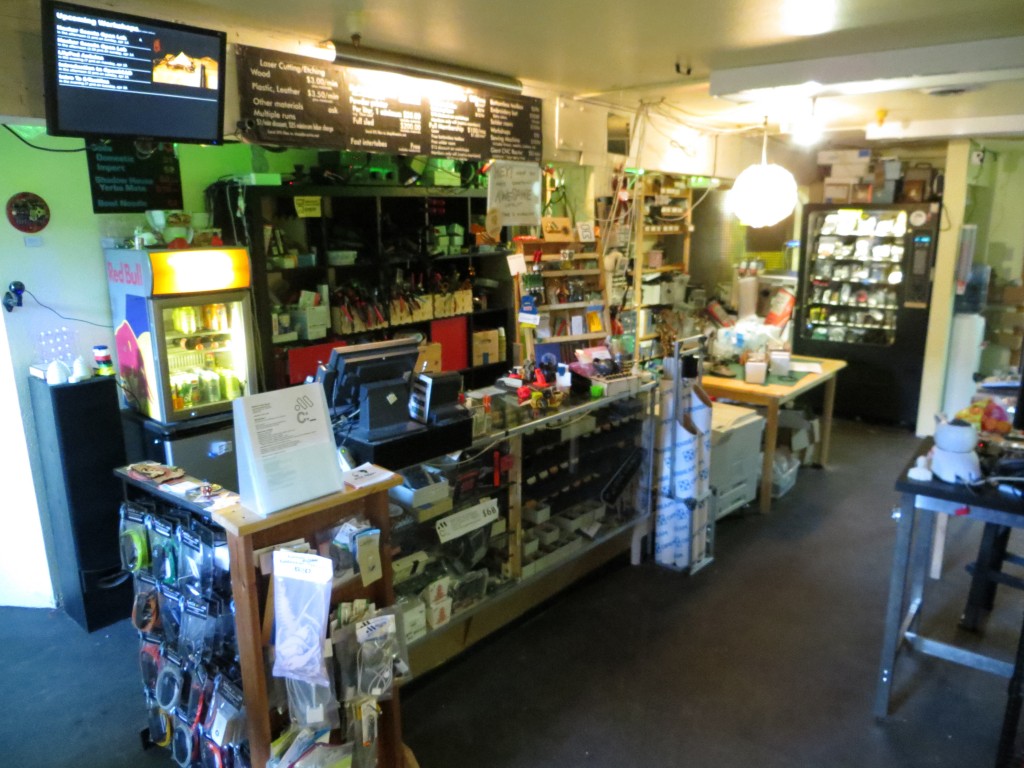
Matrix Create: Space is well stocked for all of your hacking/making/building needs. It is a great place to hang out and meet other builders and the staff are super friendly, knowledgable, and helpful.
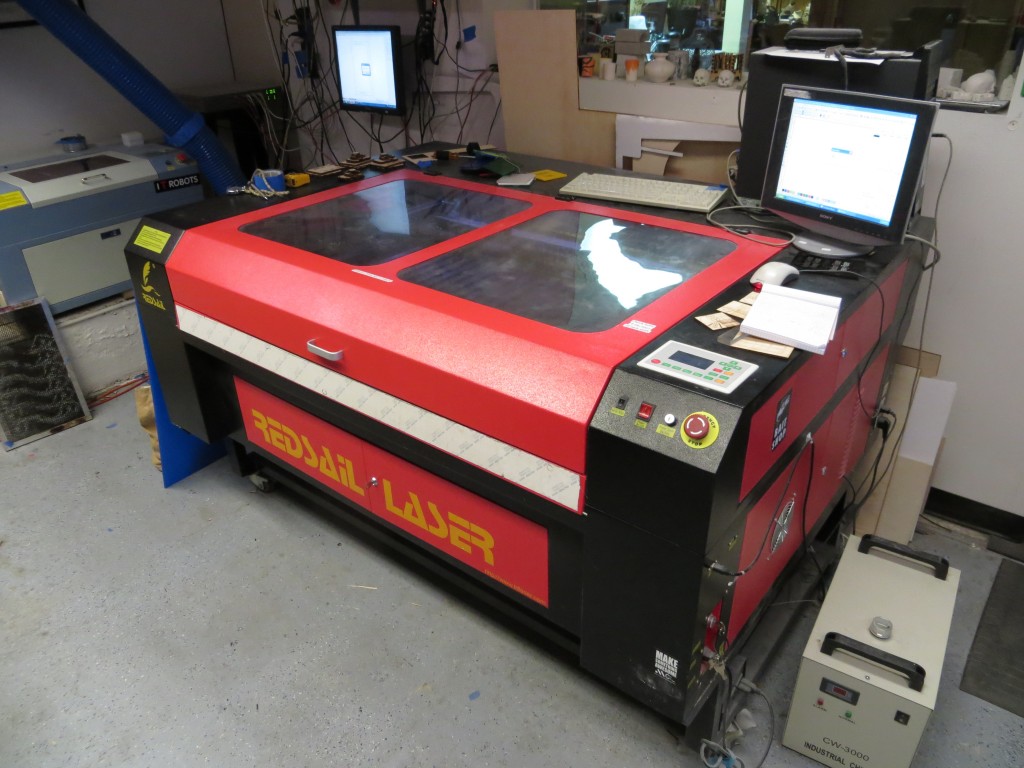
This monster is a 100W FullSail laser cutter. It handles material up to 32″ x 45″. Cuts acrylic and wood like butter at about 1000 dpi.
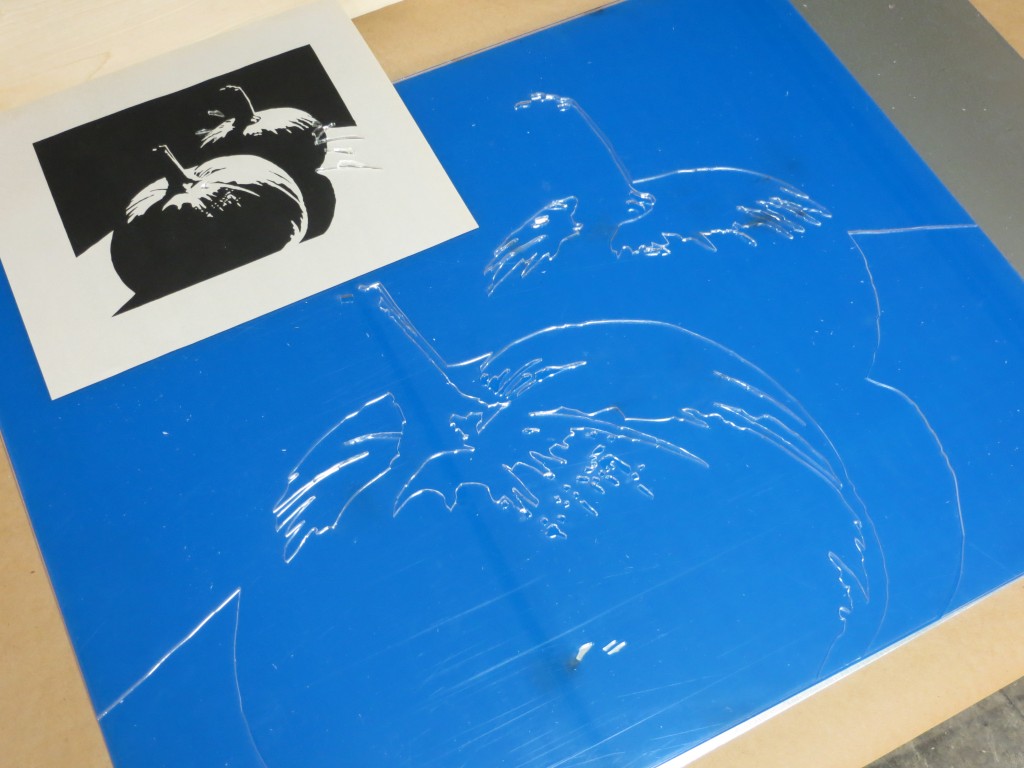
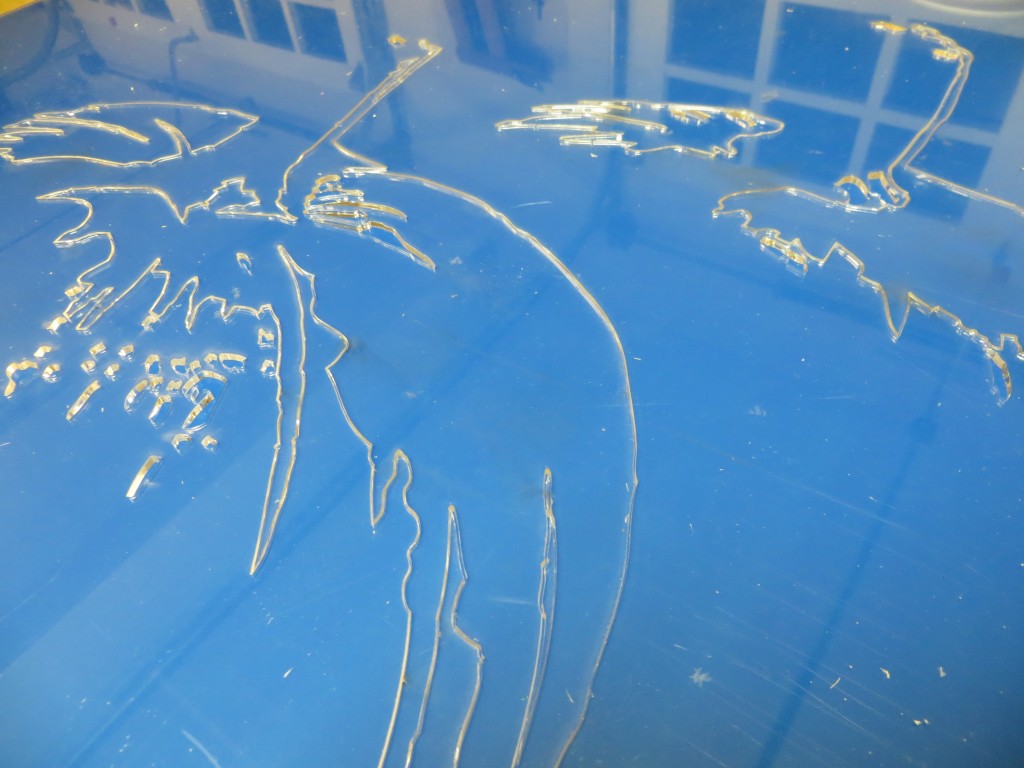
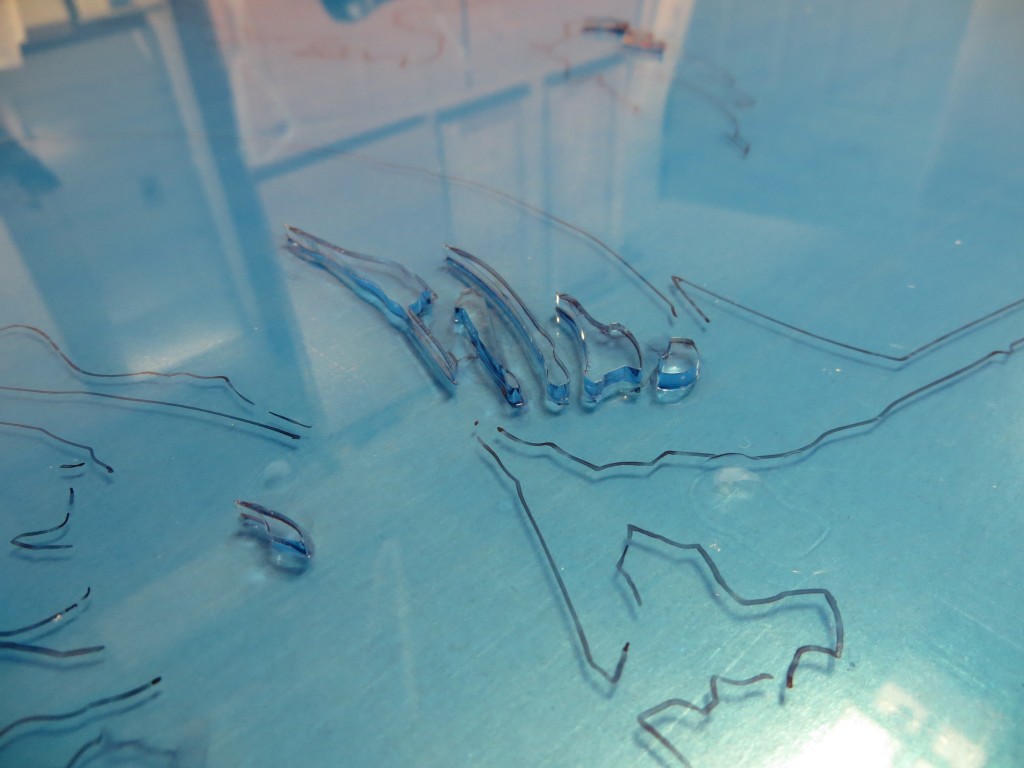
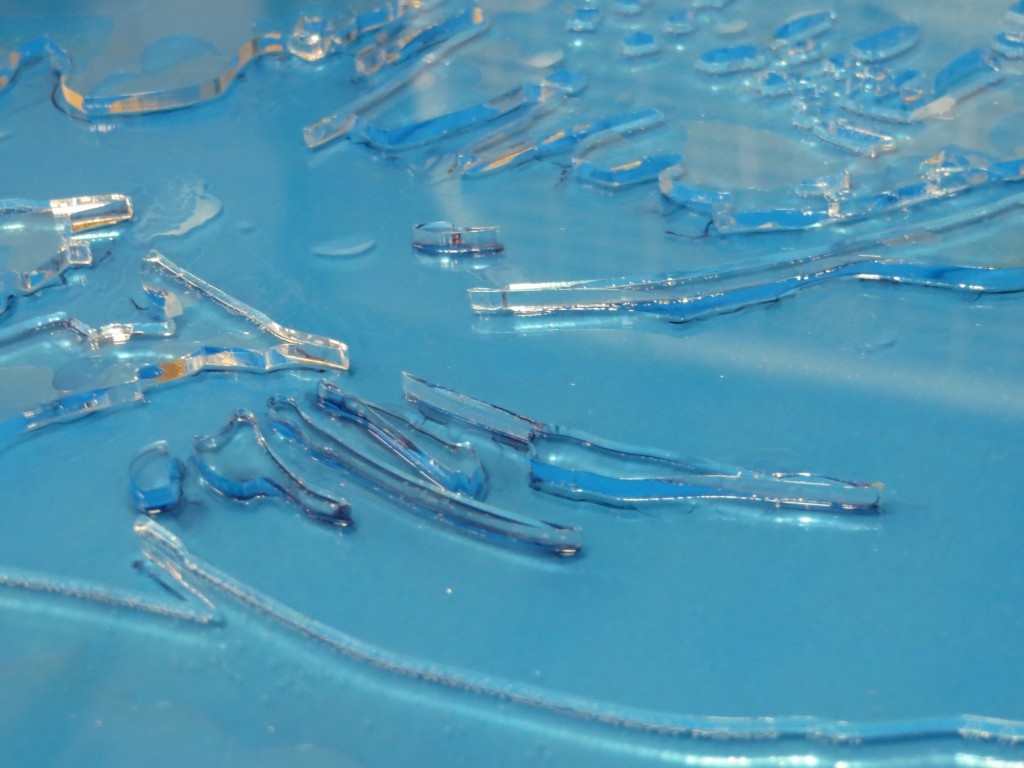
Here’s what the plate looks like fresh from the laser cutter. I am using clear acrylic. The blue that you see is a protective film.
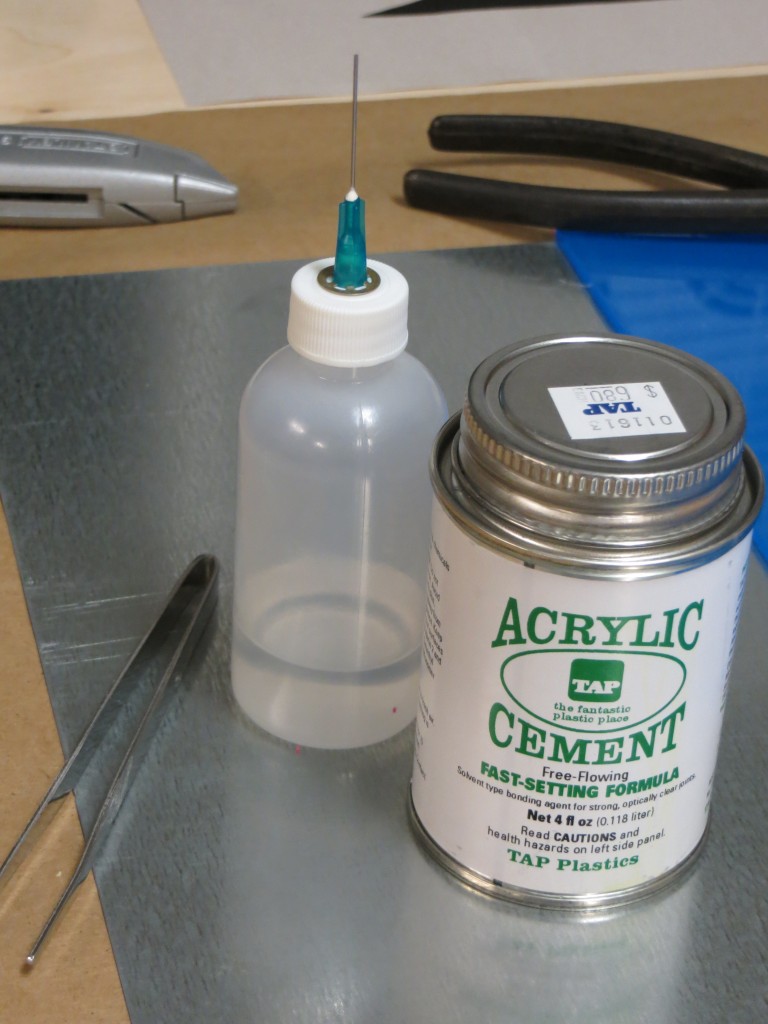
I am using acrylic cement from TAP Plastics to assemble the plate. The syringe bottle shown on the left is a huge help in spreading the cement and containing the fumes. The great thing about the syringe is that you can run it along the joints and they will draw in the cement through capillary action.

