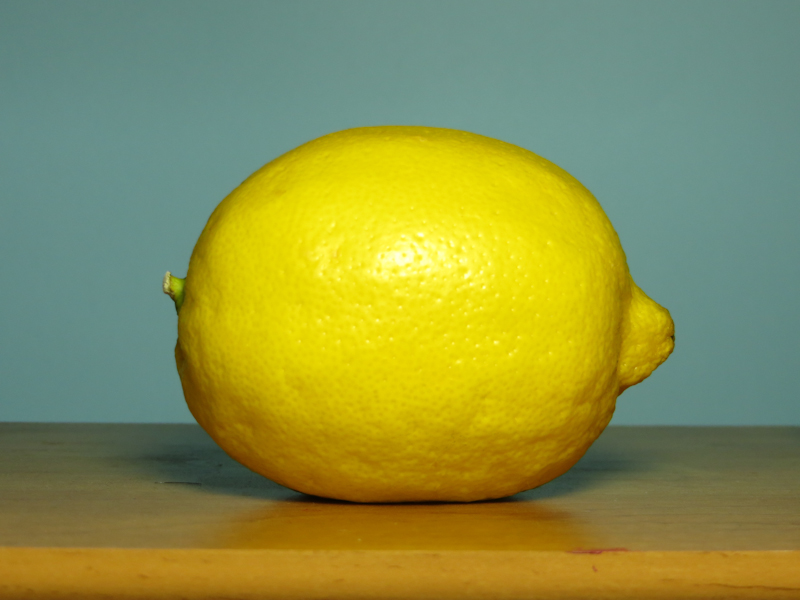
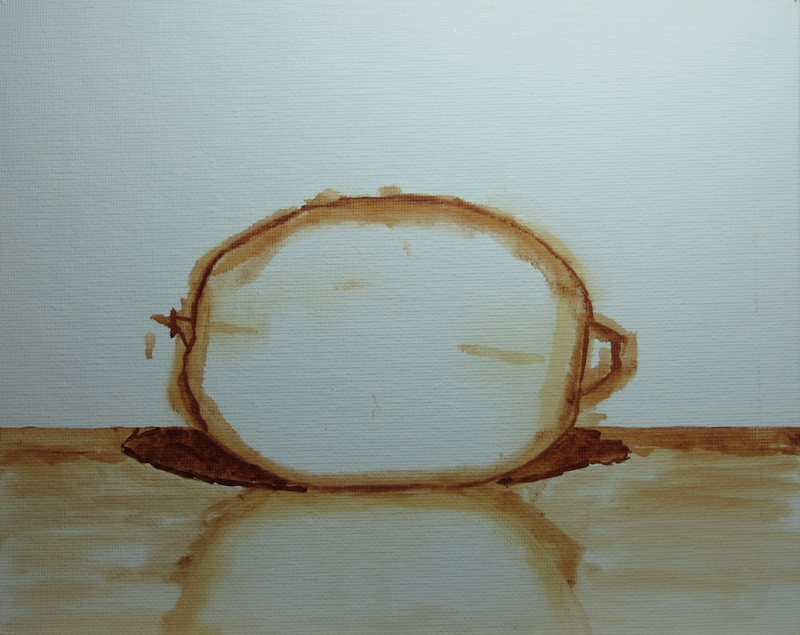
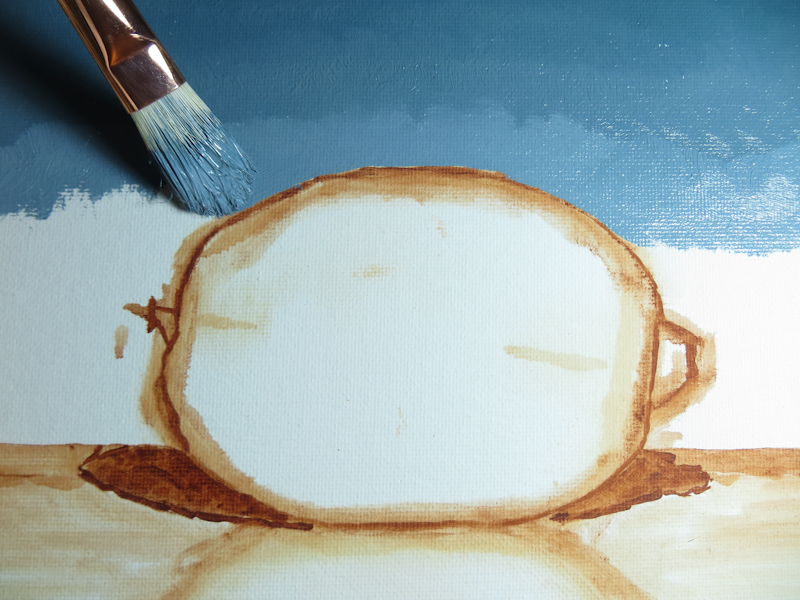
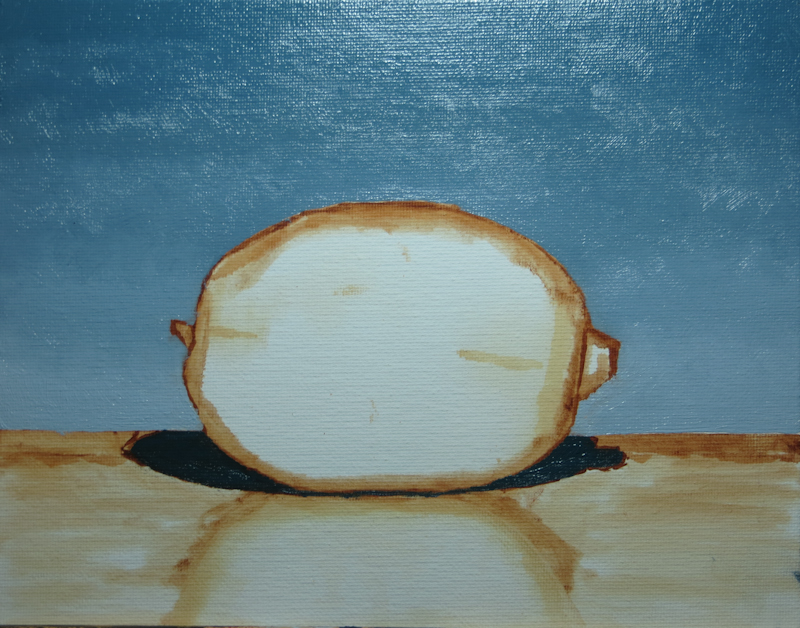
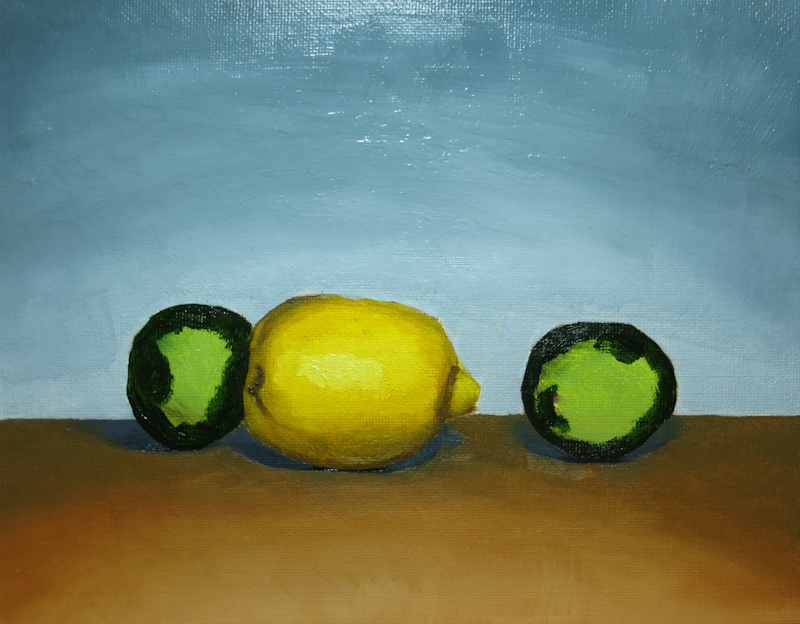
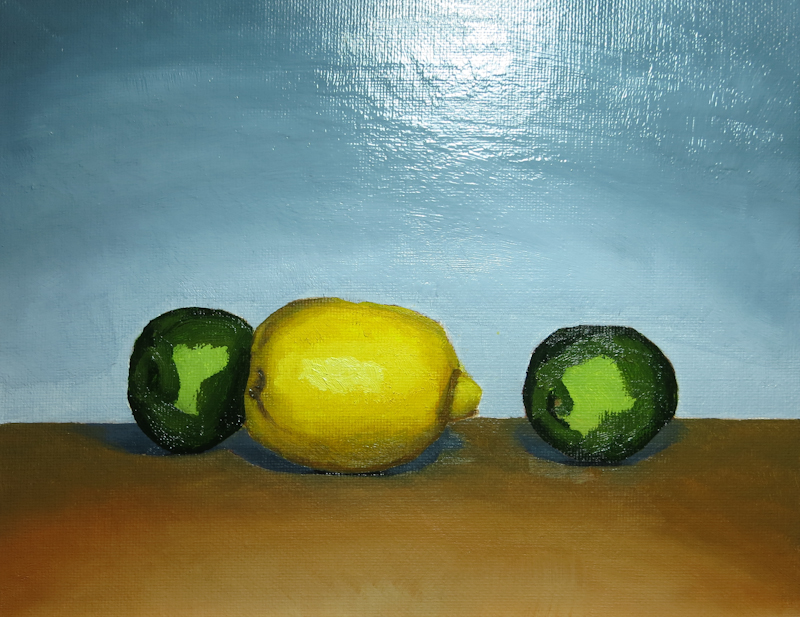
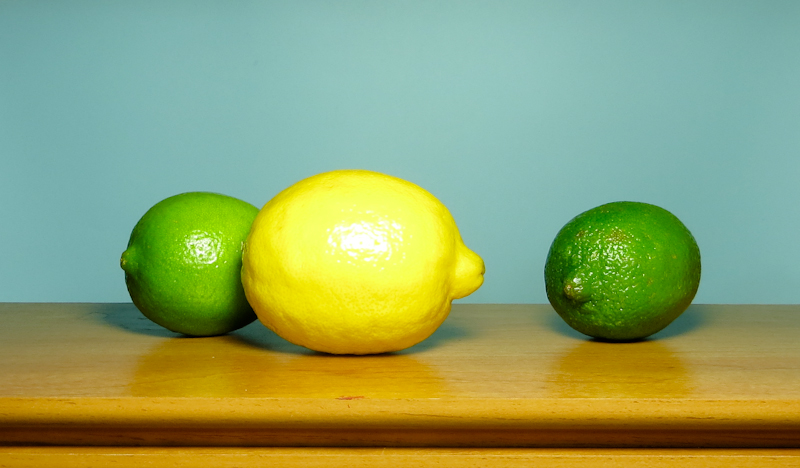
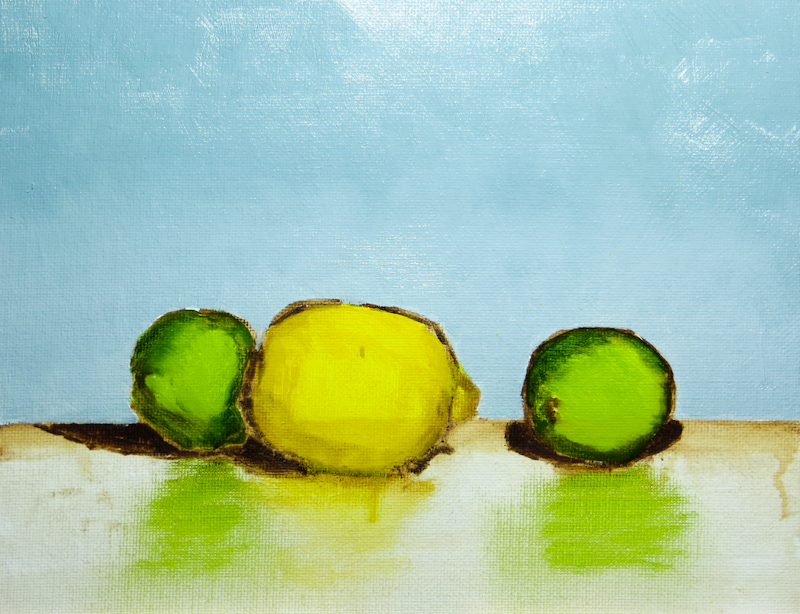
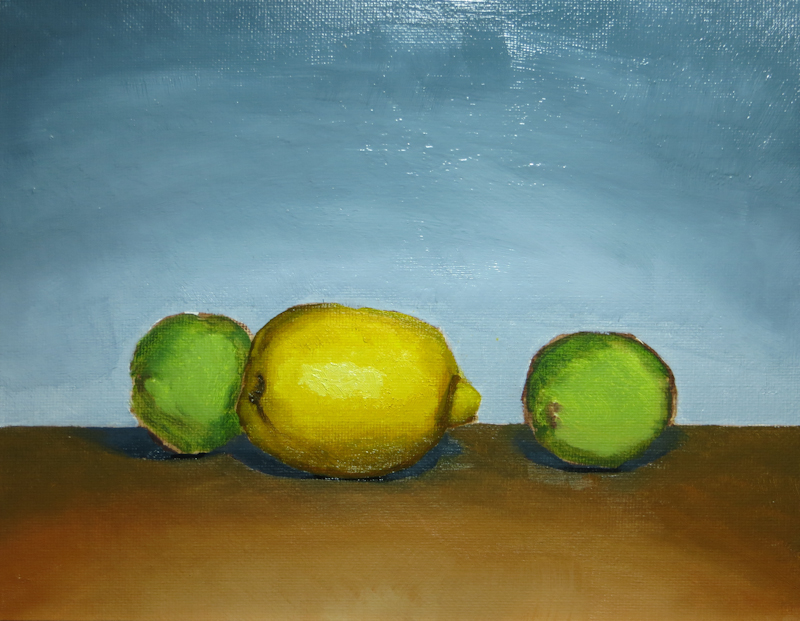
I started another lemon painting today. This time, the lemon is about double life size.
Tag Archives: still life
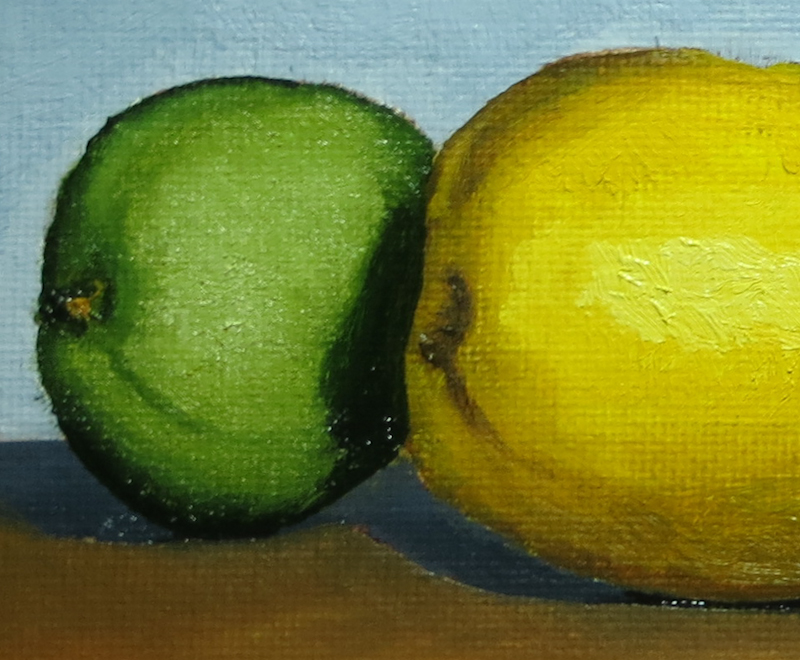
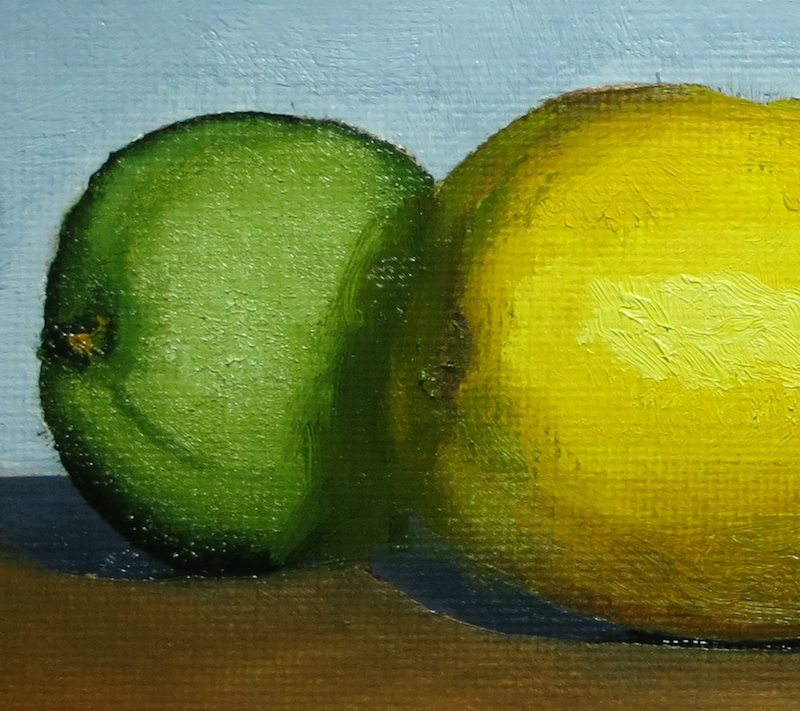
Edges in Shadow
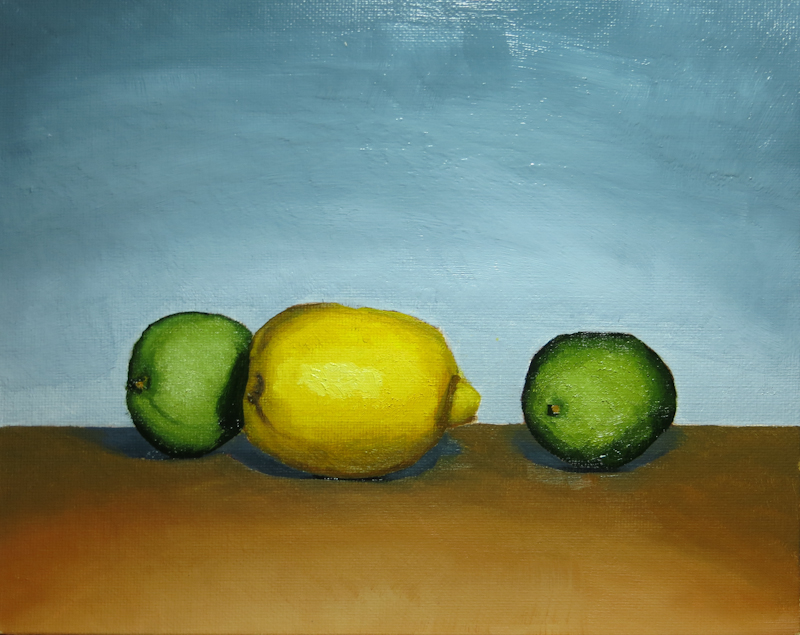
During today’s crit, Gary gave me a lesson in softening edges that are deep in shadow.
February 4, 2014
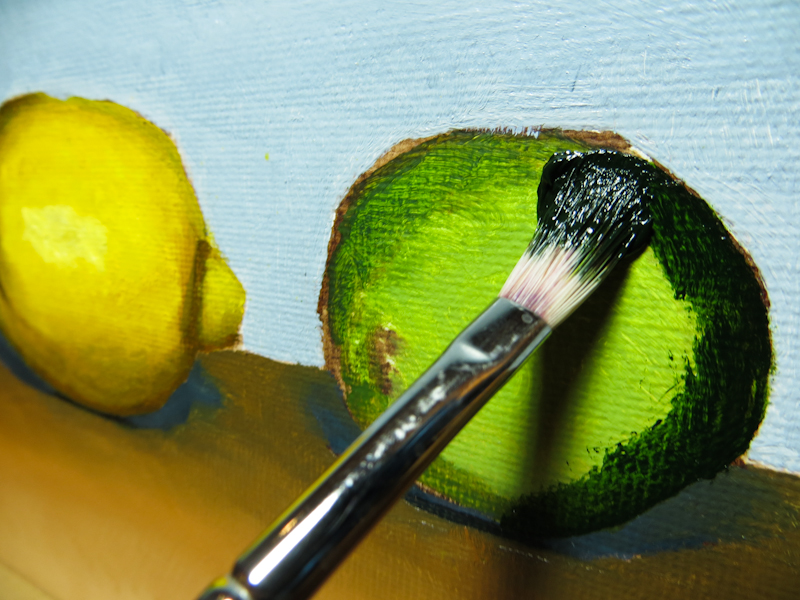
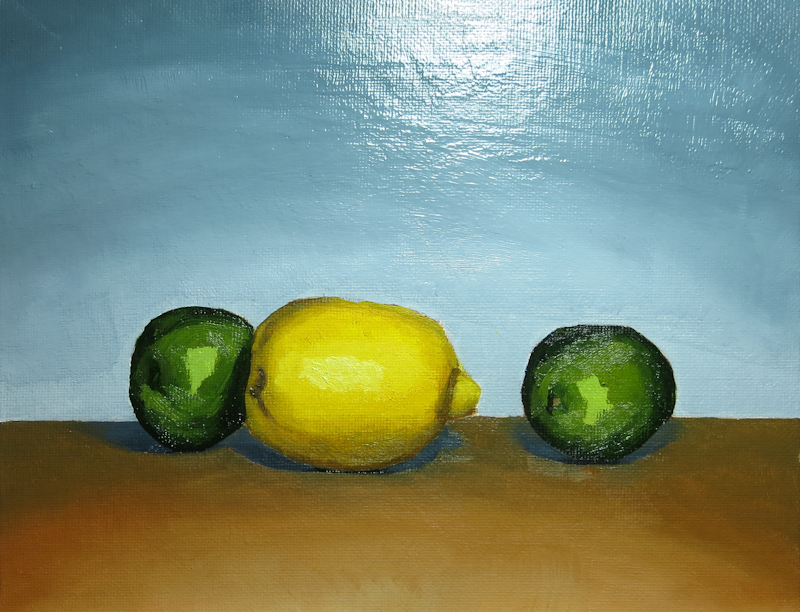
Tonight I worked on the limes. Gary had demonstrated his technique for rendering front-lit forms, which was to start with the darkest color and place it around the edges, and even completely across the form. This very flat, two-dimensional lime, then gets volume as successively lighter colors are blended into smaller concentric regions on top. Gary says to think of “sculpting” the object by building up the nearer portions with successive layers of lighter paint.
January 30, 2014
On Thursday I began to shade in the form of the lemon. It took me a long time to mix up a string of yellows that didn’t head towards green in the darker values. I was really hoping to move towards an almost neutral, slightly yellow gray, but my darker values always seemed more brown than gray.
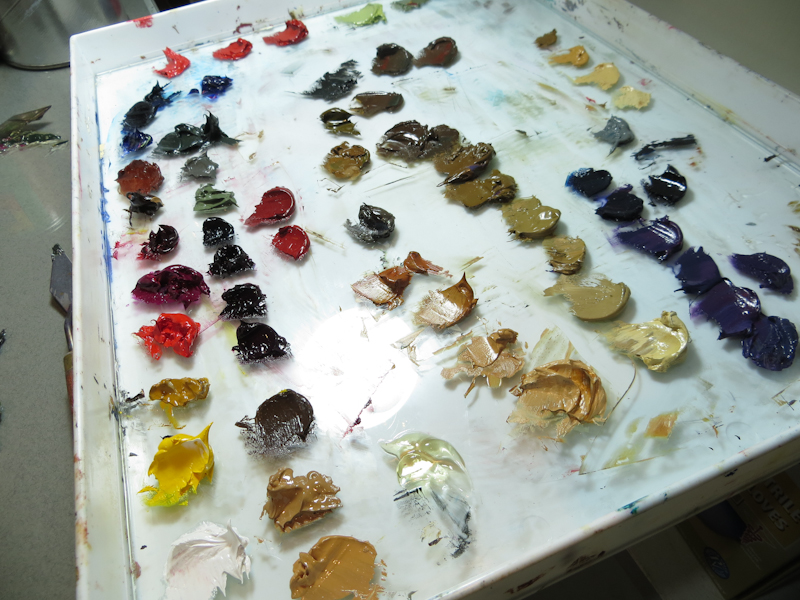
I used Cadmium Yellow Medium and Titanium White for the lightest step. The darker steps were made from the same yellow, mixed with Burnt Umber, Burnt Sienna, and Ultramarine Blue. My basic approach was to mix Yellow, Burnt Umber, and Ultramarine until I got the right value, then push it away from green, using either the Burnt Sienna or the Burnt Umber. If I went too far and it started looking like a reddish brown, I would add Ultramarine to pull it back towards a neutral.
This scene uses frontal lighting, so most of the darker values are only visible around the perimeters of the lemon and the limes. I like the modeling on the lemon, but need to work on the shape a bit, particularly on the lower left. The next step is the limes.
January 25, 2014
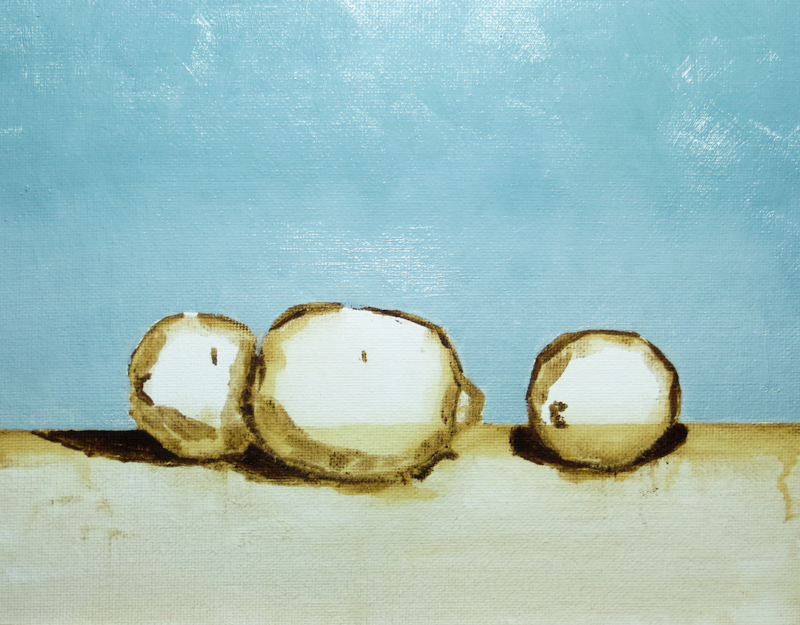
Today I painted the tabletop and the shadows of the fruit and then I reworked the background to have a sharper gradient. I still have a lot to learn about creating smooth gradients. My work on the background and the tabletop probably took twice as long as I had spent on the painting previously.
Not sure my changes improved the painting, mainly because the tabletop seems a bit dark. Tomorrow I will start painting the fruit.
Moving On
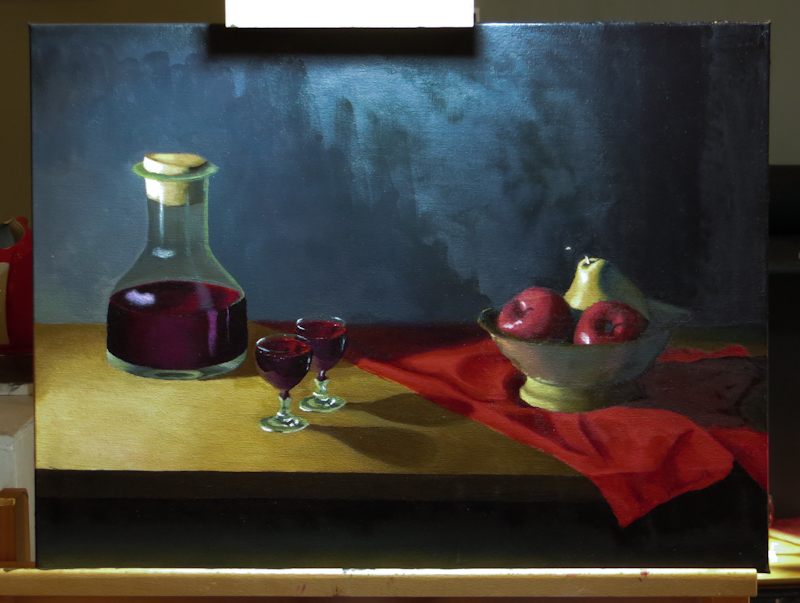
You’re probably wondering what happened to my Wine and Apples painting. I didn’t finish it to my satisfaction, but Gary and I agreed that I had reached the point of diminishing returns on learning to paint.
With that we declared the painting finished! What a relief! I took the painting off the easel, struck the set and moved on to Limes and Lemons.
Here are a few take-aways from my first atelier painting:
- The study and the underpainting seem to have more energy and personality than the finished painting.
- The parts that went quickly, like the initial drawing, the underpainting, the apples, and the cloth, were more satisfying and more compelling.
- Many of the passages where I struggled didn’t really contribute much to the success of the overall painting. Gary says these areas will improve as I get more experience.
- From a learning perspective, it is better to create more paintings than to endlessly rework a single painting.
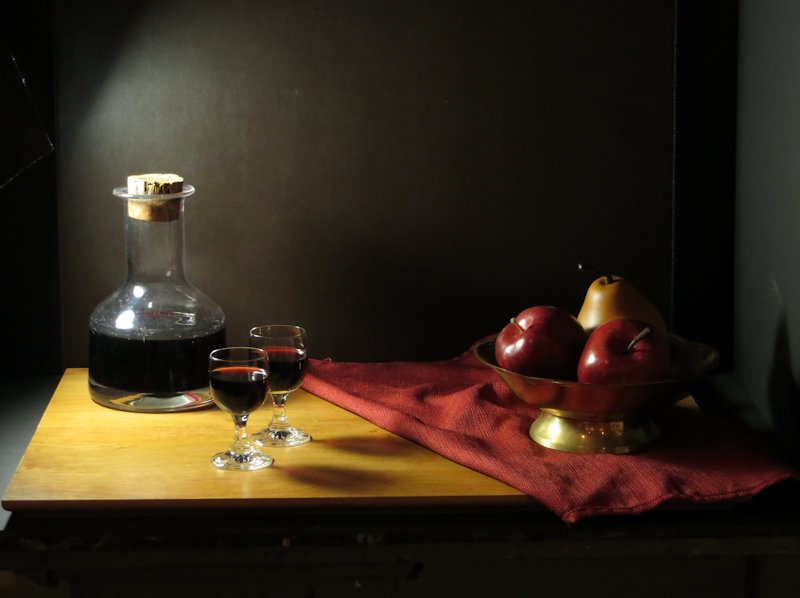
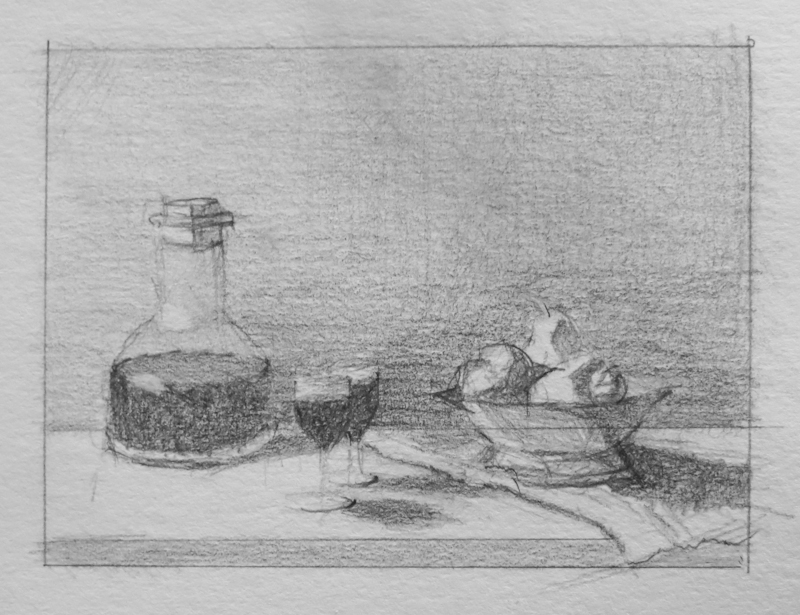
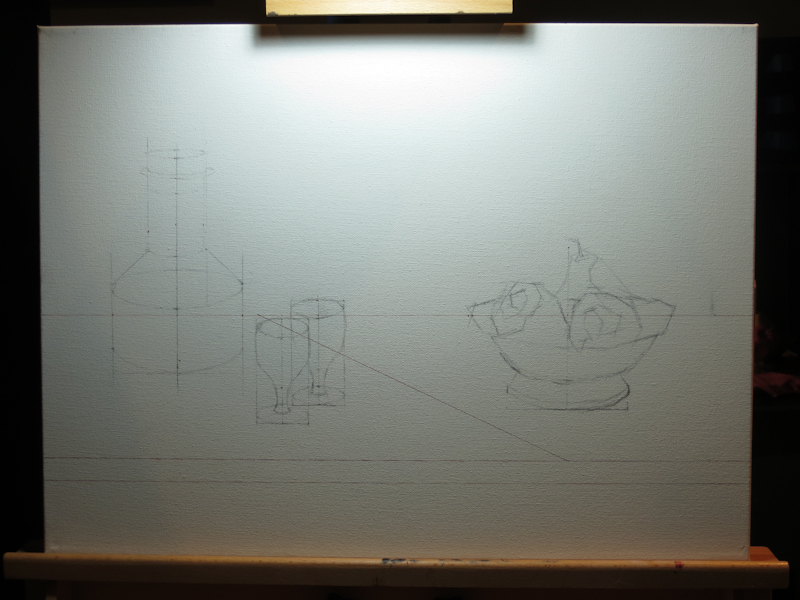
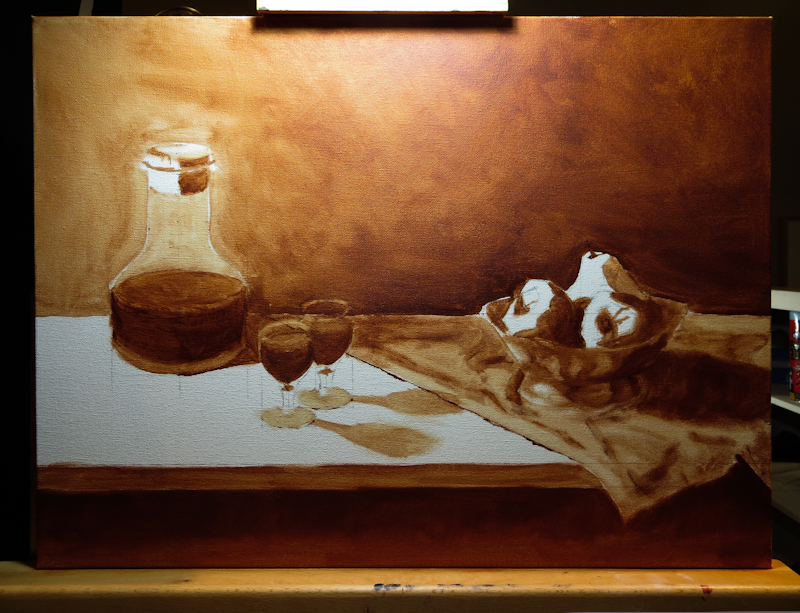
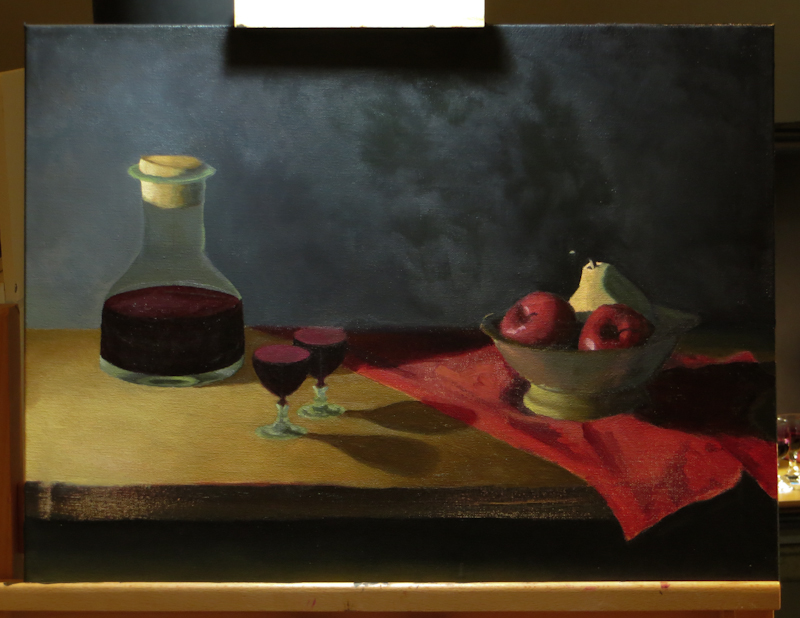
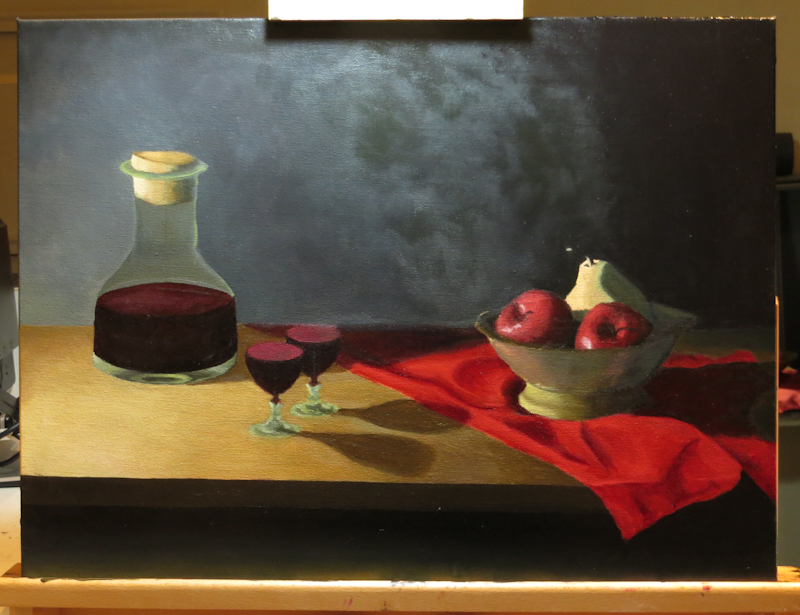
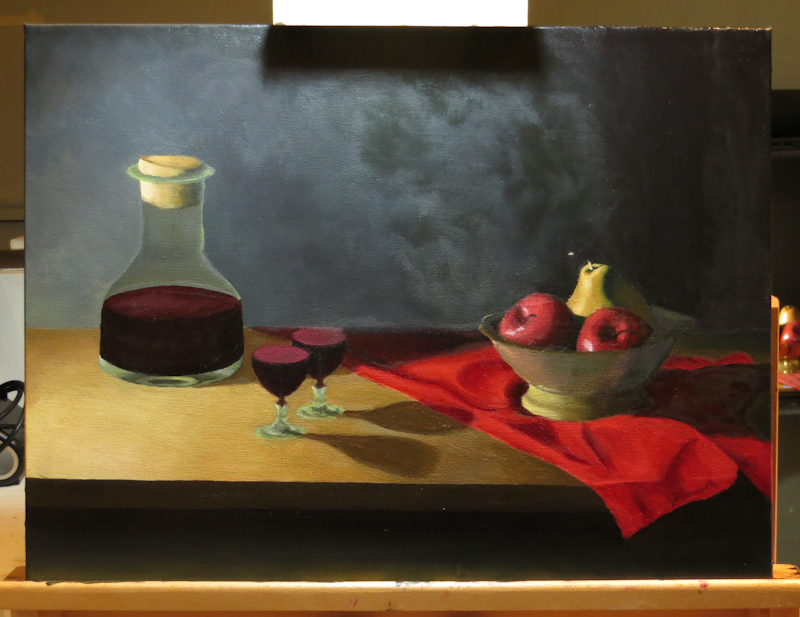
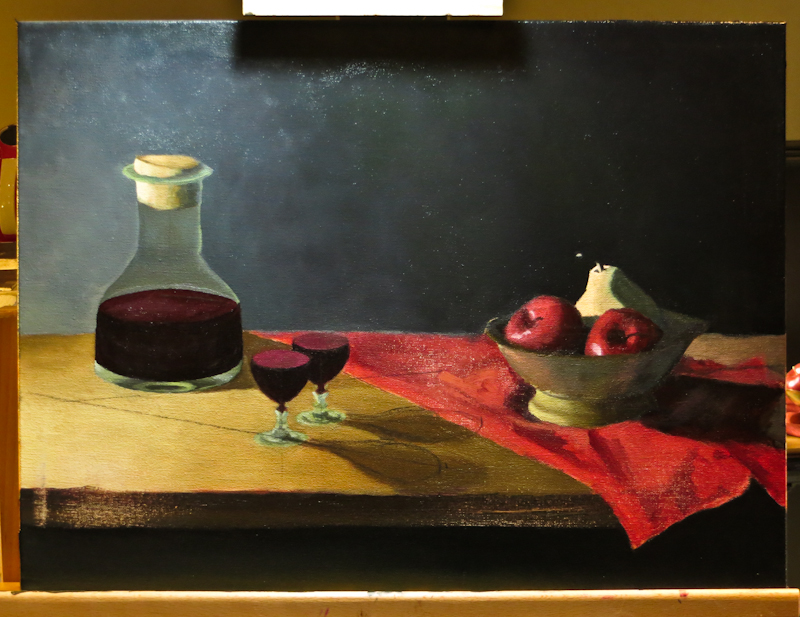
Here’s a recap of the stages of Wine and Apples:
Limes and Lemons
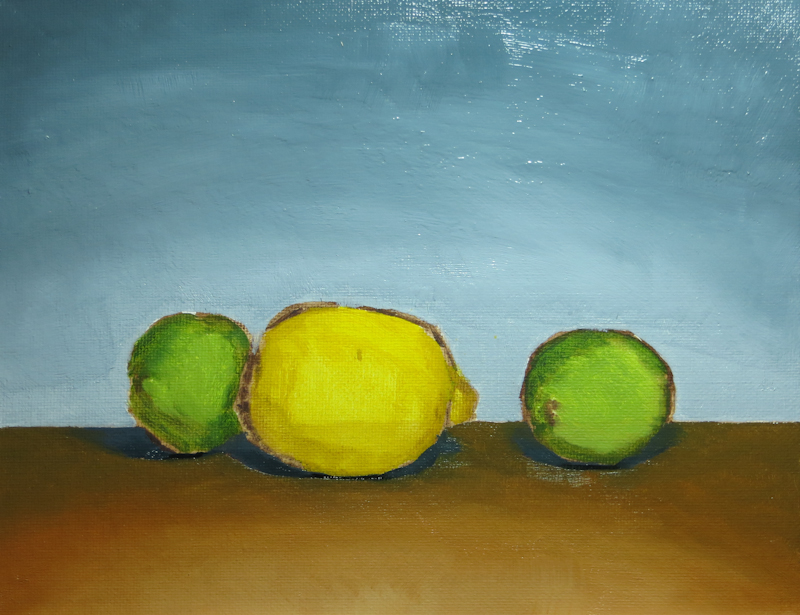
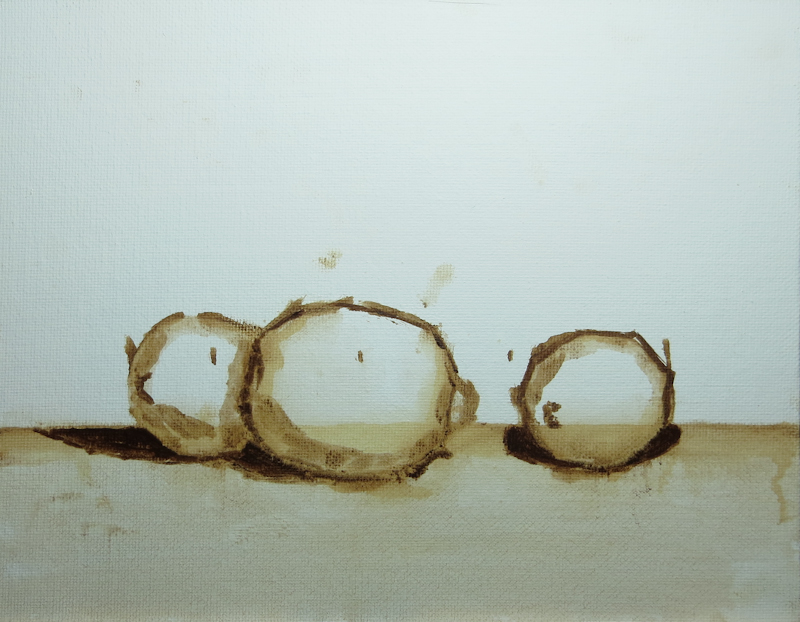
Today I started on a new painting! Gary wants me to shoot for four paintings over the next month, so I am focusing on smaller sizes and simpler, less diverse subject matter. The idea is that I will learn more in a month from four simple paintings than an entire quarter spent on a one large and complex painting. This first study is on an 8″x10″ canvas panel.
Here’s the painting at the end of the first session. It reminds me of a Cezanne because of the dark outlines around the fruit. Although I like Cezanne, my intention is to cover the dark outlines when I paint over the placeholder colors on the fruit.
Back to Work
It’s been a while since my last post. With holiday travel, cooking and cards, there just wasn’t time to paint. Now I’m back and determined to finish this painting so I can start on something new!
Tryptophan
With Thanksgiving tryptophan coursing through my veins, I headed into the studio for few more hours of painting. Here’s how it looked when I started:
First order of business was to paint the front edge of the table. Then I reworked the red cloth:
By the end of the weekend I managed to add shading and highlights to the pear:
Fixing Shadows
The evening I worked on the table top and the shadows. Here’s how the painting looked when I started:
Here it is at the end of the evening:
Specific changes:
- Darkened back left of tabletop to help emphasize the pool of light in the front.
- Darkened back right corner of tabletop.
- Softened rear table edge center and right.
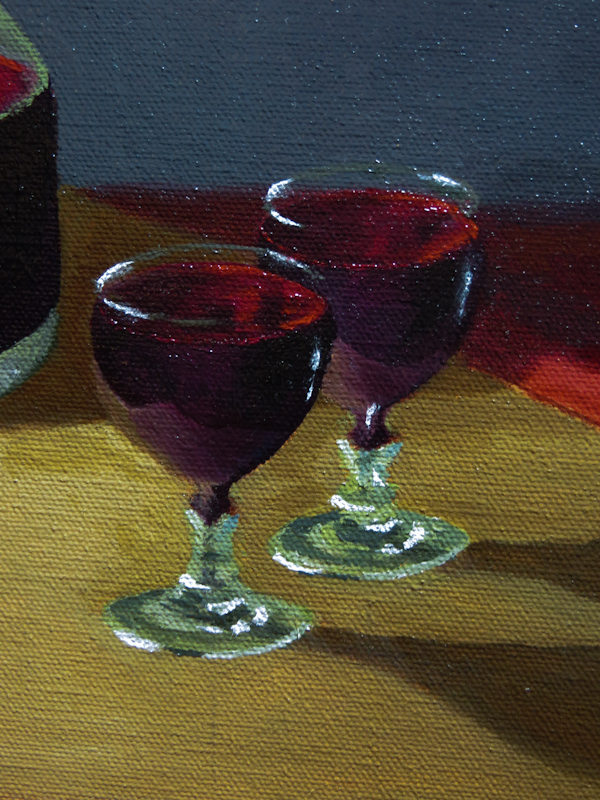
- Moved the shadows of the wine glasses to be consistent with a single light source.
- Adjusted the shapes of the wine glass shadows.
- Painted decanter shadow.
- Extended shadows from tabletop onto red cloth.
- Adjusted bowl shadow.
- Painted over some sanding marks.