Adjustable Still-Life Stand

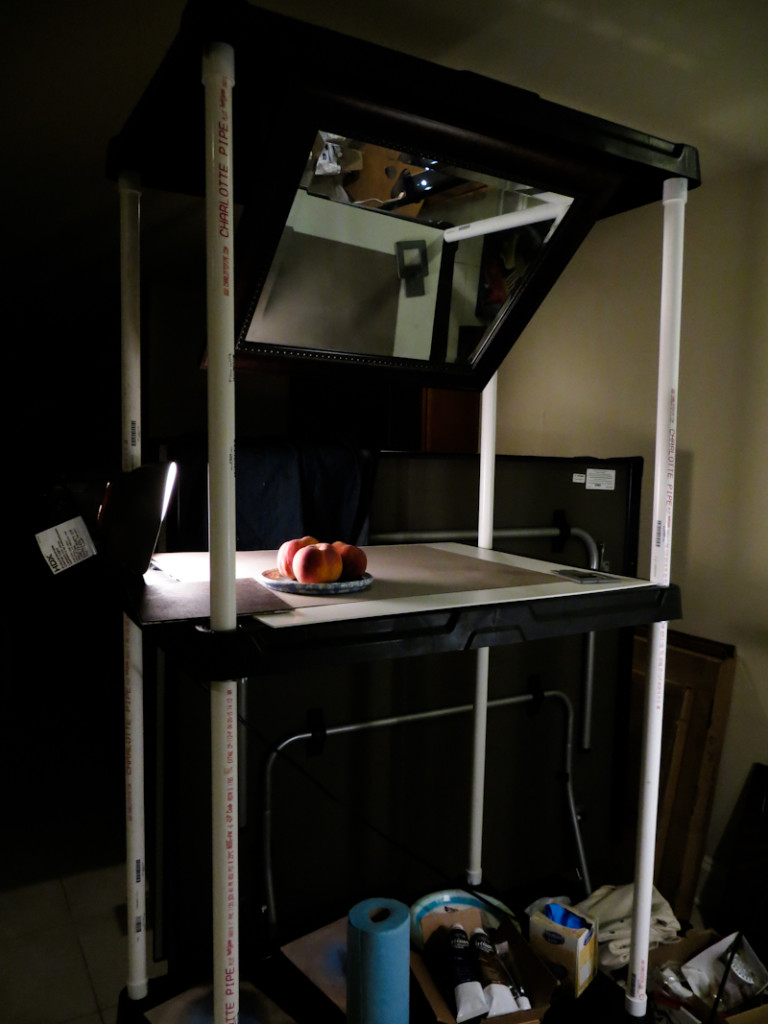
After a brainstorming session with my classmate Chris, I managed to put together an inexpensive, adjustable still-life stand. My goal was to provide a fairly large tabletop whose height could be easily adjusted. Since I stand when I paint and I’m pretty tall and often paint scenes at eye-level (see this onion painting), it was important that the table could be positioned six feet or more off the ground. I also wanted the ability to clamp on lights and easily hang backdrops. Here’s what I came up with.

IMG_2122

It’s based on a inexpensive plastic shelving unit with PCV pipes replacing some of the risers.

IMG_2099

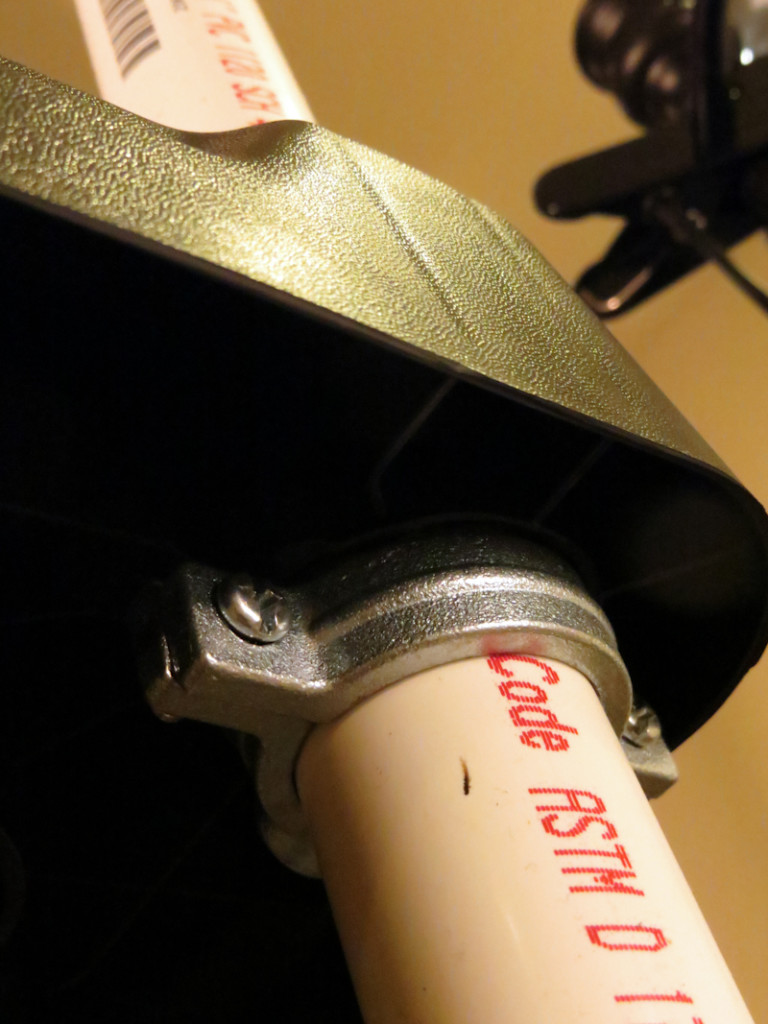
The PVC pipes are small enough that the shelf can slide freely up and down. The shelf rests on pipe clamps that can be loosened and tightened with a screwdriver.

IMG_2106

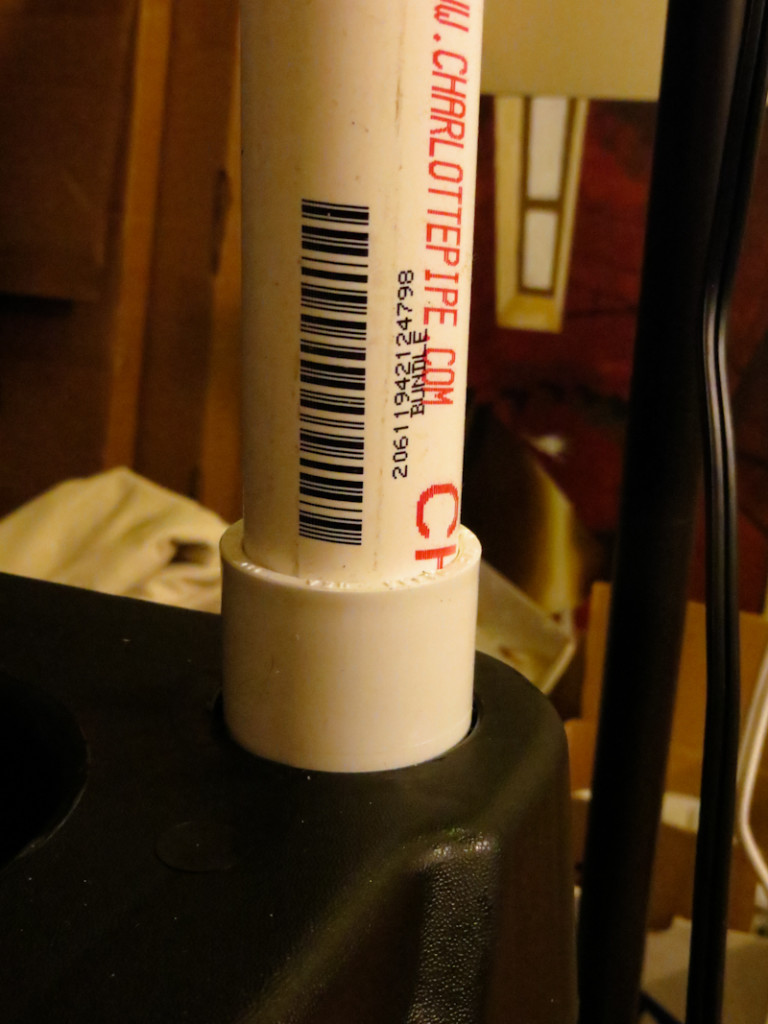
PVC bushings mate the pipes to the fixed shelves.

IMG_2105

The system seems pretty versatile and I can easily reassemble it in other configurations.

Plein Air Kit

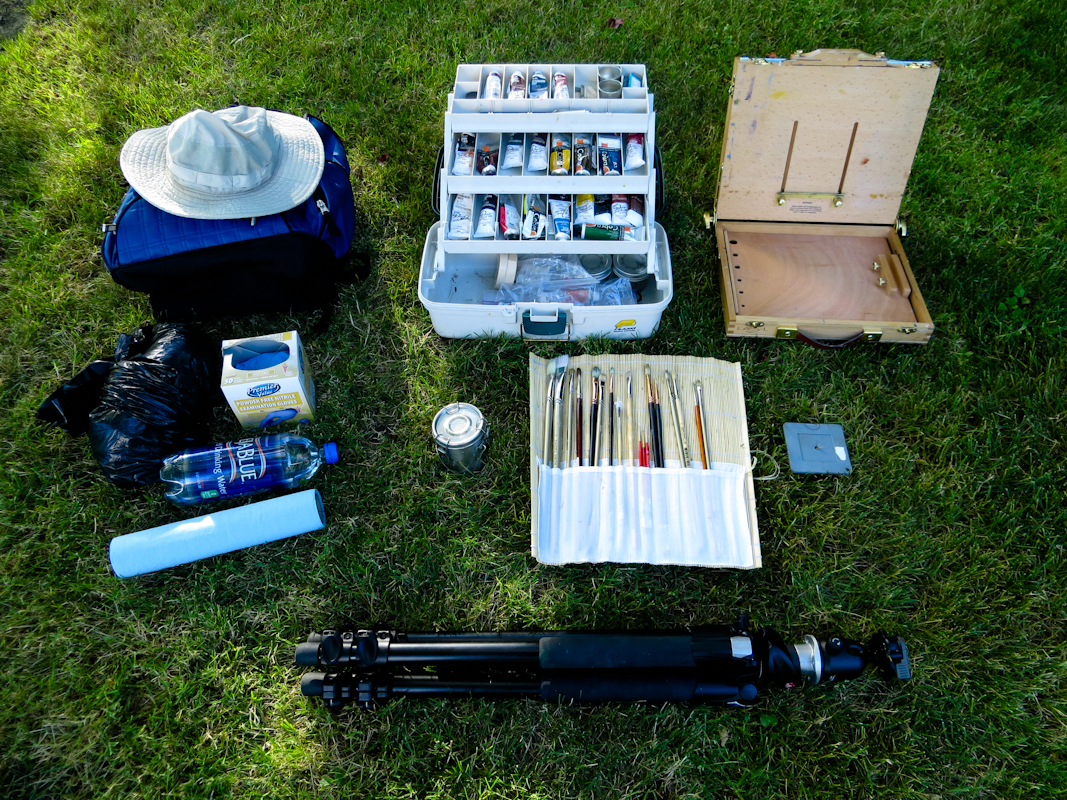
Many people have asked me what I carry with me into the field to paint, so I thought I’d do an inventory. Here’s the whole kit:

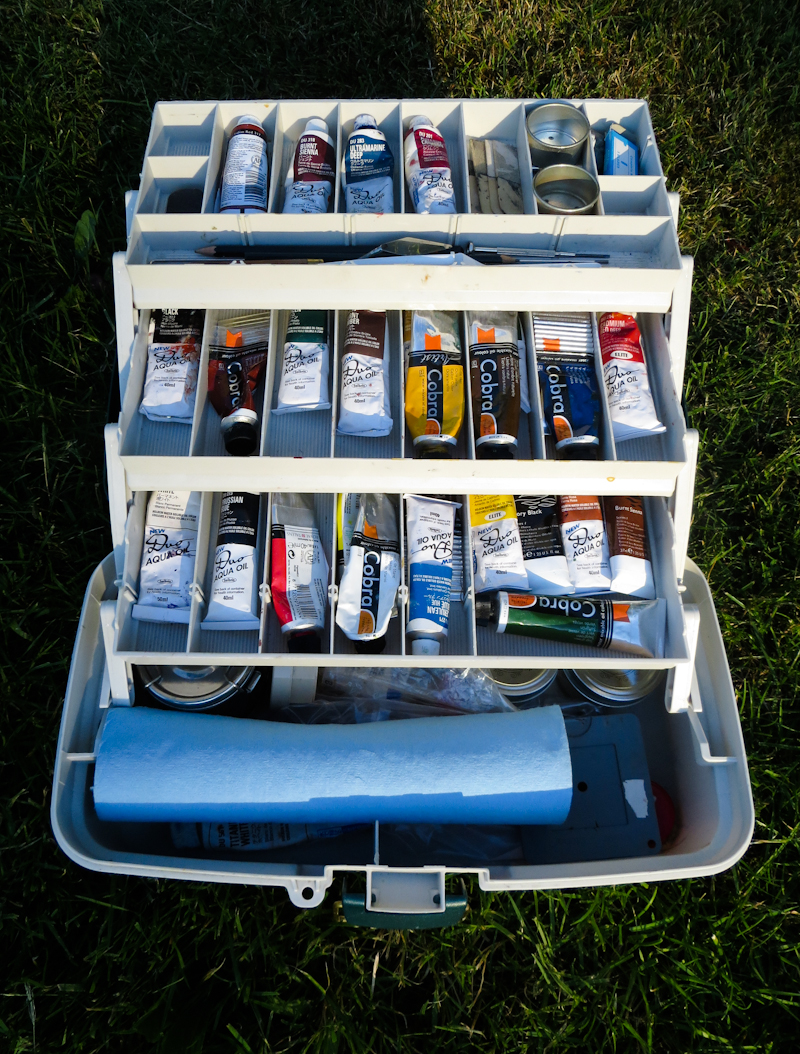
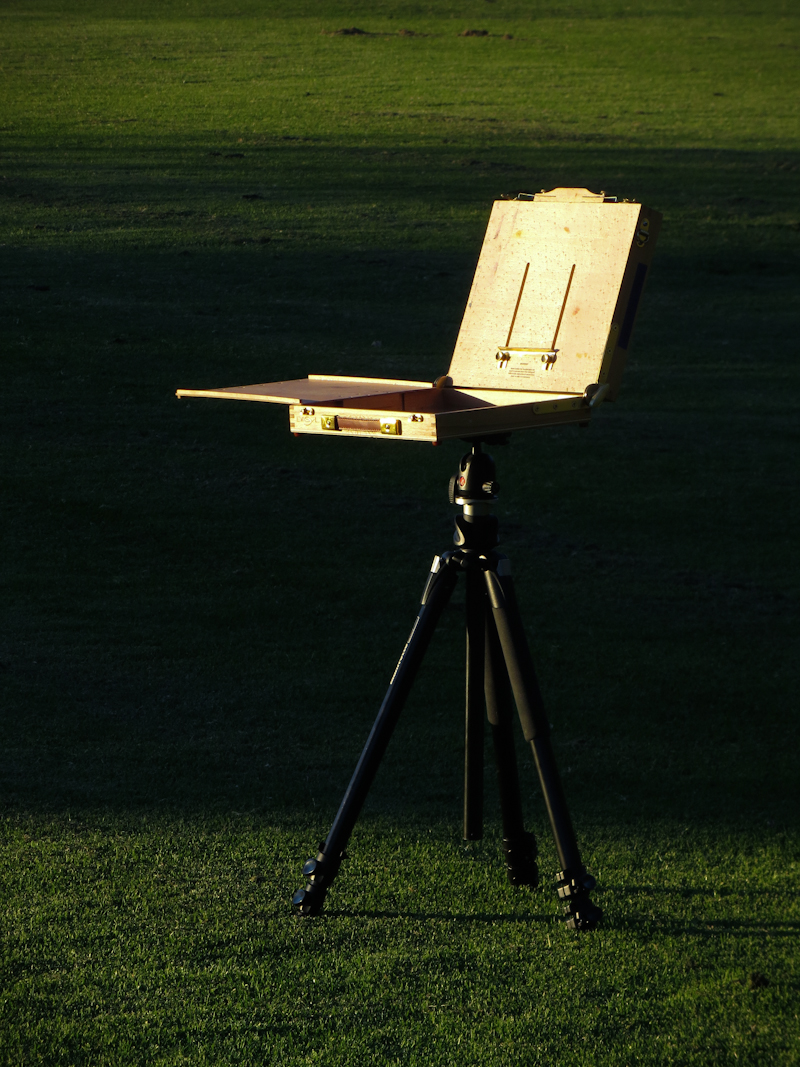
On the left is a knapsack with sun hat. It holds a garbage bag, a roll of blue shop towels, a box of nitrile gloves, and a bottle of water. Not shown are my lunch and sunscreen. In the middle is a tackle box with paints, palette knives, brushes, a brush washing tank, and a ViewCatcher. On the right is a pochade box. It sits on the tripod in the foreground.

Usually, I wear the backpack and sling the pochade box over my shoulder, leaving my hands free for the tripod and tackle box. Sometimes I will put the pochade in the knapsack, but this can be problematic when I get paint on the outside of the pochade. If the painting site is more than a few minutes walk, I put everything into a large frame pack, or I use a hand cart.

The tackle box cost about $15 in the fishing department at Target . Recently I have been using water miscible oils – Holbein Duo and Royal Talens Cobra. I typically use a very limited palette, so I could save myself some hassle by leaving three quarters of the paint tubes at home.

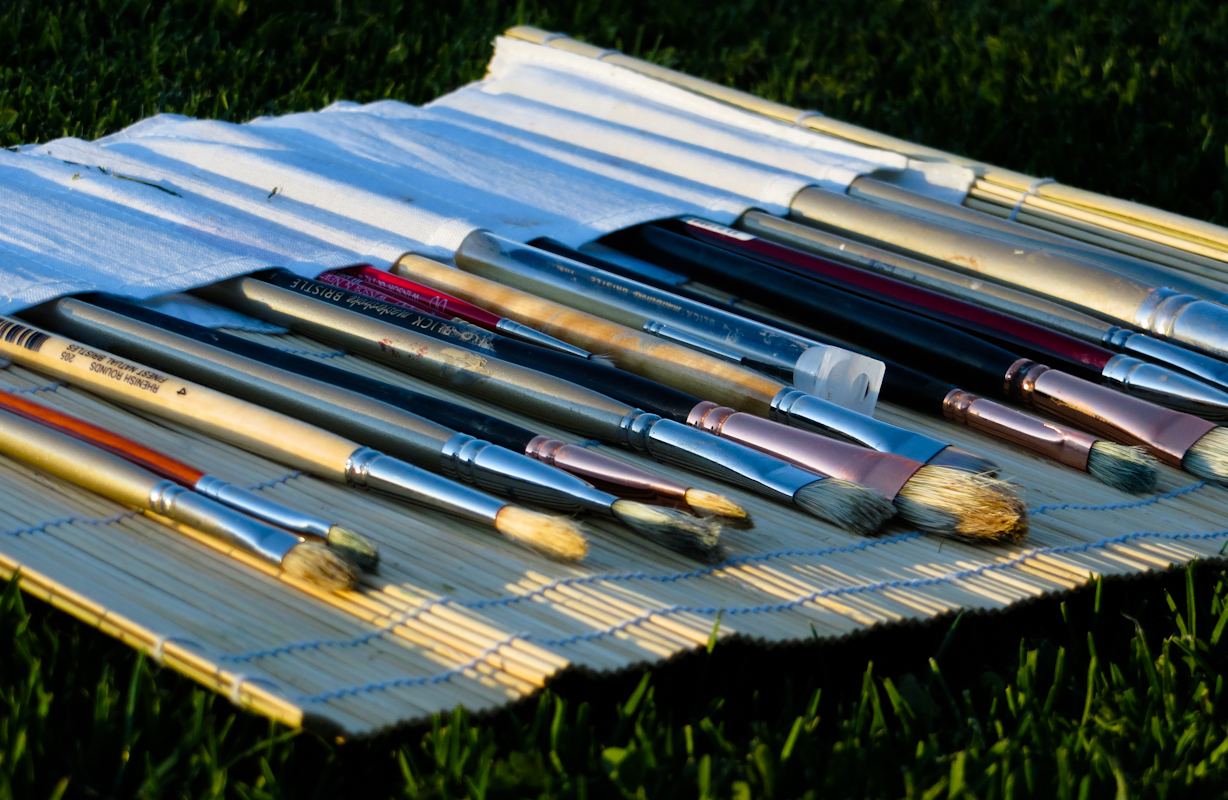
I store my brushes in a bamboo roll which fits perfectly in the bottom of the tackle box. I bring a variety of sizes, mostly bristle, lots of filberts, some flats, one or two rounds, and a liner.

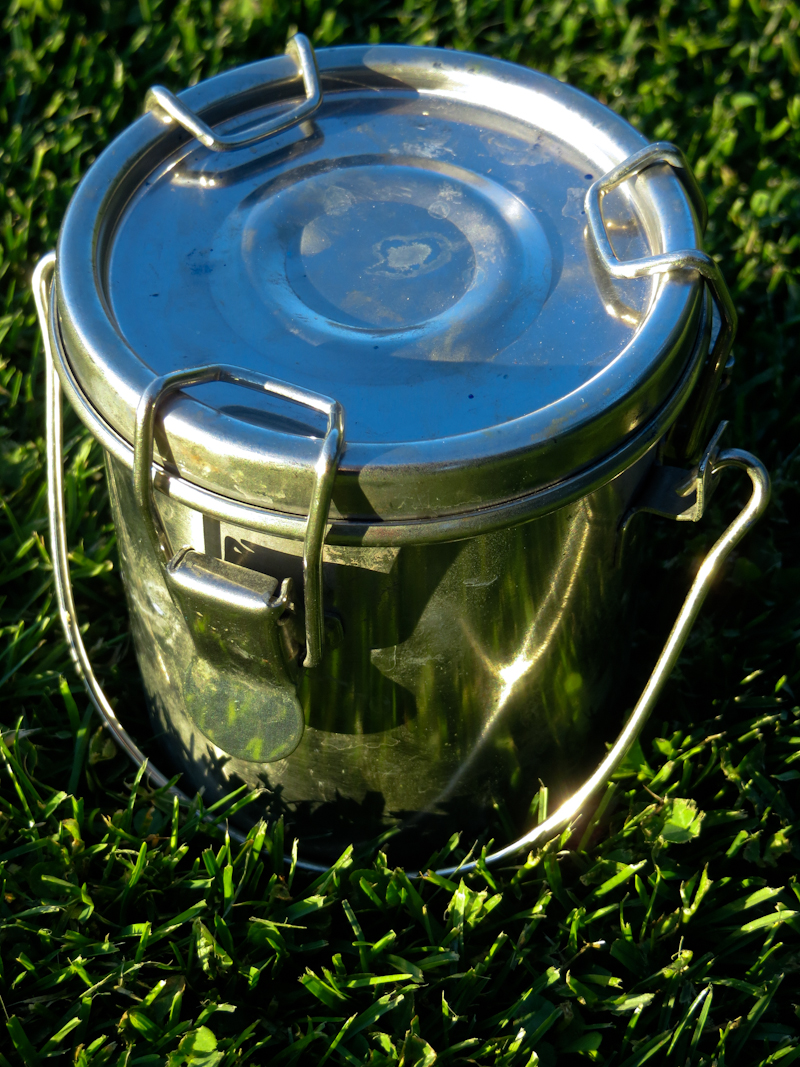
The brush washing tank has a leak proof lid, so I fill it with clean water before I head out.

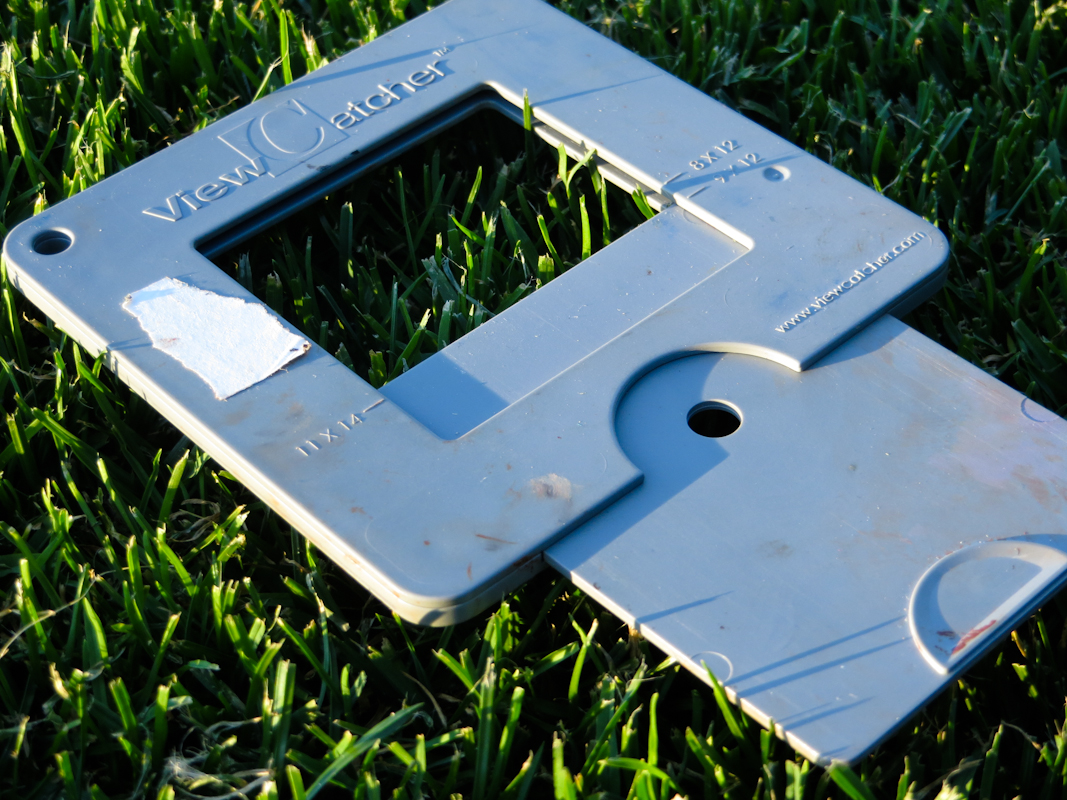
The ViewCatcher is an invaluable composition tool. I try to bring it with me everywhere.

Here’s the pochade box on its tripod. It’s an EASyl Lite from Artwork Essentials. It has a 10″ x 12″ mixing area which I’ve covered with glass. This pochade has room to carry two wet panels up to 10″ x 12″. I usually use 9″ x 12″.

The tripod is a Manfrotto 055XPROB. My understanding is that this exact model has been replaced by the more affordable 055XPRO3. I chose this tripod because it is light, sturdy, tall, and easy to adjust. One thing I really like about it is that the legs can be spread really wide for extra stability.

The tripod is fitted with a Manfrotto 496RC2 Ball Head with quick release plate. I chose this head for ease in leveling and adjusting the pochade box. The quick release plate stays on the pochade box allowing me to snap the box on and off the tripod in seconds.

Some people bring an umbrella to block the sun. I don’t have one so I just try to set up in the shade if at all possible.

New Wave Palette

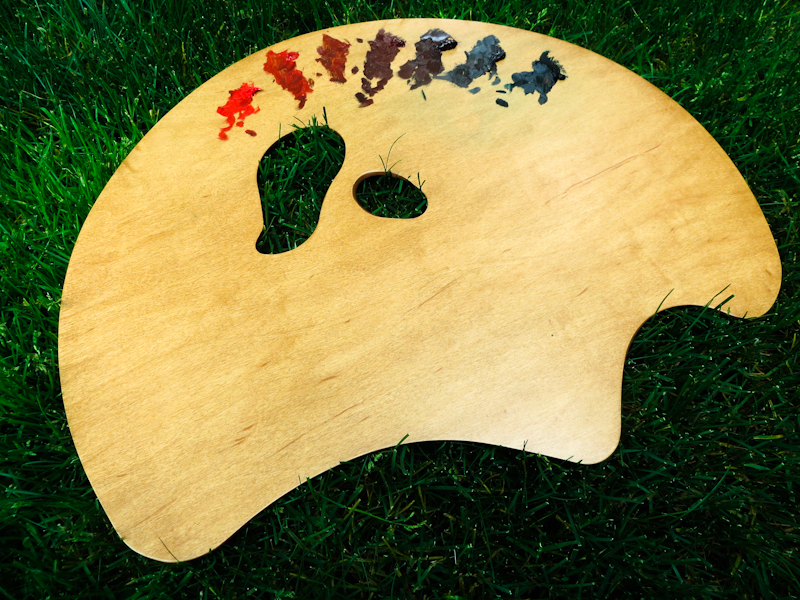
I’m trying out a new palette from New Wave – it’s their Grand View Confidant model. The palette is gigantic, but very light weight and it has an ergonomic design which rests nicely against my hip. The wood is beautiful and the finish like satin.

Before I got the palette I would mix up strings on a piece of glass, but as I’ve started working on larger paintings, I have found that I do better standing, with the palette in hand. I still use strings, but with the palette, I tend to mix each stroke individually, which leads to a more interesting and realistic painting. Painting this way also seems quicker and easier.

Natural Sponge Textures

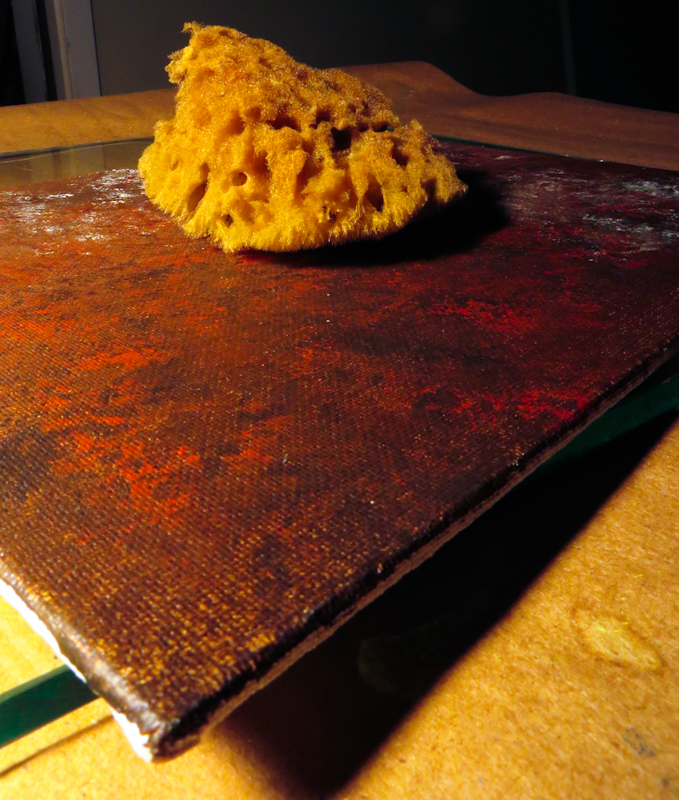
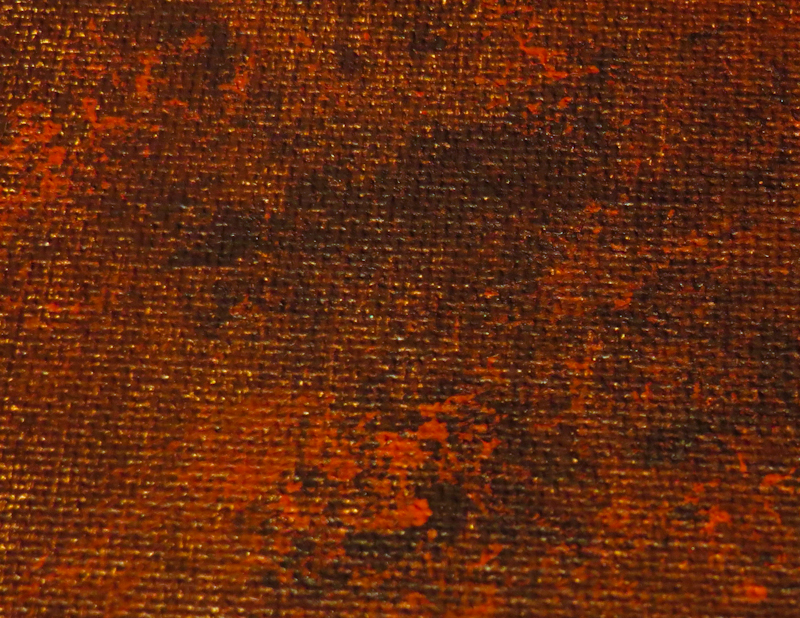
I’ve been experimenting using natural sponges to create rust textures for my Pipe Wrench study.

This example uses Golden Heavy Body Artist Acrylics on a canvas panel. I first painted a mixture Raw Umber and Burnt Sienna across the entire surface of the panel, using a large, flat brush. Once this was dry, I used the sponge to mottle on blobs of pure Raw Umber and Burnt Sienna.

This experiment was a great success. Next step is to repeat it in oils, and possibly add in some notes of green.

Architectural Details

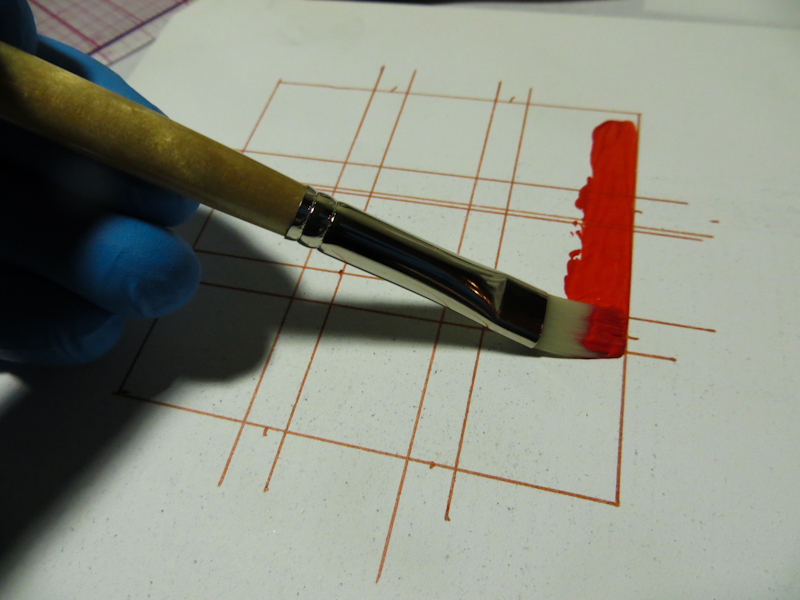
Tonight I experimented with a ruling pen to paint architectural shadows and highlights. My goal was to paint something that looked like a garage door with nine recessed rectangular panels. I used acrylic paint, instead of oils, so that I could quickly dry each layer before proceeding.

I found the ruling pen easy to use for lines from 1/16 of an inch down to the smallest hairline. The pen requires thin paint – about the consistency of half and half. After diluting the acrylic paint with water I found it had become nearly transparent. This wasn’t a problem for the test, but might be a bit constraining in a real painting. I also tried diluting the paint with Golden Self Leveling Clear Gel, but this was too thick for the pen.

I think the ruling pen will be good for things like powerlines, strands of hair, and sailboat rigging. It seems to work well for architecture, but I want to compare it with a liner brush and with the technique where, instead of painting the line, you paint the areas around it.

It will be interesting to see how the ruling pen works with oils.

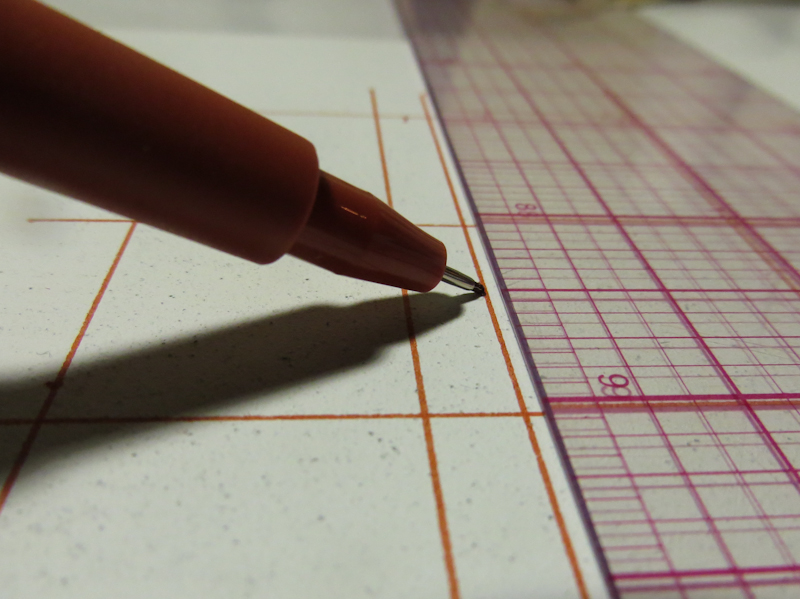
I used a clear plastic gridded rular to draw guidelines.

I let the guidelines extend beyond the bounding rectangle so that I would be able to locate them after applying the first layer of paint.

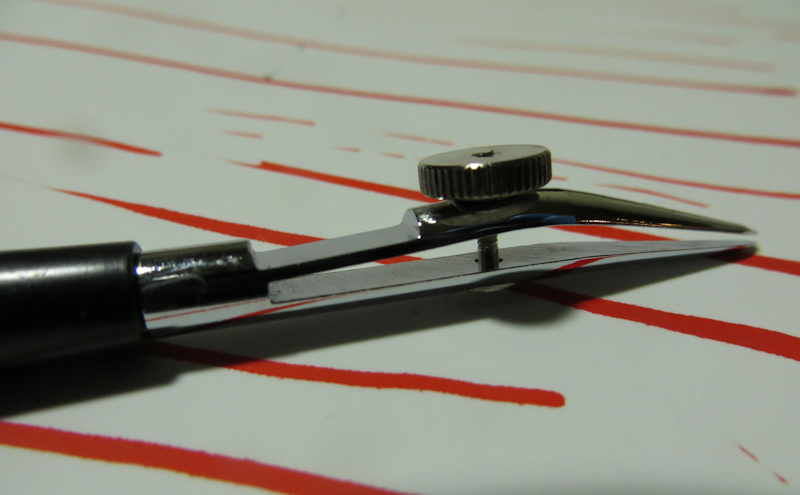
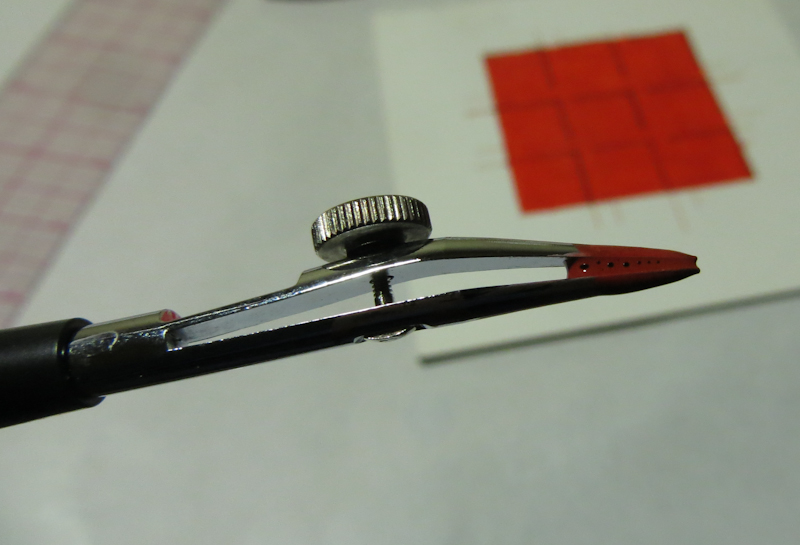
I used a ruling pen to make narrow straight lines. The ruling pen has two prongs that hold ink, or in this case, diluted acrylic paint, between them. The thumbscrew adjusts the spacing between the prongs which sets the thickness of the line.

Here’s the ruling pen with a fresh load of paint.

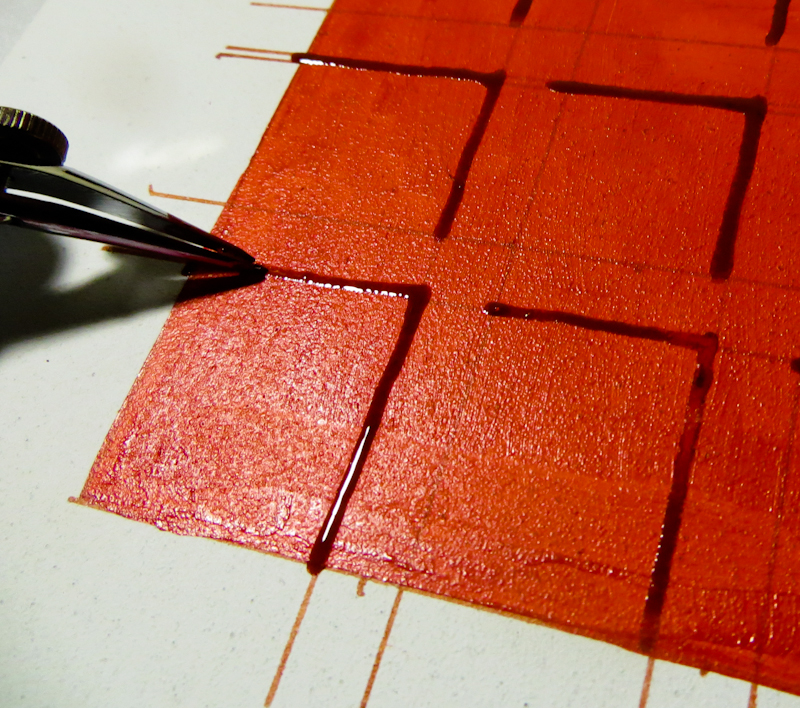
It is easy to draw straight lines with the ruling pen.

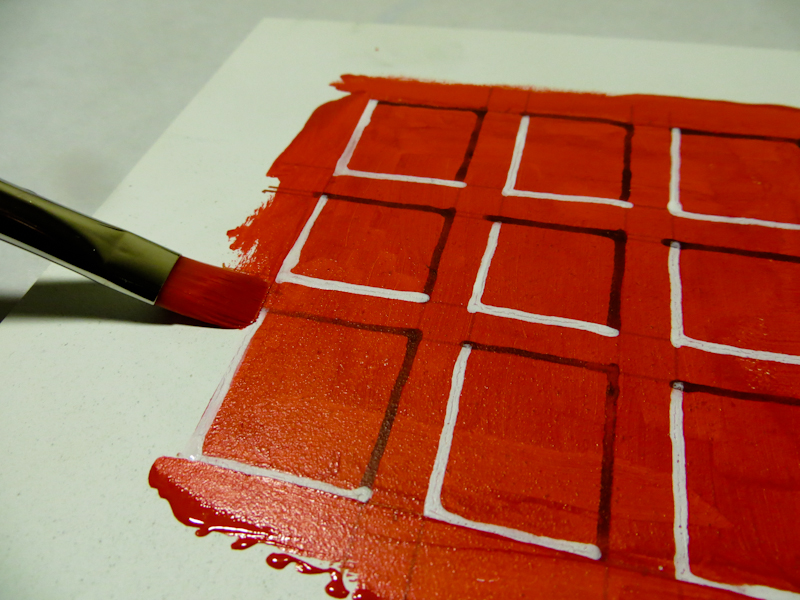
After drawing in the shadows and the highlights, I painted a border outside the original bounding box. This covered up the ends of the guidelines.

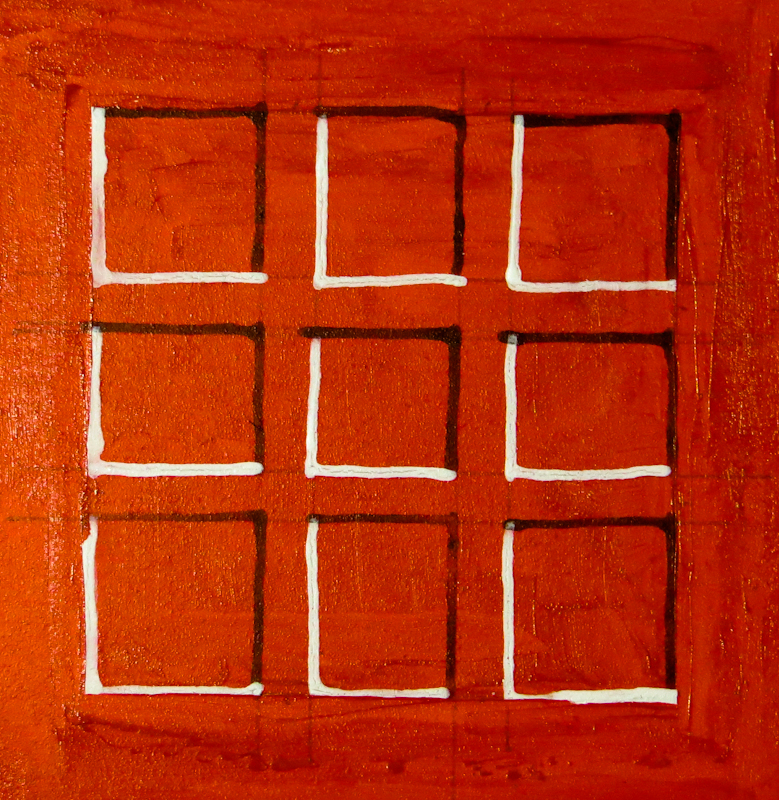
Here’s the final piece. It is about 3″ x 3″. Overall, pretty successful, given the amount of effort.

Stretched Canvas Holders

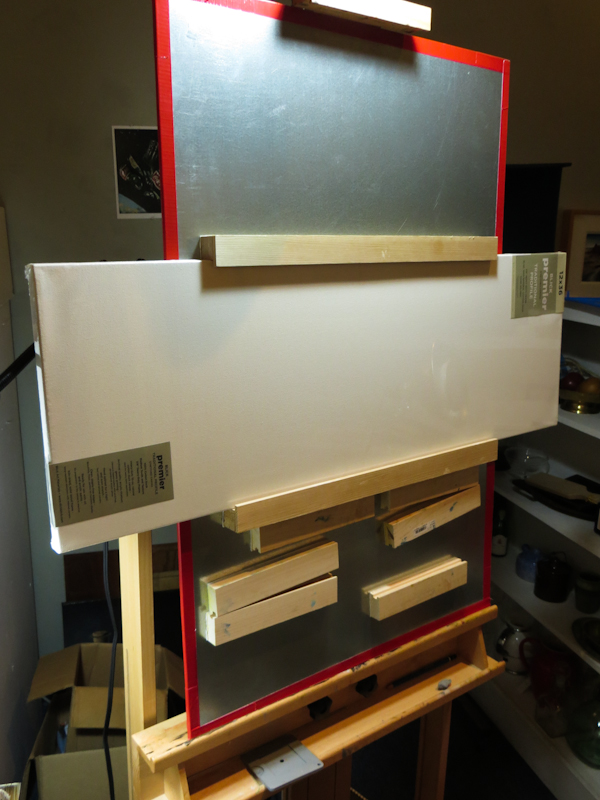
My magnetic canvas holders have been working really well and I’ve been so inspired by my small pear studies that I want to do a larger piece on a 12″ x 36″ stretched canvas. The only problem is my original magnetic holders were designed for 1/8″ panels. Over the weekend I made a pair of magnetic holders for stretched canvases that are 7/8″ deep.

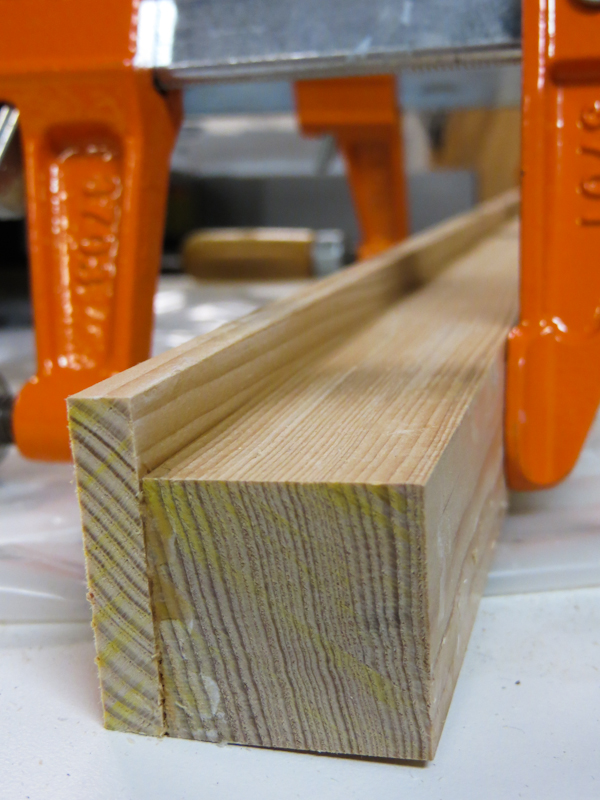
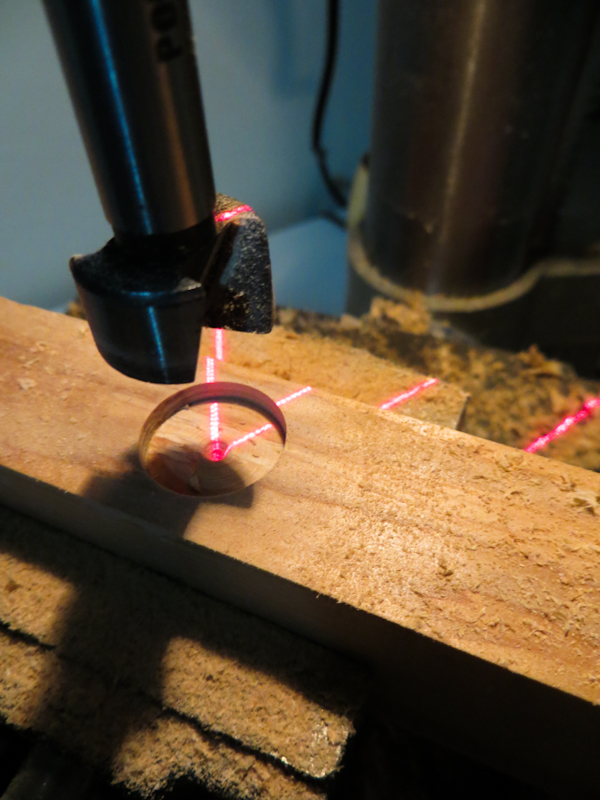
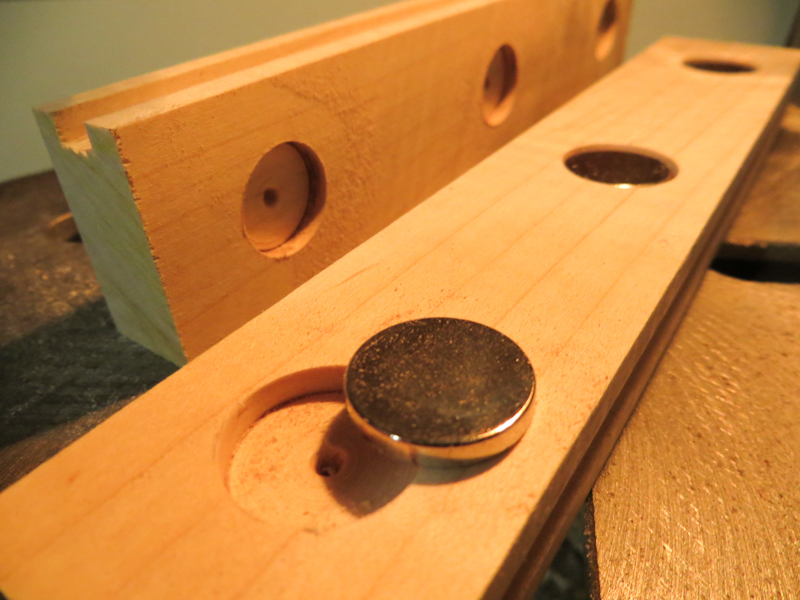
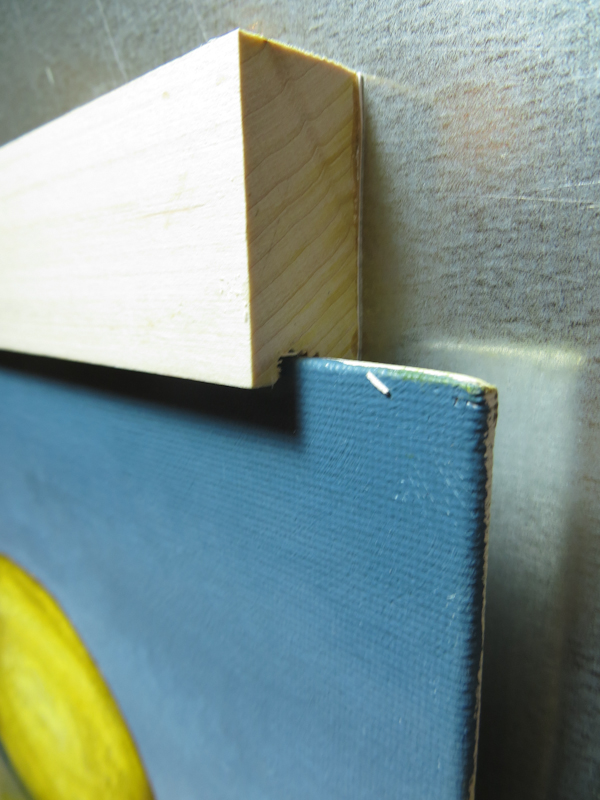
My original panel holders used a narrow slot to hold the 1/8″ thick panels in place. My stretched canvases are 7/8″ deep so I used a different design with a thin lip of lath to hold the canvas in place. In this photo, I’ve just glued and clamped a piece of 1  1/8″ lath to a piece of 1″ x 1″ stock. Once the glue dries, I will drill holes on the right side for the magnets.

Drilling the holes for the magnets.

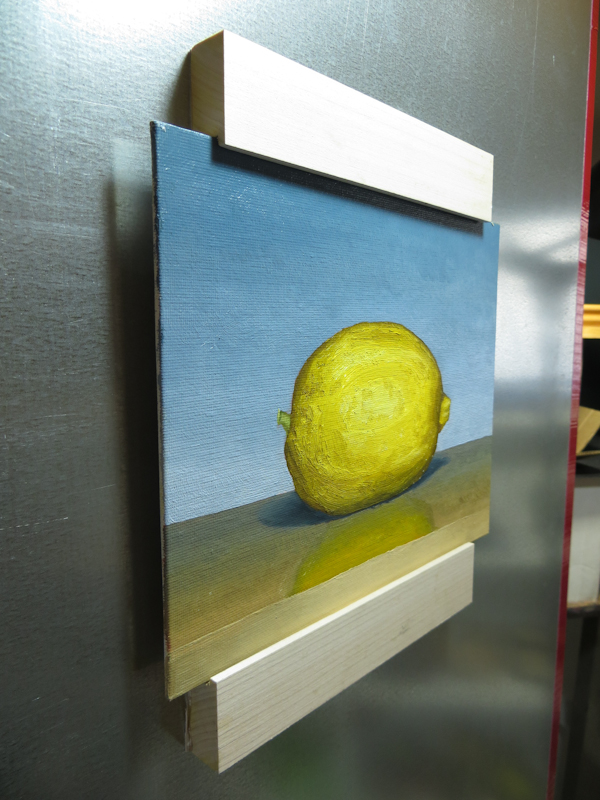
The new holders supporting a 12″ x 36″ canvas.

New Light Bulb

Up here in the Pacific Northwest we don’t get a lot of sunlight, so we have to supplement with artificial light. For the past few years I have been working with 5000k full-spectrum fluorescent bulbs. These bulbs give off a natural looking, neutral white light and are available in a variety of styles from the traditional four-foot tubes to the coiled compact fluorescent bulbs that screw into standard light sockets. These bulbs are great because they don’t put out a lot of heat.

In the atelier I’ve been using a 27W CFL bulb to light my still-life tableaus. This bulb is not very bright so I have to position it close to my props and this leads to very soft shadows that are hard to discern, even when the props are in a shadow box.

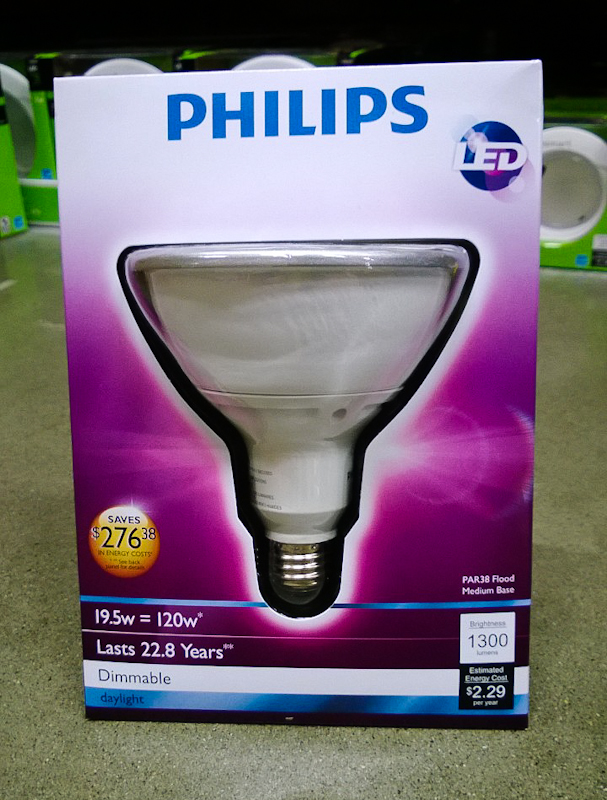
Last week as I was walking the aisles of the hardware store, looking for magnets for my canvas holders, I happened to go down the electrical aisle and saw a new 19.5W LED flood light bulb that puts out 1300 lumens at 5000k.

The LED bulb was about $40 and it has been a huge improvement over the CFL bulb. It is extremely bright and the light falls in a fairly tight, 30 degree cone. This allows me to position the bulb about 6 feet back from the set, which makes it more like a point source.

With this bulb, the form shadows and cast shadows are visible, even when all of the room lights are on. The only problem with the bulb is that it weighs about a pound and this makes it hard to position in clamp-on holder. I find that if I don’t take precautions, the lamp will tend to shift over time until it is pointing at the floor.

Philips 120W Equivalent Daylight 5000K PAR38 Dimmable LED Flood Light Bulb.

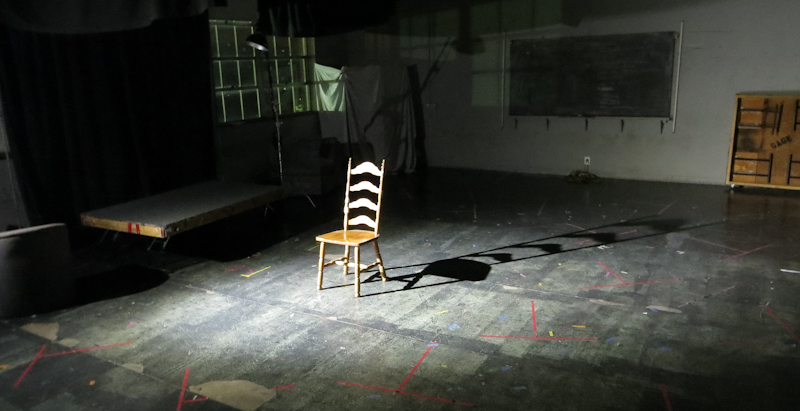
Here’s an example of the light output in a darkened room. Note that the bulb is bright enough that I can position it to act more as a point-source. The chair is well lit and I still get jet-black shadows.

Magnetic Canvas Board Holder

At the beginning of the semester, Gage issued me a new Blick Studio Medium-Duty H-Frame Easel. I liked the easel initially, but over time I found it wasn’t suited for small studies because the top canvas holder couldn’t be positioned low enough to hold a small canvas below standing eye level.

Back in September, I had considered making a magnetic backing board that would allow greater flexibility when positioning smaller canvases, but I didn’t take action until recently when I wanted to increase my output by working on a number of smaller pieces at once.

Over the weekend, I borrowed a page from from Ulan Moore’s playbook and built a steel-faced backing board and three pairs of magnetic canvas holders. Here’s the story:

Drilling holes for magnets in 1″ x 2″ maple stock.

Each magnet will be glued into a hole. A groove along the narrow side will hold the canvas panel in place.

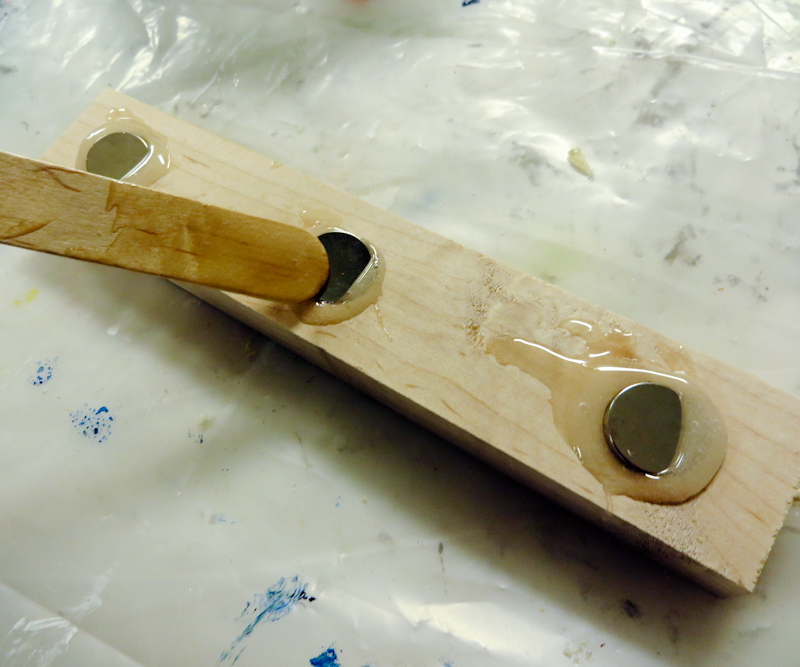
The magnets are held in place with epoxy. After inserting the magnets, I used the popsicle stick to spread the epoxy across the surface and then covered the magnets with piece of cardstock. The cardstock helps to hold the magnets in place and allows the piece to slide smoothly on the easel.

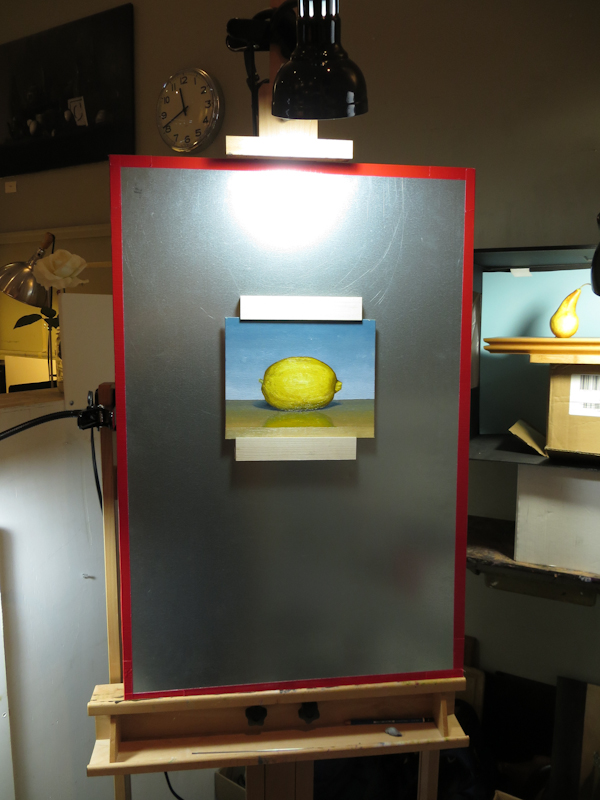
I taped a 24″ x 36″ piece of galvanized steel to a piece of Masonite and placed the whole assembly on my easel. The Masonite is important because the steel is too flexible by itself.

Closeup showing how the grooves in the holder grab on to the canvas panel. One of the nice things about this design is that the canvas panel is held about 1/8″ off the steel, allowing me to easily paint the edges of the panel.

I just love this setup – it works much better than I could have anticipated. It is easy to place and move the canvas panel and I can easily adjust the setup to get at all four edges.

Scumbling

Imagine a sunset at the end of a crystal clear day. The sky directly overhead is a deep blue that gradually fades to yellow along the horizon. If the air is clear enough, there will be no reds or oranges – just blues and yellows.
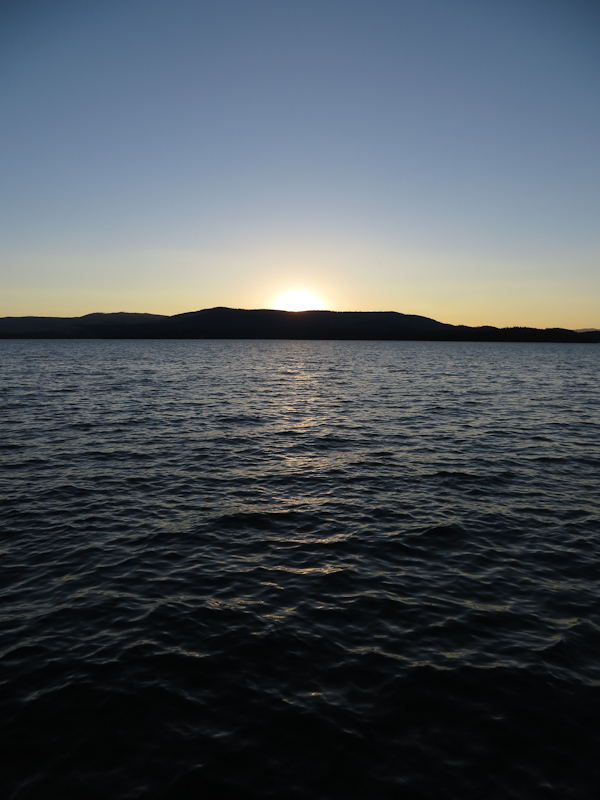
How would you go about painting such a lovely view? This is a question I have pondered since I began painting. Some of my recent color gradient printing experiments led to an interesting insight.

The challenge in painting a blue-to-yellow gradient is, as every school child knows, that yellow and blue paints combine to make green. If you start with blue at the top of the canvas and work your way down while increasing the yellow and decreasing the blue, you will get a lot of green in the sky. During a yellow-blue sunset, you may see some green in the sky, but not nearly as much as you will get by mixing yellow and blue paint on the canvas.

The reason the green appears is that paint mixing works on the principle of the subtractive color model. In the subtractive color model, each pigment or dye in the mixture absorbs and subtracts out part of the spectrum. Combine more colors, and more of the spectrum is removed, leading to darker colors. Combine enough colors and you will get a dark gray.
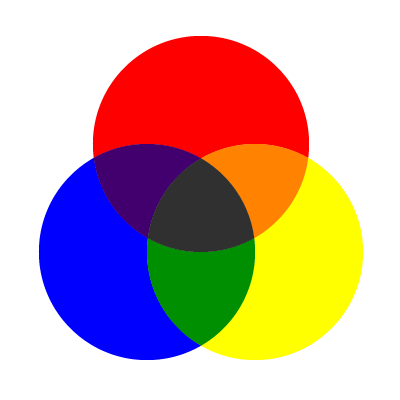
For a long time, I thought the only way to get a yellow-blue gradient with no greens was to gradually add orange to the blue until it desaturated to gray and then remove violet (or add yellow) until the gray transitioned to yellow. This will make a smooth gradient with no green, but it’s not guaranteed to capture the luminous essence of a sunset.
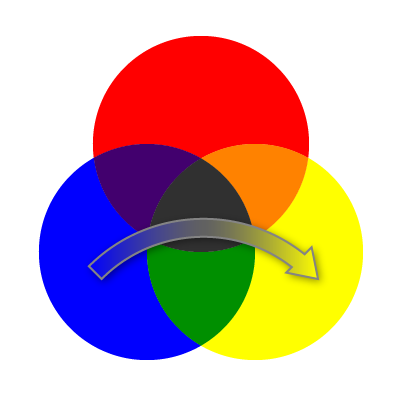
My insight came when I tried printing a blue-to-white gradient on top of a white-to-yellow gradient. I was using an opaque blue ink on top of dry yellow ink, so there was no opportunity for subtractive mixing. Here’s what I got:
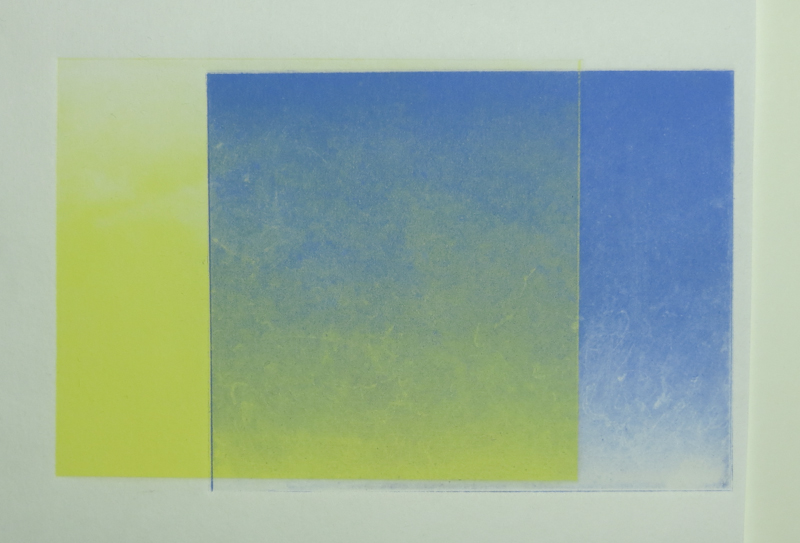
As you can see, there is no green! The colors blend directly from blue to yellow. What’s going on? The colors in the print are optically blending. White light that falls on the pigment is reflected back as either blue or yellow. When these two colors fall onto adjacent cone cells in the retina, they create a sensation that simultaneously conveys blue and yellow. The perceived color is a bright neutral, that is warmer or cooler depending on the relative strengths of the yellow and blue pigments.

The colors in a sunset work the same way. Blue light from the sky blends on the retina with yellow light from the sun to form a bright neutral. Both the print and the sunset are examples of the additive color model.
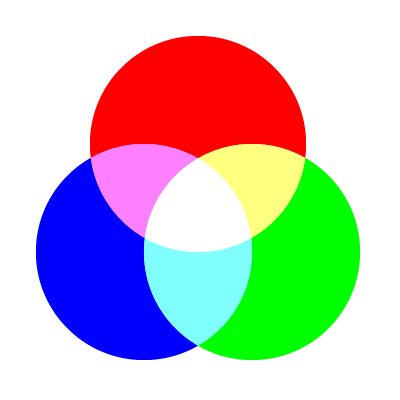
In the additive color model, blue and yellow are complementaries that combine to form a neutral that is brighter than either color on its own. Optical blending, which is based on the principle of additive color, allows us to go directly from blue to yellow without creating green.
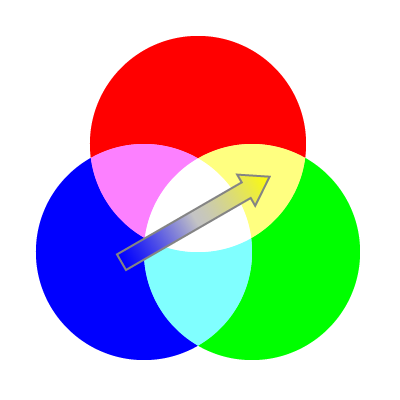
Here’s an example of optical blending in a blue-to-yellow gradient.

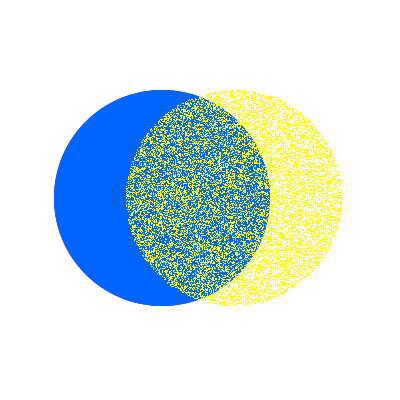
We see optical blending every day on computer screens and printed items where the images are made up of millions of small pixels or dots. It turns out that we can get this effect in paint as well, using a technique called scumbling.

The basic idea behind scumbling is the same as my printing experiment. A broken pattern of opaque paint is applied on top of a layer of dry paint. The dot pattern in the top layer is created with a dry, lightly loaded brush, that just barely scrapes across the surface, leaving an irregular pattern with lots of gaps where the underlying paint shows through. If you were to scumble opaque yellow paint over dry blue paint, it would look something like the image below.
We’ve seen that subtractive color model governs the blending of wet paint, while the additive color model governs optical mixing techniques like scumbling. When painting a scene that uses optical mixing in the real world, it helps to consider optical mixing as a painting technique.

Further reading:

Watch those fingerprints!

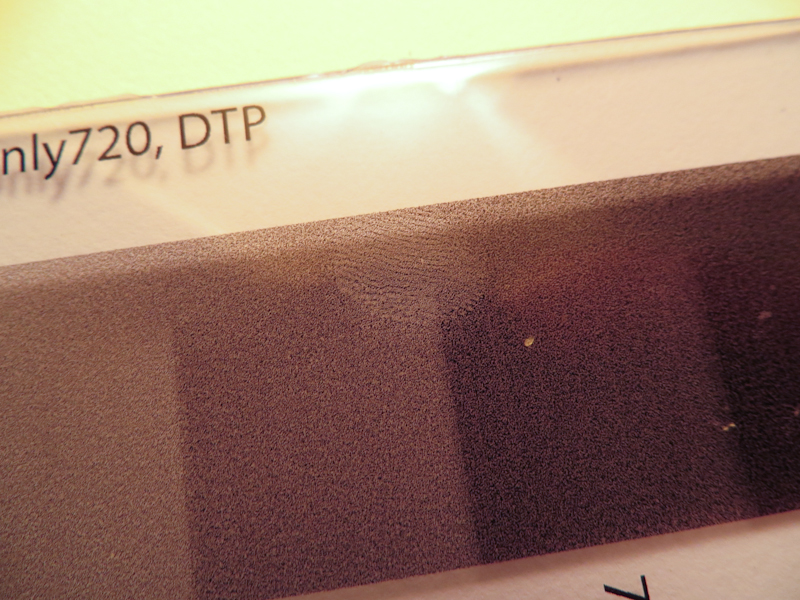
Handy tip: never ever touch the ImagOn emulsion with your bare fingertips. I know this advice seems obvious, but it is easy to do and it will ruin your plate. In the picture below, I touched the ImagOn before printing and the fingerprint still showed up. Normally one shouldn’t be touching the emulsion at all. This was one of the plates that I burned with the hair dryer, so I had to peel the protective plastic off before inserting the plate into the carrier for printing. When I inserted the plate, I pressed down on it to stick it against the adhesive in the carrier. My recommendation is to avoid burning your plate so that the protective plastic is easy to remove and can be removed after inserting the plate into the carrier.